Debtors Allocations
Allocations tie the payments to an invoice or invoices.
Go to Debtors Module > Activity > Allocations
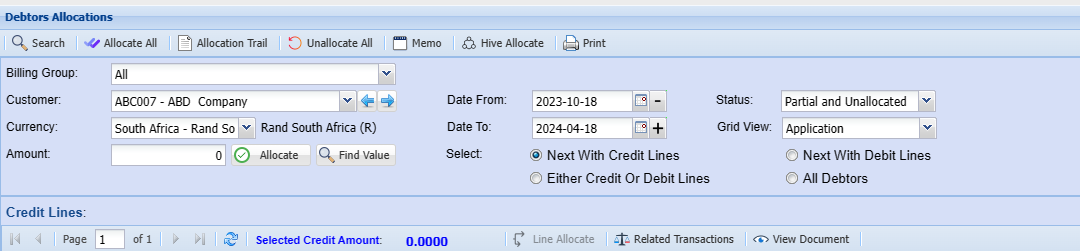
| Billing Group | |
| Customer | to select a debtor |
| Currency | currency used by the debtor comes up when the debtor is selected |
| Amount | You can add a specific amount here that you would like to allocate to a Debtor |
| Date From and Date To | select the date from and the date to which the invoices will be running from |
| Select | |
| Status | the option to filter by using the status of the transaction (All, Allocated, partial and unallocated and unallocated) |
| Grid View | this gives the option to select how you want the transactions amount to be allocated displayed, the default is application another available option is system, System Option shows all the rounded decimals. |
| Credit Lines Tab | shows the payments lines according to the selection made on General tab |
| Associated Debit Lines Tab | shows the invoice associated with the payment |
| Debit Lines Tab | shows the invoice lines according to the selection made on General tab |
| Memo | allows a user to make notes on allocations |
| Date from | enter the date from which the allocation will run from |
| Date To | enter the date to |
| Amount | amount to be allocated |
| Allocate button | the command button to allocate |
| Find Value button | find a value to be allocated |

| Allocate All | to allocate all the payment against the invoices at once |
| Allocation Trail | shows the entire allocated invoices according to the date selected |
| Unallocate All | to undo the allocations |
| Memo | to undo all the allocations |
|
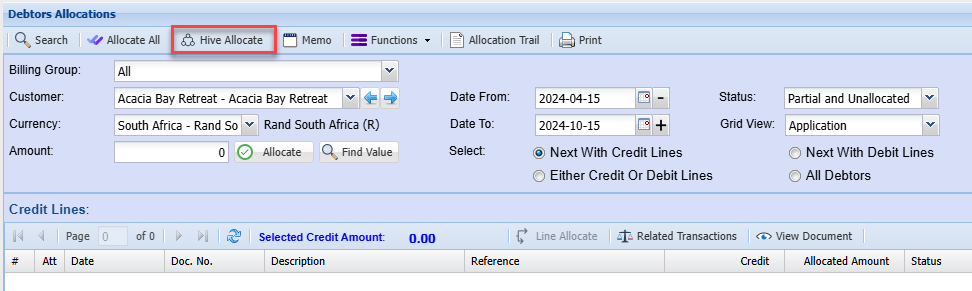
Hive Allocations |
|
|
Allocate |
To confirm and allocate the credit line to the debit line |
|
Find Value |
If you are looking for a specific amount in a large number of records you can use the find Value button. |
On the grid of either credit line or debit line you will see these buttons
| Related Trans button | accounts involved in one transaction |
| View button | view the source document selected |
| Line allocate | this will open the allocated line and shows you what has been allocated |
Allocations
Select the Debtor or Creditor to allocate and then click on search.
The data goes back 6 months, should you want to go further back change your date from.
The status setting is set to Partial and unallocated; this means the allocations screen will only show transactions which have not be allocated or are partially allocated. If the transaction is fully allocated it will not show on this setting.
.png)
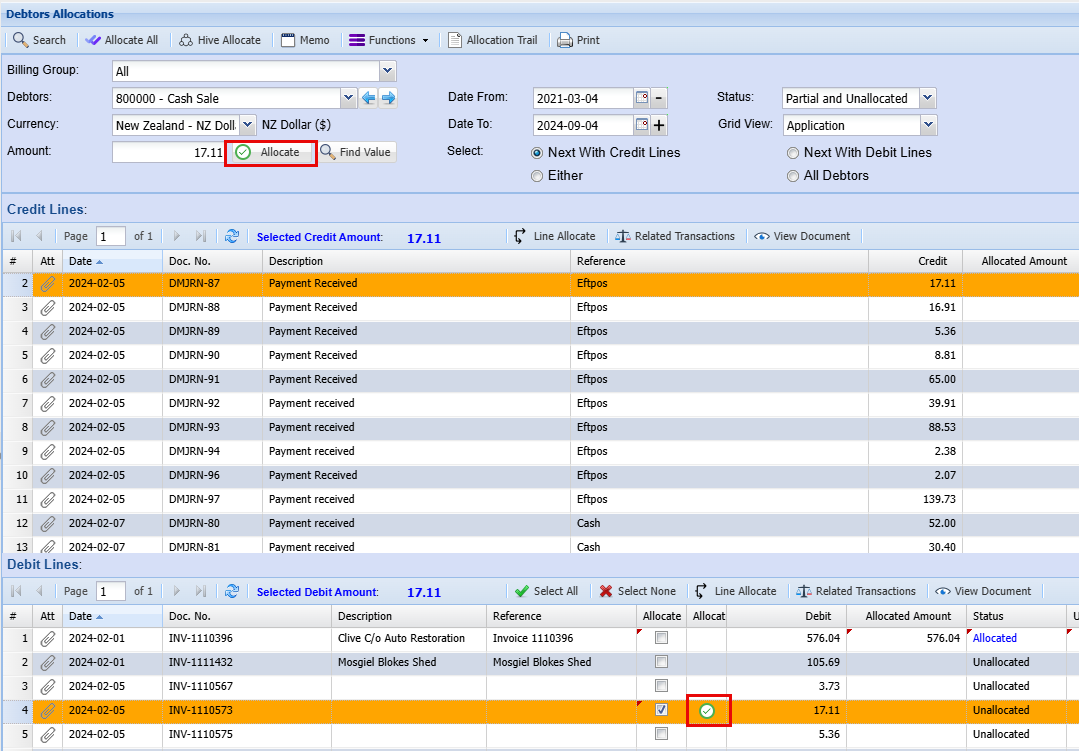
To Allocate a payment to an invoice highlight the Credit line or payment, or top grid and select a corresponding invoice, debit line on the bottom grid. Once highlighted, click on the allocated button either at the top or the green tick  to the right of the debit line tick box.
One can also allocate a specific amount of payment to an invoice by changing the amount field and clicking on allocate.
After you have allocated click on the search button to clear transactions which are fully allocated.
After the transaction has been allocated and there is still an amount to be allocated, one will notice that in the unallocated column there is an amount outstanding.
There are two ways to confirm an allocation. allocated column is the amount which has been allocated to the invoice you need to select your credit line and your debit line.
Continue to allocate until all your transactions are allocated.
Un-allocate
Change the Status drop down to say All and click on search. This means you want to see all transactions that are allocated, unallocated, partially allocated.
.png)
To un-allocate a transaction select the Allocated status in the search Grid
Find the transaction you want to un-allocate
Select it and click on "Line Allocate" button
.png)
A window will open showing transactions that have been allocated
Select lines that need to be un-allocated.
Click on the un-allocate button
.png)
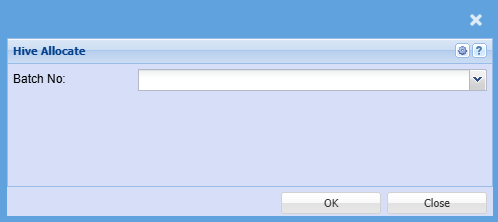
Hive Allocate
No Comments