Advanced Add Quote Process
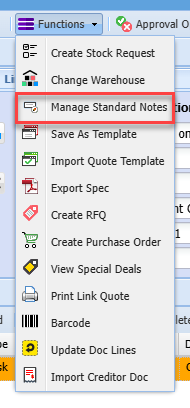
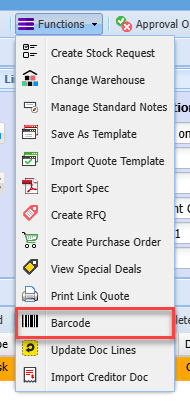
Functions Drop Down
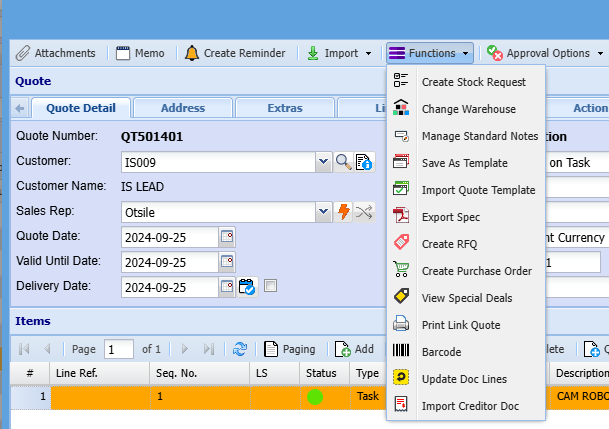
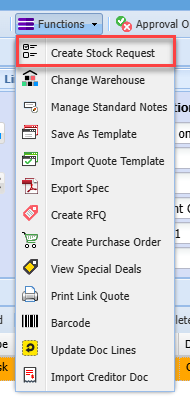
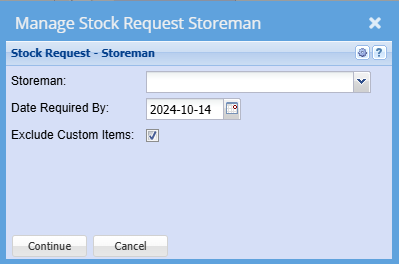
Create Stock Request
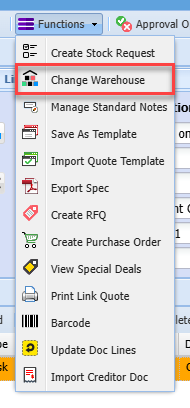
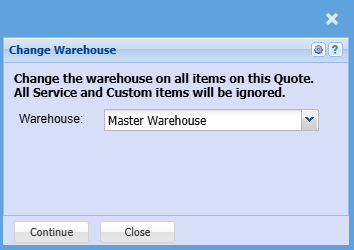
Change Warehouse
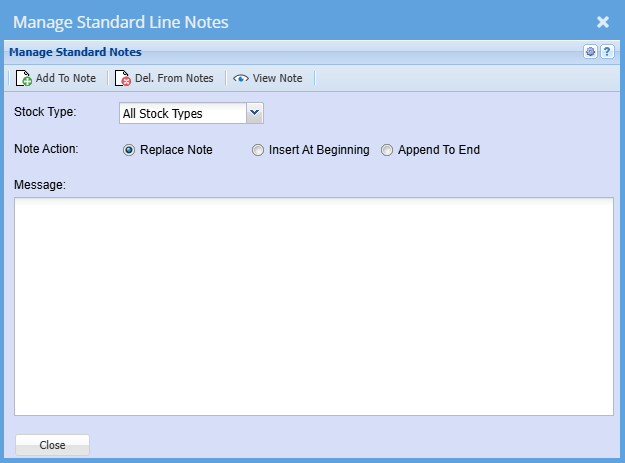
Manage Standard Notes
This window allows the user to add a specific Note to each line on a Quote.
The Stock Type drop down will allow the user to specify All lines or lines of a selected inventory type e.g. Stock, Service etc.
The Note Action radio buttons allows the user to modify the note to a limited extent by either replacing the whole note, inserting a new note in front of the existing note and keeping the existing note or adding a new note to the end of an existing note.
Click the Add To Note button to add the Note to the lines subject to the previous two selections.
Once the note has been added and also based on the selection of the Stock Type drop down the user can view the resulting note by clicking on the View Note button.
By clicking on the Delete Notes button and subject to the selection of the Stock Type drop down the notes can be removed from the quote lines.
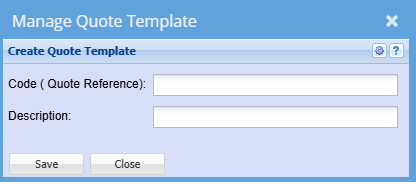
Save As Template

It allows a user to create a quote template by filling in the Code and Description.
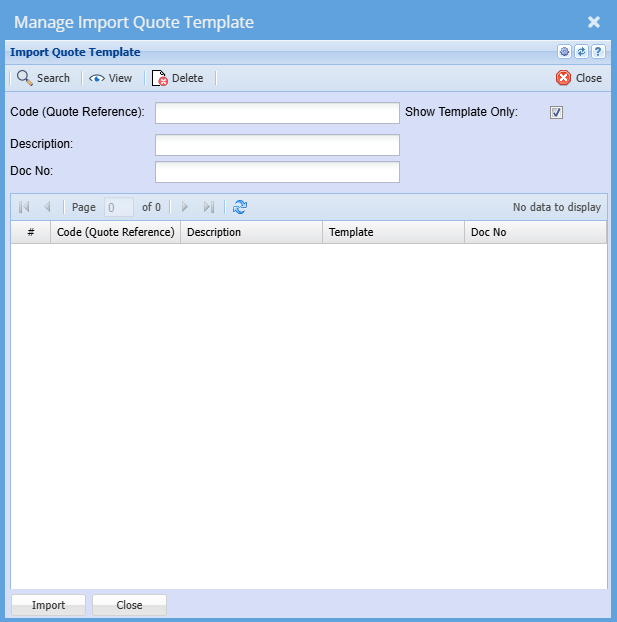
Import Quote Template
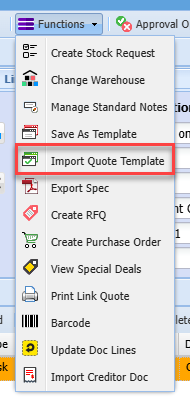
This allows a user to import a copy of a quote that was previously saved as a Quote Template.
Code – enter the code of the quote template and then click on the Search button.
Description – enter the description of the quote template and then click on the Search button.
If Code and Description are left blank, the system search will retrieve all quote templates.
Once the desired template has been located select that template and either click on the Import button or double click on the grid line.
Export Spec
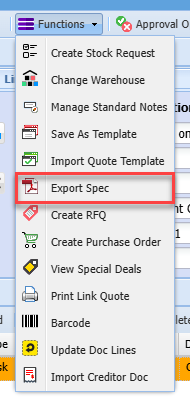
If there were any specification captured, these will be exported
Create RFQ
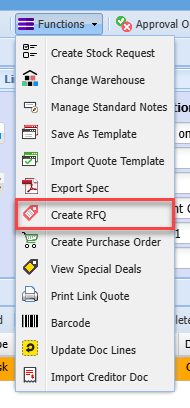
Allows one to create Requests for quotes (RFQ) from your suppliers for the items on the selected quote
Create Purchase Order
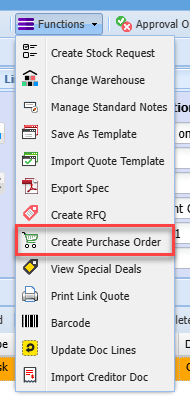
Creates a purchase order automatically to be sent to your supplier(s) for items on the quote.
The default supplier as per the item setup will be used, unless edited/ updated on the PO create.
View Special Deals
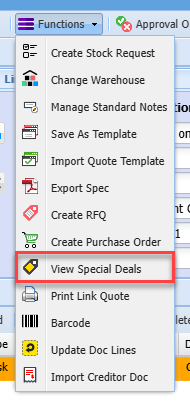
Displays a list of Specials or Deals that have been setup on the system.

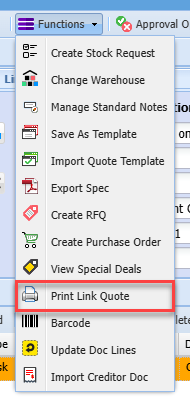
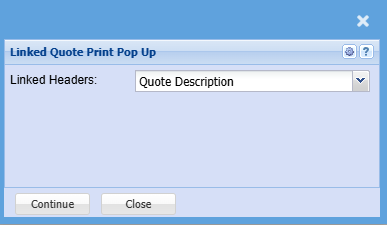
Print Link Quote
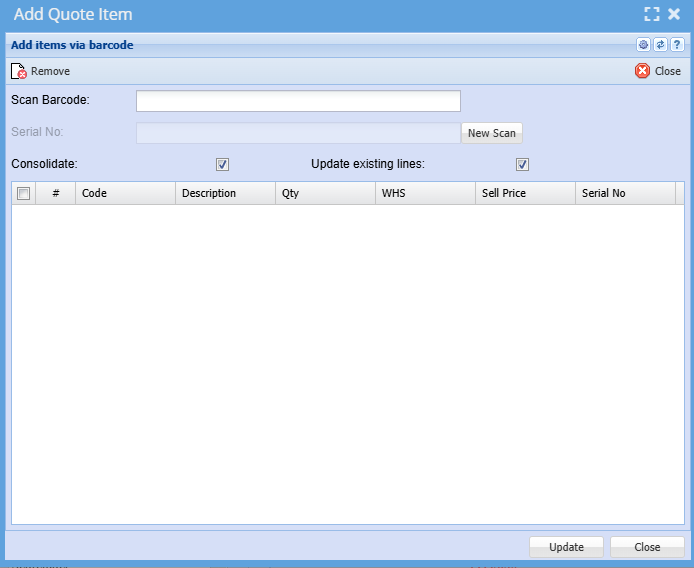
Barcode
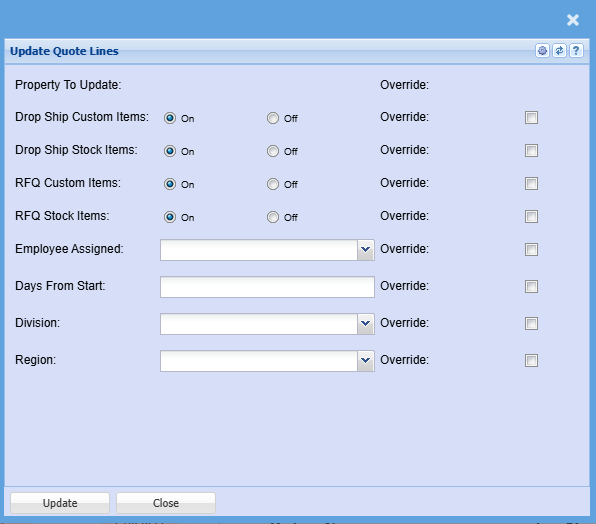
Update Doc Lines
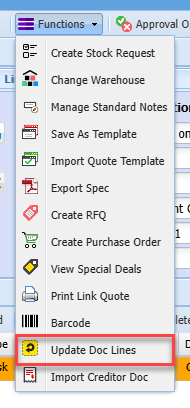
Allows the user to update certain fields on quote lines. in the event that there are multiple item lines on the quote, this option saves the user from having to edit each line individually.
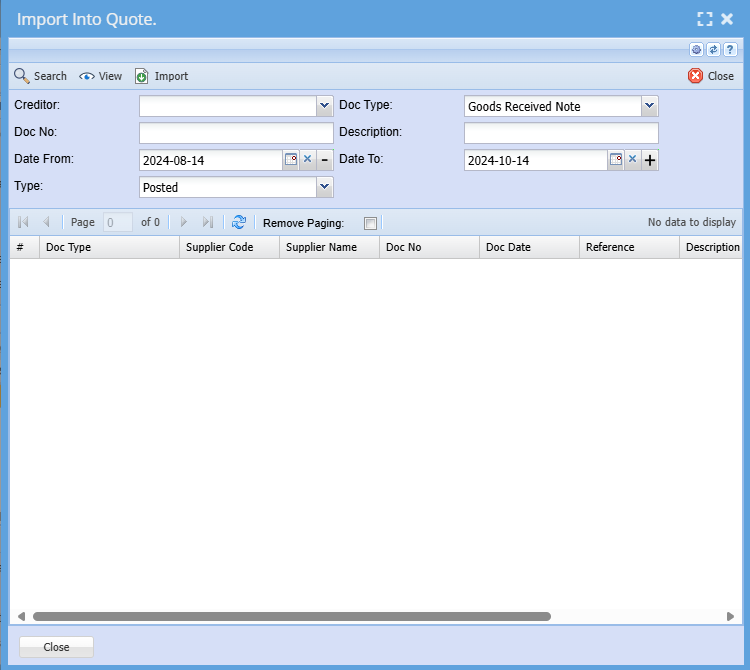
Import Creditor Doc
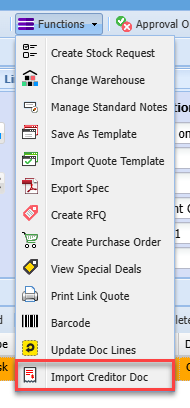
This option allows the user to import a creditors document such as Purchase order or Goods received Note (GRV) into a quote
Info Button
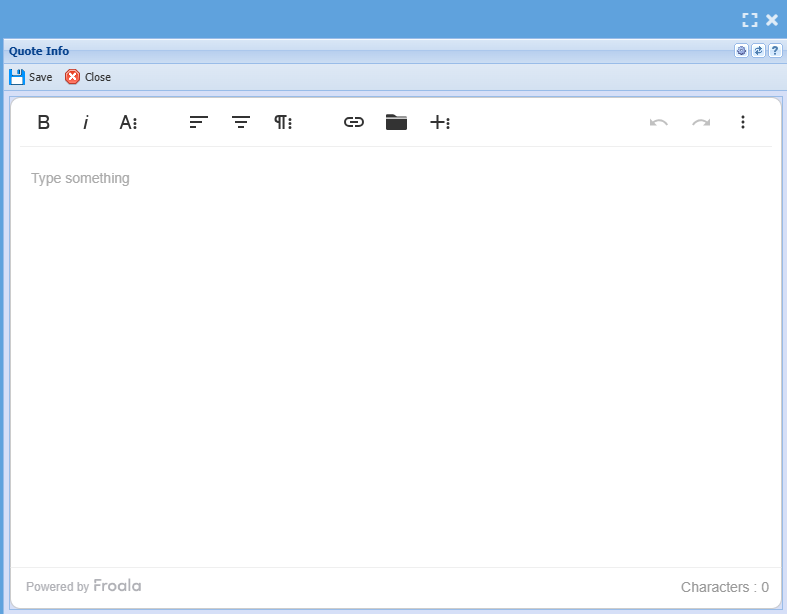
The screen allows for any additional info to be captured against the quote
| Customer | Select the customer you are creating a quotation for on the drop-down |
| Sales Rep | This is where you select the specific sales rep if you have sales reps set up. |
| Quote Date | This is the date captured on the quote |
| Valid Until Date | This will be the date on which the quote will expire. |
| Delivery Date | This is the date on which the goods or service will be delivered. |
| Description | This is a general description of the items on the quote. |
| Reference | Reference captured on the quote |
| Order Number | If a client requests for a specific purchase order number to be put on the quote. |
| Currency View | This allows one to toggle between |
| Comment |
Go to Address Tab and insert the additional properties such as Division, Region, invoice Group if applicable) and Click Save
Next the items that you want to put on the quote have to be inserted. To do this click Add.
.png)
Next the items that you want to put on the quote have to be inserted. To do this click Add.
The following screen will appear.
.png)
| Category | Select the type of inventory item i.e. Stock, Service or Custom. |
| Item Code | This is where you search for the item that you want on the quote. |
| Item Description | This will be filled in automatically once the item is selected. |
| Quantity | The quantity of the specific item that you want on the quote. |
| System & Total Cost | Leave this as it is. |
| Warehouse | Select the warehouse that you want to take the stock out of from this drop-down menu. |
| Selling Inc. VAT | If you want to enter the selling price per item including vat then tick this box. This will open up the “Selling Including VAT” field so that you can enter the inclusive selling price. |
| Selling Exc. VAT | If you prefer to enter the exclusive selling price then you should not tick the “Selling Including VAT” box and just enter the exclusive amount. |
Once you have entered either the inclusive or exclusive amounts per item then the system will work out the rest of the amounts for you.
.png)
| Line Discount | If you want to give a discount on the specific line then a percentage can be entered here. If you choose not to give a discount, then just leave this field blank. |
| Vat | This is where you select the Vat type for this transaction. |
| Mark Up | This will default to your system mark-up that was selected when the company was first configured however it can be changed for each transaction. |
| Unit Of Measure | Select the unit of measure for the specific item from this drop down. |
| Lead Time | This is the time the supplier takes to deliver ordered items from the order date to the date that the items are physically delivered to the client. |
| Order Date | This is the date on which the order for the items should be placed from the supplier. |
| Reminder Date | This date is a final reminder to order items. Own discretion should be used when adding this date. This date should be about a week after your order date. |
| Required Date | This is the date on which the specific item is needed. This means that the item should be ordered, delivered and ready to be used on the intended job. |
| Payment Method | This is the account terms that you have with the supplier of the specific item. These include COD, 30 days, 60 days, 90 days, 120 days, 150 days or 180 days. |
| Supplier | This will default on the default supplier of the specific item, but other suppliers can be chosen or added. |
| Internal Note | This is any note about the item or supplier that you want to add. This will not appear on any printed documents. |
After all the info has been entered click either the Save & Close button or the Save & New button. Save & New is to add another line item and Save & Close if you only want the one-line item.
After clicking on the Save & Close button you will be back on the New Quote screen. Notice that your line items also appear on the screen with the amounts at the bottom.
Once you are happy with all the details you can click Save and then Close. Now you will be back on the main quote screen
Click on Search and your quote should appear on this screen.
.png)
If you are happy with the quote, it can be approved.
Click the approve tab at the top of the screen.
.png)
Here you will see 5 different approval buttons.
| Internal Approval | This is when all involved parties that work for the company are happy with the quote then it can be approved internally. |
| Customer Approval | After the quote has been approved internally it can be sent for customer approval. |
| Approve To Invoice | If the client is happy with the quote, it can be approved to invoice. |
| Approve To Sales Order | If you want to approve the quote to a Sales Order. |
| Approve to Job | if you want to approve the quote to a Job |
You will notice that all four options mentioned above are sub menus under activity on the left.
Depending on the approval stage this is where the quote will appear. So, for example, if you approved a quote internally it will move out of New Quote Search and into Internal Quote Approval.
Any of the approval stages can be skipped. This means that if you would like to create a quote and immediately approve it to an Invoice or Sales Order instead of Internal Quote Approval or Customer Quote Approval then you can do this.
Once the quote has been approved to Sales Order or Invoice then it can be treated as a normal Sales Order or Invoice from there on out
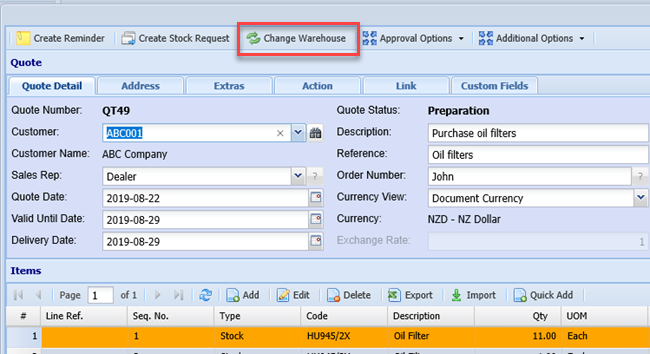
Button Functions Explained
Change Warehouse
Debtors / Customer Module> Activity> Quotes
Video training manual 2016 - Click Here
Import Dropdown

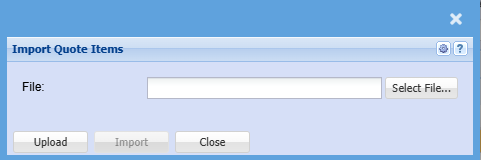
Import
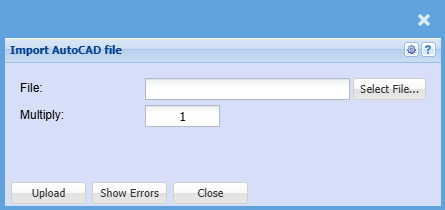
Import AutoCAD
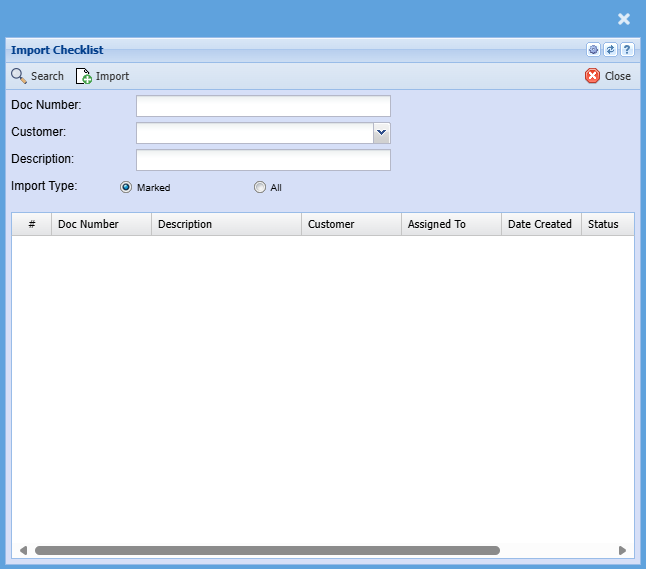
Import Checklist
No Comments