Goods Received Voucher (GRV) Process
Go to Creditors Module> Activity
Select Goods Received Note (GRV) menu item
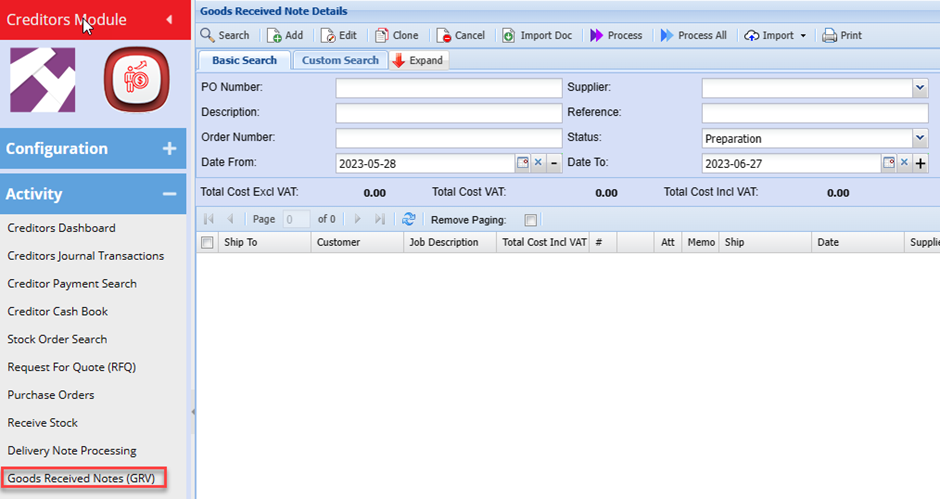
Enter the Supplier Name and select the required Date Range
Click Search
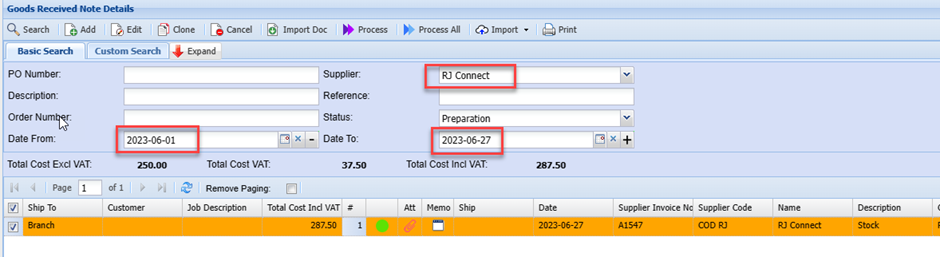
You can Double Click the Line or Click the Edit button in which case the GRV will open and you can then verify any details.
Typically, there would be no need to make any changes at this stage.
The Supplier invoice should now be attached to the GRV:
Click on the Attachments Icon

As shown in prior manuals, you can upload the document from a folder on your PC or you can Drag &Drop the document.
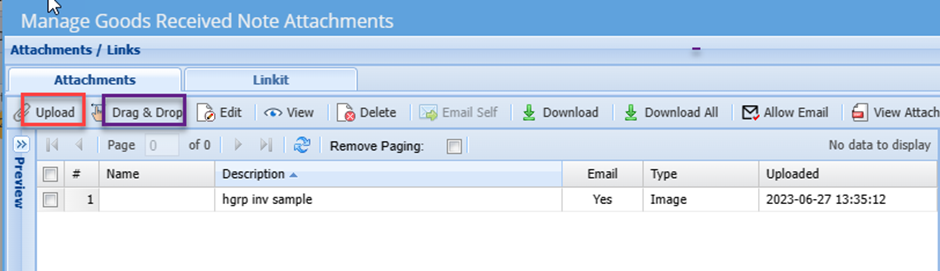
Enter a Name and description for the document.
The document will be uploaded.
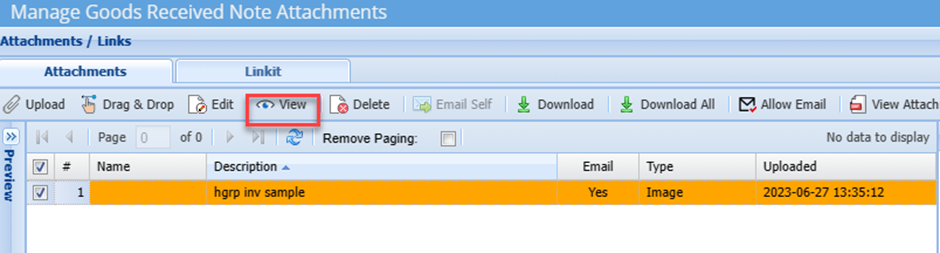
You can click once on the attachment line in the grid and then click View button to view the document attached.
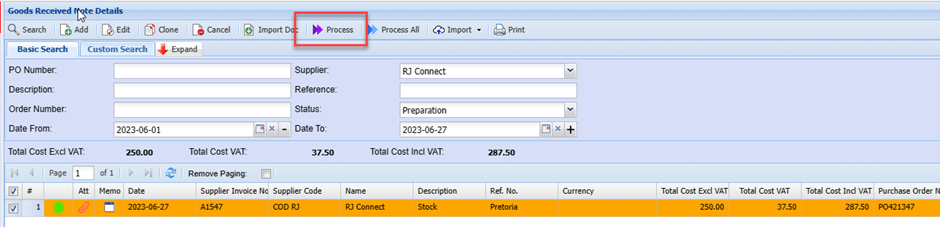
Once you are satisfied that the entry is correct and all supporting documents attached, you can now process the GRV
To do this, highlight the transaction on the grid and click the Process button
Click Yes on the Pop up message
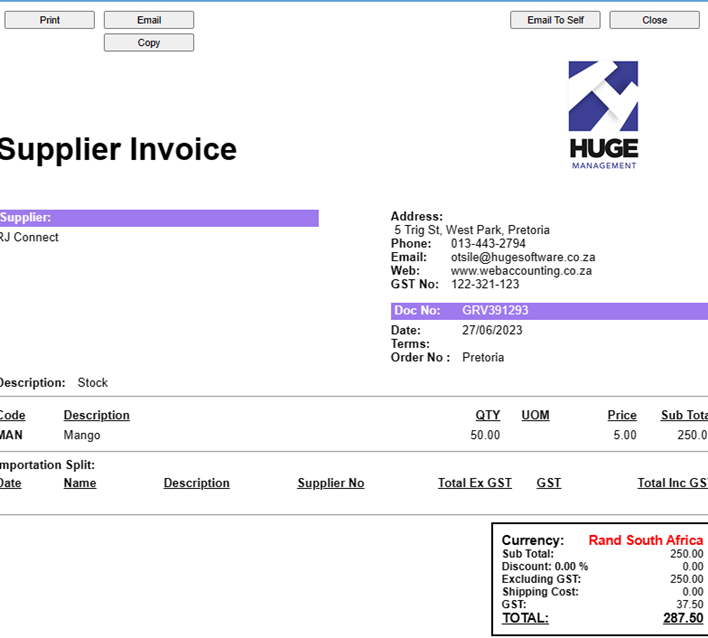
The GRV will then Print to screen.
You can then print if needed. This is not necessary as all documents are stored on the system and can be retrieved at any time.
The Goods Received Voucher (GRV) is now processed, which updates the Stock control account, Stock Quantities and the Supplier Account.
In the event that a Purchase order relates to non-stock items, then the respective General Ledger Accounts as setup on the Custom Items setup will replace the stock control account.
Alternatively, the administrator could set the system to prompt for Posting:
This feature allows the user to select the GL account to be posted to for transactions.
Eg: in the case of a custom item, let’s say Telephone expense:
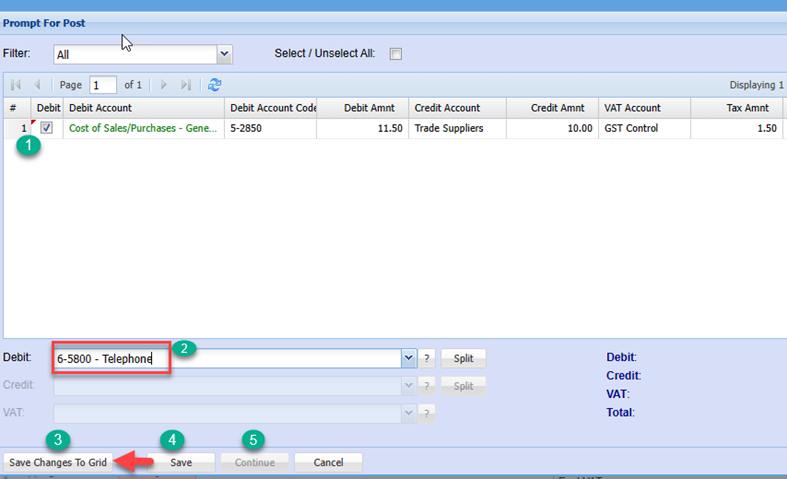
When you process the GRV, the below screen can be triggered which allows you to select the required contra GL account

| 1 | Tick the Box to edit the respective line |
| 2 | Select the required GL Account |
| 3 | Click Saves Changes to Grid |
| 4 | Click Save |
| 5 | Click Continue |
Processing GRV from Delivery Note
With the receive stock process we mentioned that stock could be received via the Delivery note option.
If this option is selected at receive stock, then the entry will be found under the delivery note Processing Menu item and not the Goods Received Note Menu
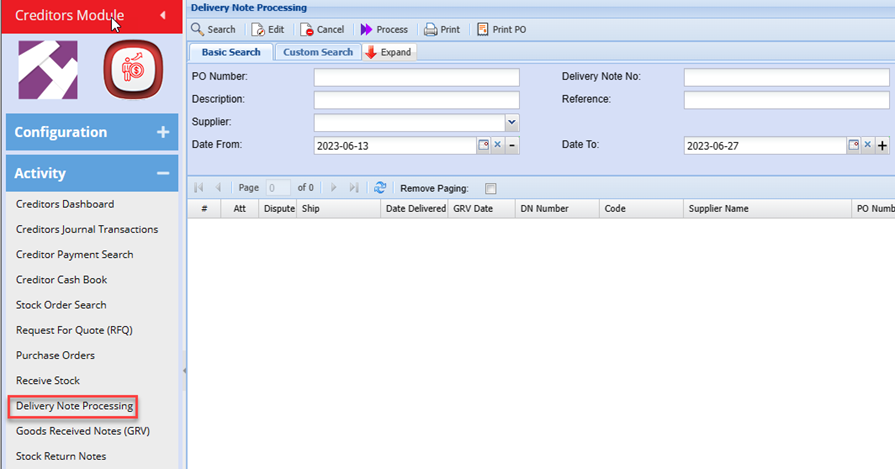
Search for the required PO ( Delivery note entry)
Ø Double click or click the edit button to open the transaction
Ø Enter the Supplier Invoice number
Ø Click Save and Process
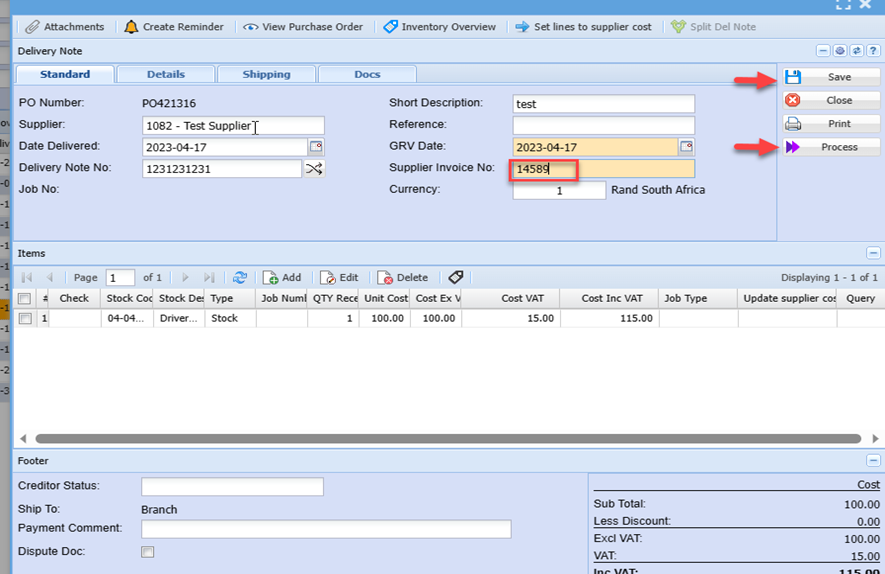
This then processes the Delivery note and the GRV
No Comments