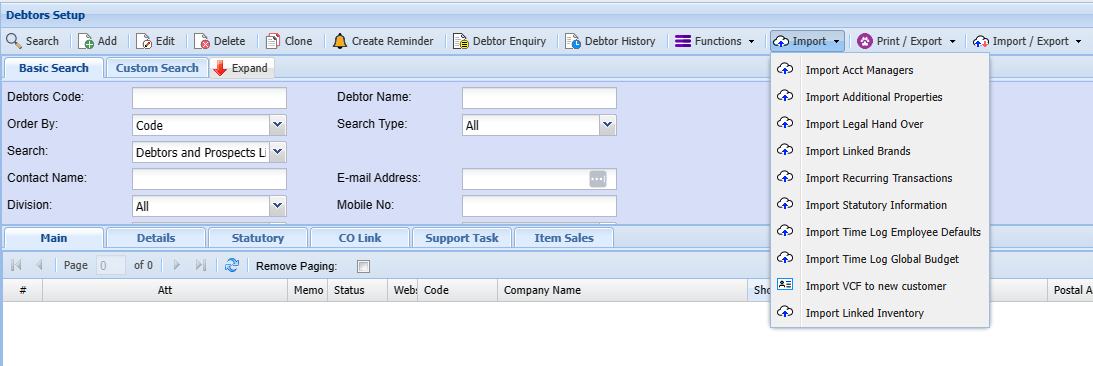
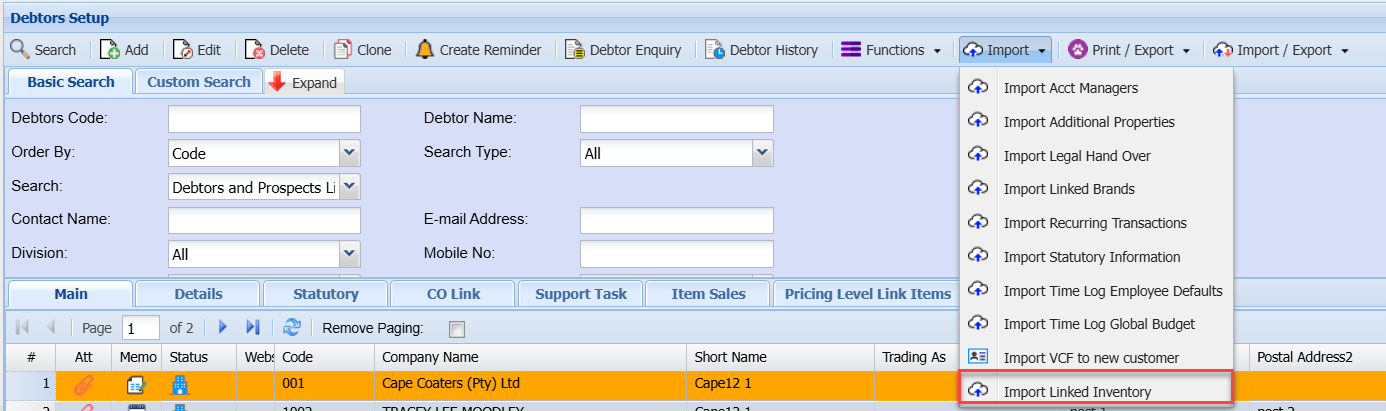
Import Drop Down Button
Debtors Module> Configuration> Debtor Setup> Import Drop Down
An import dropdown is a powerful tool that organises and simplifies the process of bringing external data into Huge ERP system.
Import dropdown is essential for maintaining accurate and up-to-date debtor/customer information.
The system offers predefined import templates for common data sources, making it easier to import data consistently.
|
The import file needs to be a CSV file (Comma Delimited File) as illustrated below. Click on the Browse button and navigate to the location of the file to be imported. Select the file and click on Open. Click on Upload and follow the screen prompts. If there are any errors in the import the resulting report will display the problematic data in the import file. |
|
DebtorCode |
FirstName |
LastName |
|
ABC101 |
John |
Smith |
|
EFG101 |
Susan |
Jones |
|
KLM101 |
Paul |
Phillips |
|
XYZ101 |
Karen |
Williams |
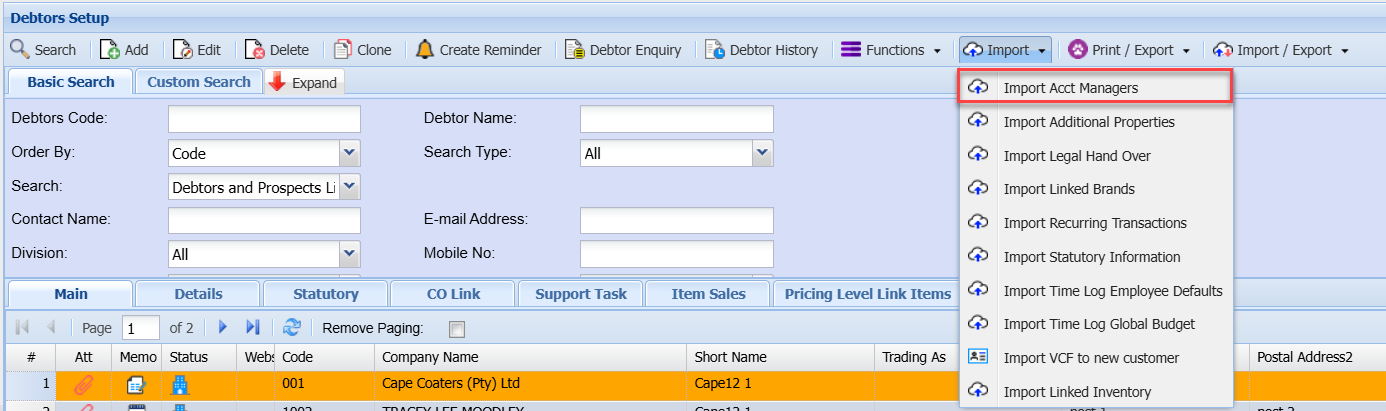
Import Acct Managers
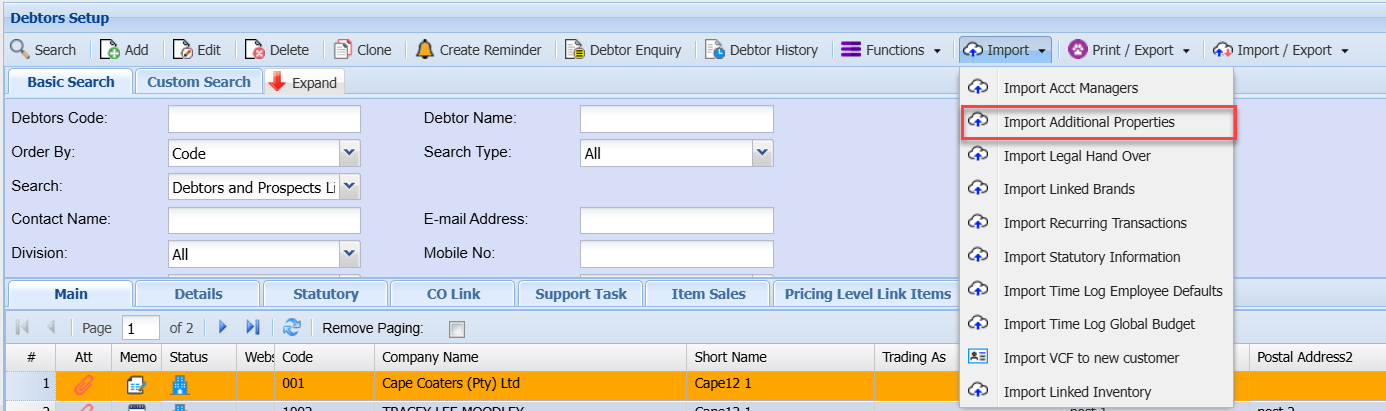
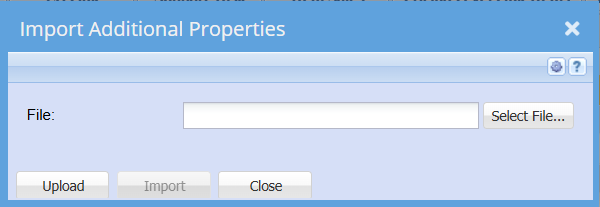
Import Additional Properties
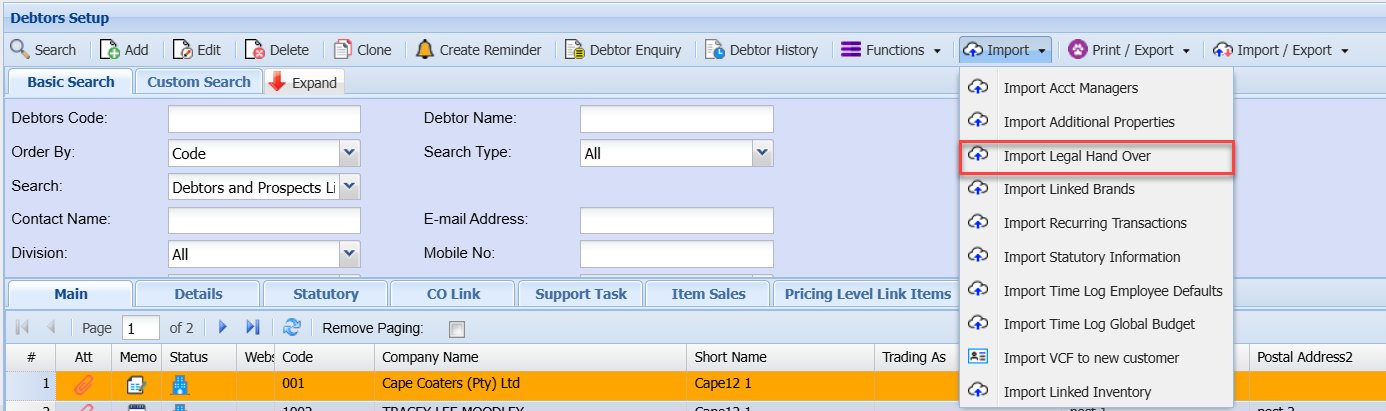
Import Legal Hand Over
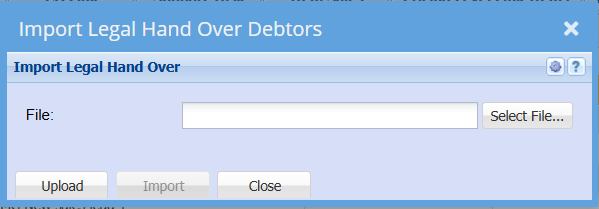
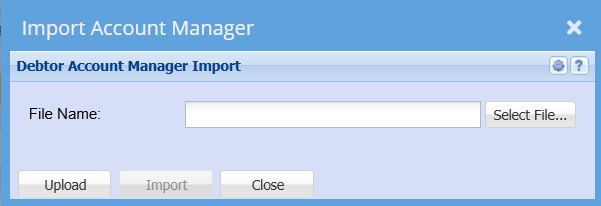
| 1 | Click the Select Files … button to locate the CSV file to be imported. |
| 2 | Click Upload to upload the CSV file into the Web Accounting file structure. |
| 3 | Click Import to import the Legal Hand Over Debtors as specified in the CSV file. |
| 4 | A report will be produced on the import process. If there are any errors during the import the user will be informed of these errors in the report. All these errors need to be corrected before the import will be successful. |
The CSV file requires the following columns.
Action, Debtor Code, Legal Firm Code (Creditor Code), Reference Number, Hand Over Date, Hand Over Amount, Follow-up Date and Follow-up Person
The follow-up person is that user who has been delegated to follow-up on this particular debtor’s legal hand over action with the legal firm. The follow-up person must be a registered user on the system and the column data must be the user’s First Name and the user’s Last Name (as captured in the system) separated by a space.

Action = 1 the debtor is set as a Legal Hand Over
Compulsory columns are Action, Debtor Code, Legal Firm Code, Reference No., Follow-up Date and Follow-up Person
Action = 0 the debtor is reset and is no longer a Legal Hand Over
Compulsory columns are Action, Debtor Code, Legal Firm Code and Reference No.
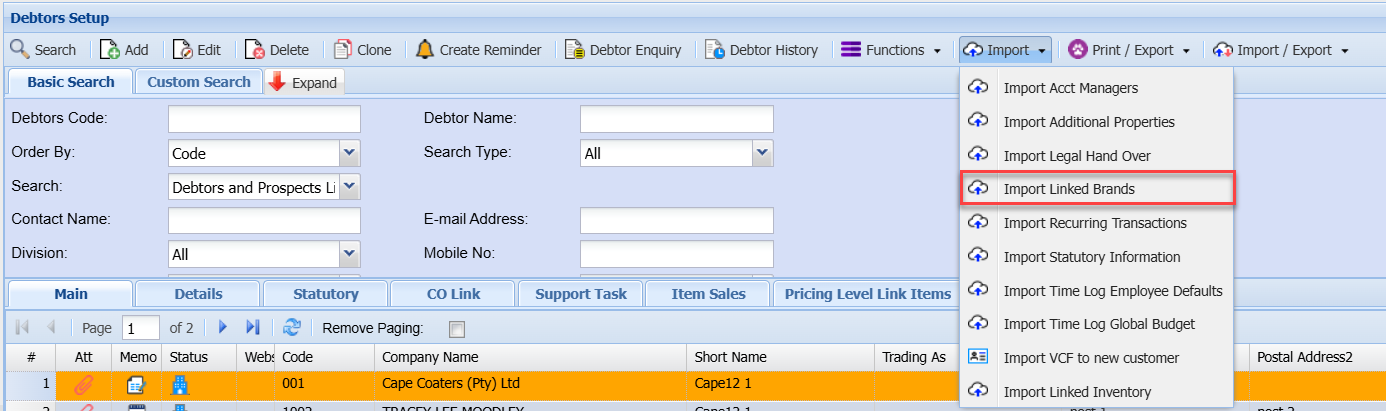
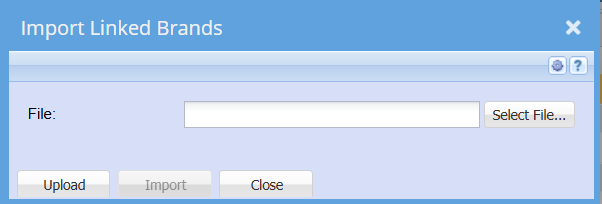
Import Linked Brands
Import Recurring Transactions
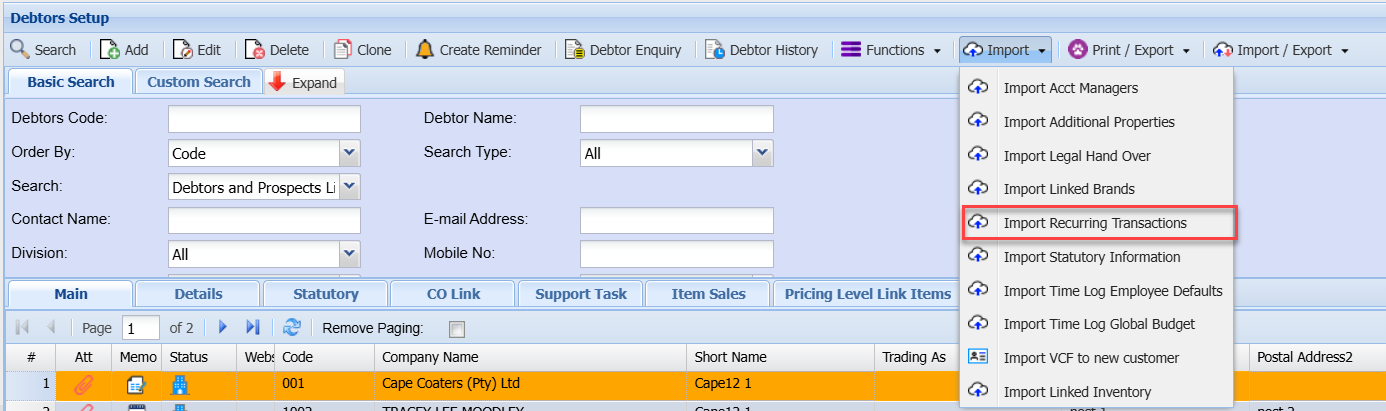

The file to be imported must be in a CSV format.
Click on the Select Files… button to open the navigate window allowing the user to navigate to the file to be imported.
Once the desired file has been located either double click on the file or click the Open button.
Now click on the Upload button. If the upload was successful a window will appear confirming that the upload was successful. Click Ok.
An Import Report will open displaying any errors in the import or displaying the successful import of the recurring transactions.
Please Note: The column headings can be left in the import file providing that the heading are as per the sample below.
Import File Layout
All items in RED are required fields.
|
Debtor |
Description |
Recurring Contract |
Invoice Template |
No Of Recurring |
Period |
Date Type |
StartDate |
Type Of Recurring |
|
Required |
Required |
Required |
Required |
Required |
Required |
Required |
Required |
|
|
Debtor Code |
Customer Name |
Contract Code |
Template Code |
Number Of Transactions |
Weekly Monthly Yearly |
0 / 1 / 99 |
2015/03/01 Only if 0 is used |
Manual / Automatic |
Date Type
0 = Use Start Date
1 = First Day of Every Month
99 = Last Day of Every Month
Import Statutory Information
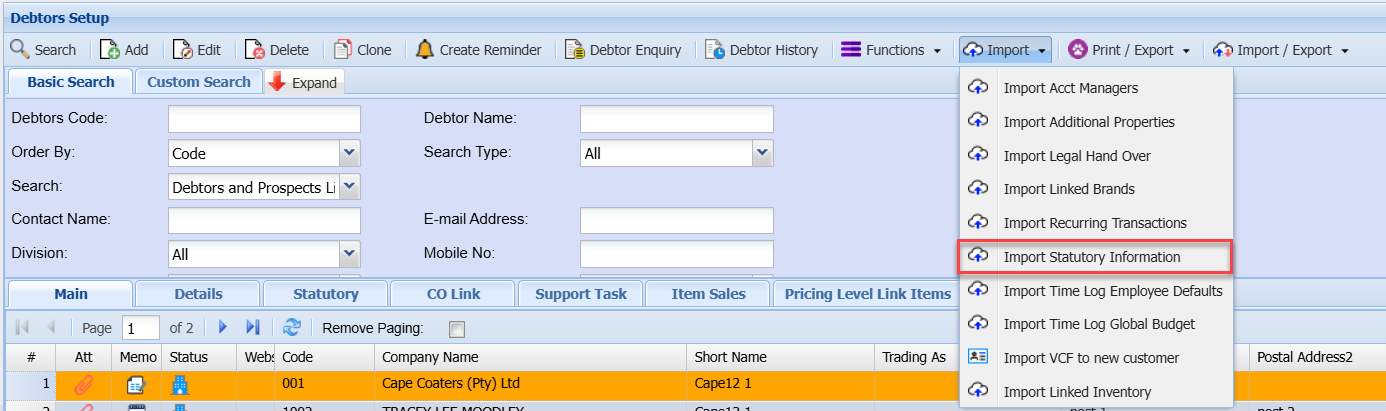
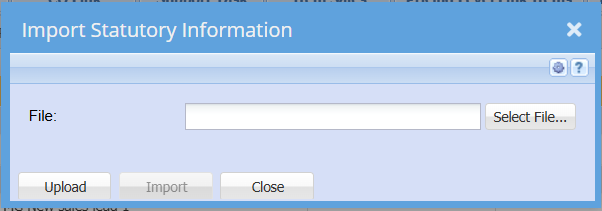
Click the select File Button to open the “open file dialog” which will allow you to navigate to your file in order select it.
Click the Upload button to upload the file onto the server.
Click the Import button to start the import process.
Your file must be in a *.CSV file format.
If any errors are found, it will be written in the log, please correct the errors and start the import process again.
Below is a template of the CSV File:
|
No |
Column Heading |
Column Data Requirements |
|
1 |
DebtorCode |
Required |
|
2 |
ServiceItemCode |
Required |
|
3 |
SLACode |
Required |
|
4 |
TaskCode |
Required |
|
5 |
BillingRateCode |
Required |
|
6 |
Reference |
|
|
7 |
TimeLogDate |
Required |
|
8 |
EmployeeName |
Required |
|
9 |
TimeFrom |
The time value needs to be separated by a colon. E.g. “10:00” |
|
10 |
TimeTo |
The time value needs to be separated by a colon. E.g. “ 11:00” |
|
11 |
SupportTaskCode |
Required |
|
12 |
SupportSubTaskCode |
|
|
13 |
AddToJob |
1 / 0 - This value must be either 1 (true) or 0(false), this item must be true (1) for the rest of the fields in orange to apply. |
|
14 |
AddToJobType |
CTC / SC |
|
15 |
JobNumber |
Required |
|
16 |
EmployeeRate |
Rate 1 / Rate 2 / Rate 3 |
|
17 |
ChargeTravelFees |
1 / 0 - This value must be either 1 (true) or 0(false), this item must be true (1) for the rest of the fields in green to apply. |
|
18 |
TravelBillType |
Distance / Time |
|
19 |
TravelDistanceRate |
Required |
|
20 |
TravelDistanceStart |
Required |
|
21 |
TravelDistanceEnd |
Required |
|
22 |
TravelTimeRate |
Required |
|
23 |
TravelTime |
This item is in hours. For 1HR 30MIN please enter 1.5 as a decimal value. |
|
24 |
TravelItemCode |
Required |
|
25 |
ChargeTollFees |
1 / 0 - This value must be either 1 (true) or 0(false), this item must be true (1) for the rest of the fields in blue to apply. |
|
26 |
TollFeeAmount |
Required |
|
27 |
TollFeeItemCode |
Required |
|
28 |
Note |
|
Import Time Log Employee Defaults
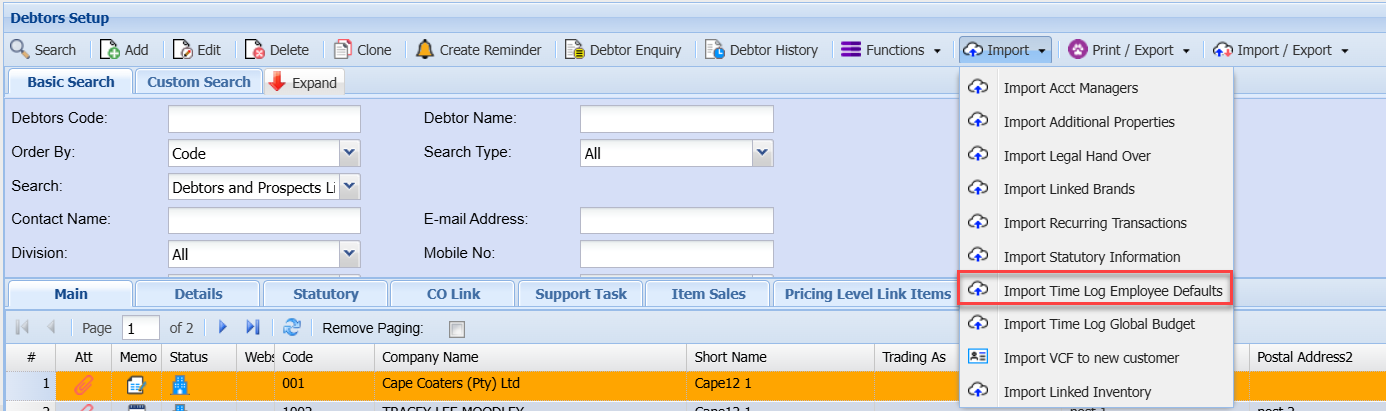
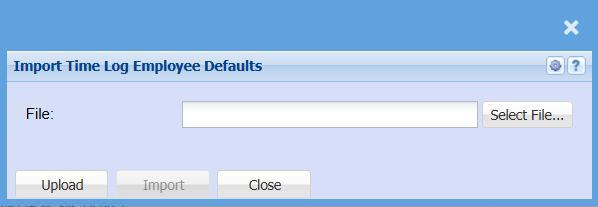
Click the select File Button to open the “open file dialog” which will allow you to navigate to your file in order select it.
Click the Upload button to upload the file onto the server.
Click the Import button to start the import process.
Please Note: Your file must be in a *.CSV file format.
If any errors are found, it will be written in the log, please correct the errors and start the import process again.
Below is a template of the CSV File:
|
No |
Column Heading |
Column Data Requirements |
|
1 |
Employee Login |
Required |
|
2 |
SLA Code |
Required |
|
3 |
Task Code |
Required |
|
4 |
Billing Rate Code |
Required |
|
5 |
Service Item Code |
Required |
|
6 |
Debtor Code |
Required from the debtors Setup screen Not required when editing a specific debtor |
Import Time Log Global Budget
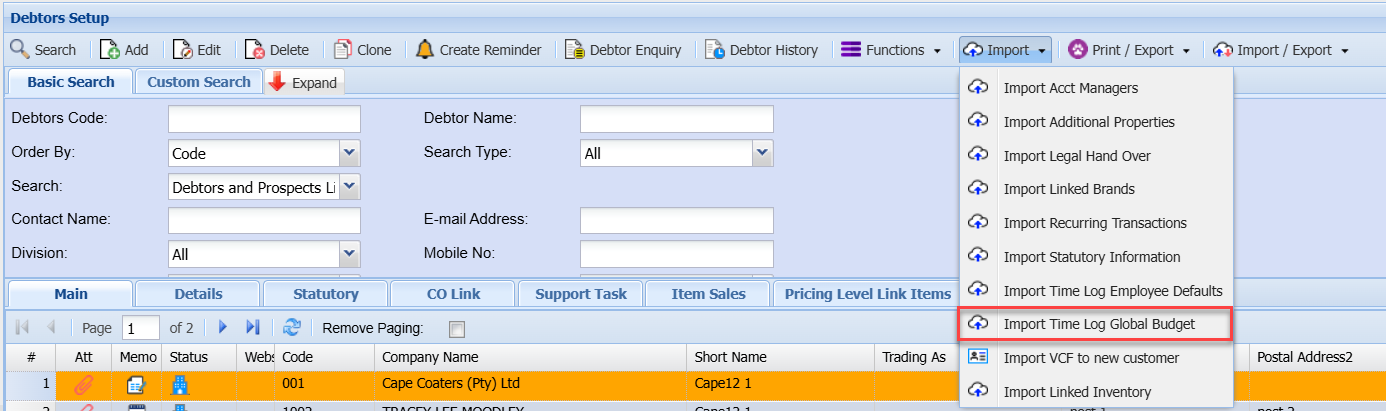
Click the select File Button to open the “open file dialog” which will allow you to navigate to your file in order select it.
Click the Upload button to upload the file onto the server.
Click the Import button to start the import process.
Please Note:
Your file must be in a *.CSV file format.
If any errors are found, it will be written in the log, please correct the errors and start the import process again.
Below is a template of the CSV File:
|
No |
Column Heading |
Column Data Requirements |
|
1 |
Date From |
Required |
|
2 |
Date To |
Required |
|
3 |
Description |
Required |
|
4 |
Budget Quantity |
Required only if no budget Value has been provided |
|
5 |
Budget Value |
Required only if no budget Quantity has been provided |
|
6 |
Paid Extra |
|
|
7 |
Date Paid |
Required only if Paid Extra |
|
8 |
Include Travel |
0/1 |
|
9 |
Include Toll Fees |
0/1 |
|
10 |
Include Disbursements |
0/1 |
|
11 |
Memo |
|
|
12 |
Debtor Code |
Required from the main debtor search screen, not when editing a specific debtor |
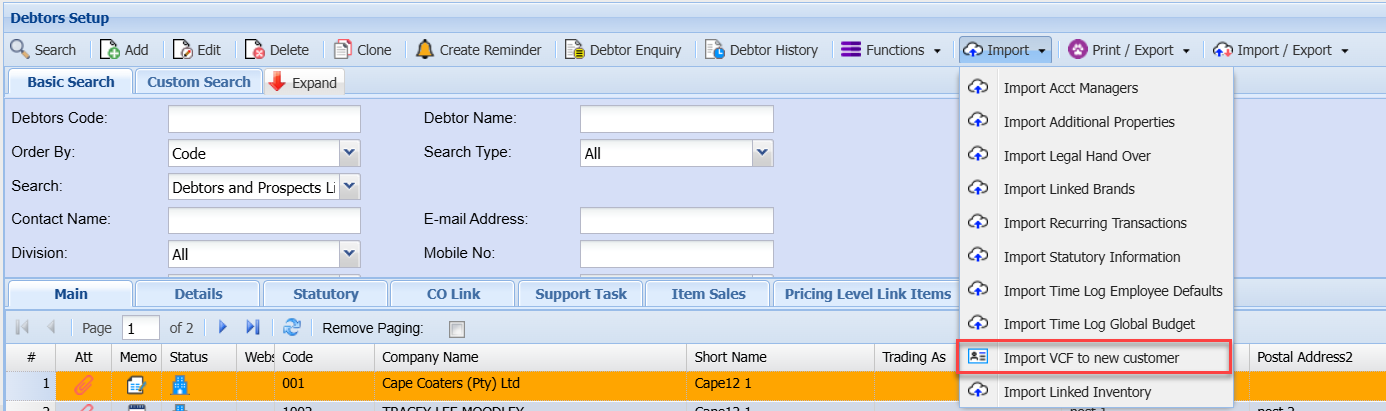
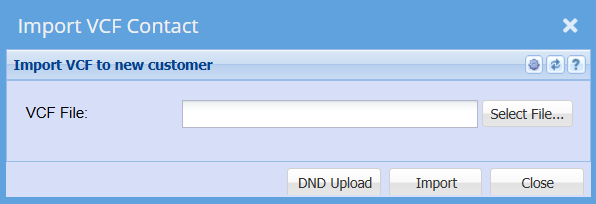
Import VCF to new customer
Import Linked Inventory

No Comments