Adding Build Kit To Documents
To add the build to documents involves the same process as adding items or template task
The advantage of using Build kits as opposed to using template tasks is that the quantity of the build can be amended
e.g Go to Debtors Module> Activity> Quotation
Create a new quote as normal. For more info on how to create a quotation click here
You will note there are 2 options returned:
- The stock item – which is the resultant BOM item
- And the Custom Item which is the build Kit item
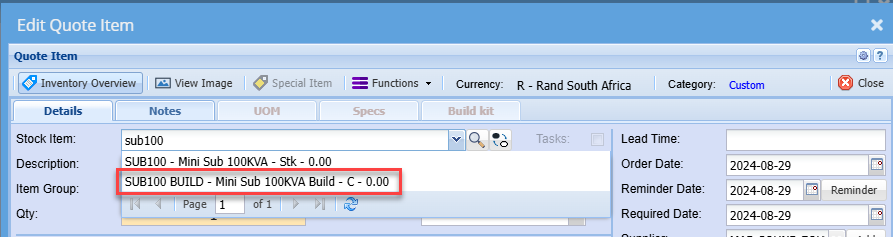
Since we intend to manufacture the item, we will use the Build item as this will return the default components required as per the BOM recipe.
We can then choose to edit, add or remove items

Once you have selected the build item, you will notice the Build Kit tab becomes active. This is because we have set this item as a Build Kit in the item setup.
Click the Build Kit Tab
The grid will be blank initially.
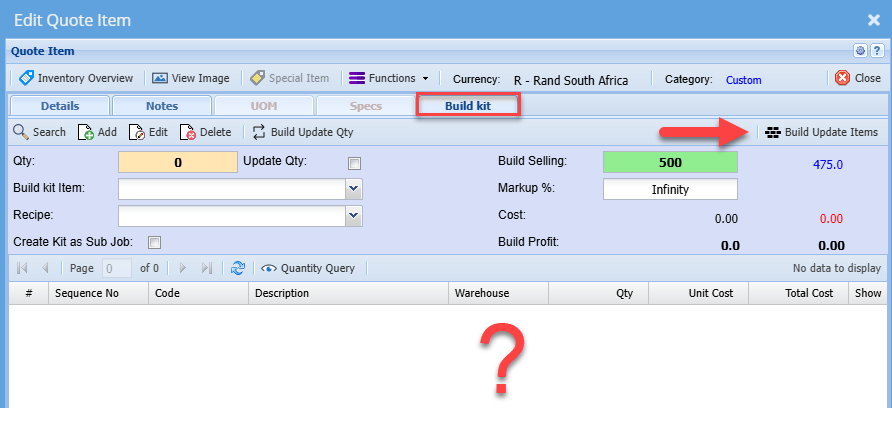
To populate the component items, click the Build update items button
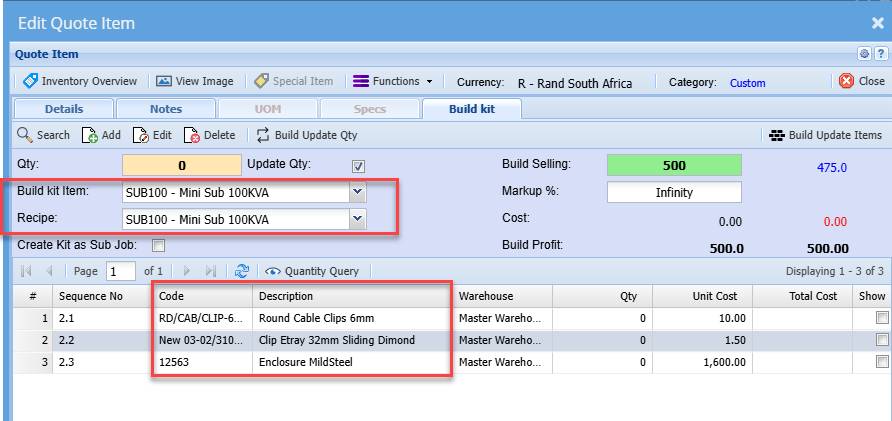
The items will then be displayed on the grid
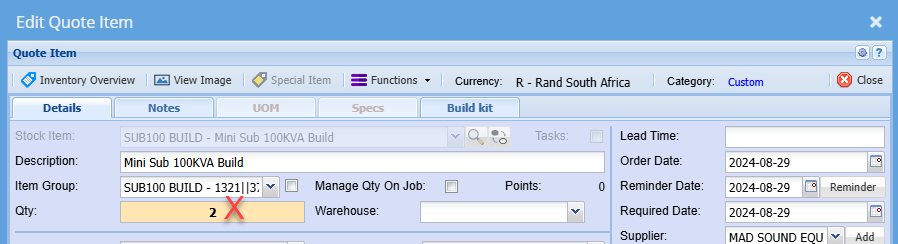
If you need to build more than 1 of these items, then you will need to change the quantity on this screen. This will automatically update the quantity on the detail tab screen. ( where you usually edit quantities)
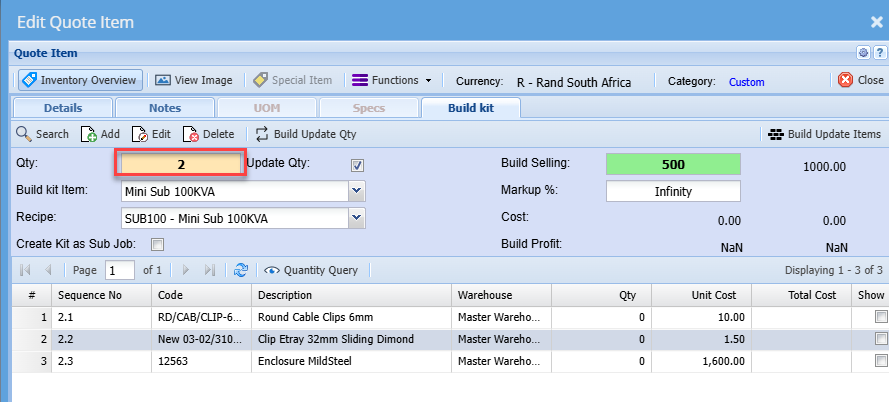
Do not change the quantity on the normal item line under the details tab as one would typically do with standard items, because that will not update the required quantity of the build and subsequently not update the respective quantities of the components required.
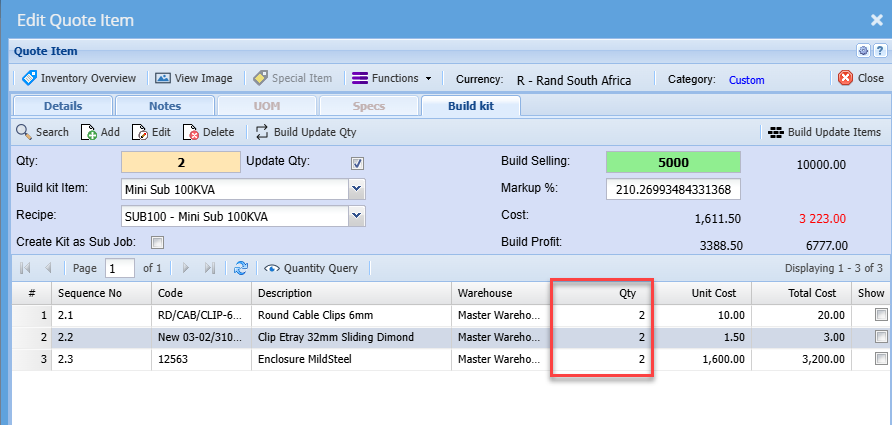
Once you have entered the required quantity of the item on the Build Kit tab, click the Build update Qty button
This will update the quantities of the component items required to manufacture the quantity specified of the resultant item (Build)
You will also note the selling and cost prices are updated accordingly
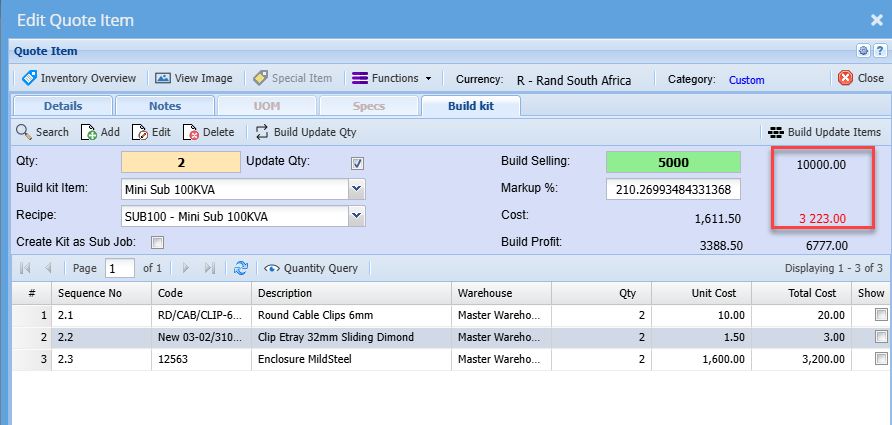
Click Save and Close
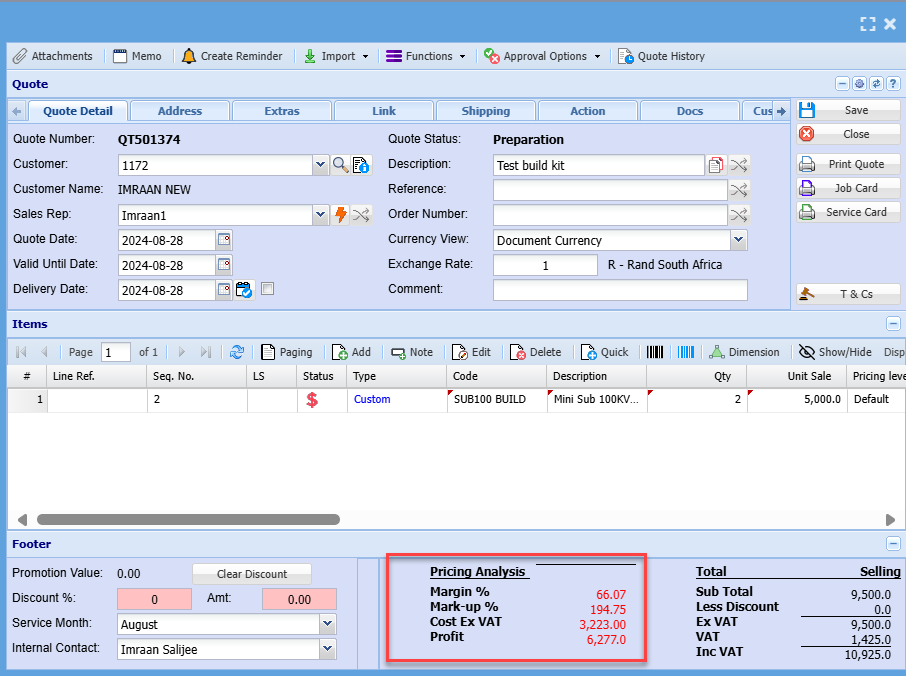
This will return you to the main screen, where you can see the costs, markups, etc. as normal.
Printing the Quote
There are 2 options to print the quote
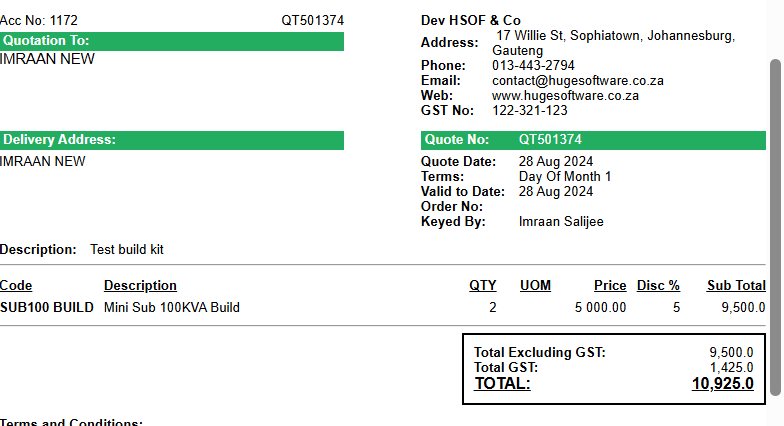
Option 1
- Displaying only a single line item for the build
- This option is used in instances where the client does not need to see the individual component
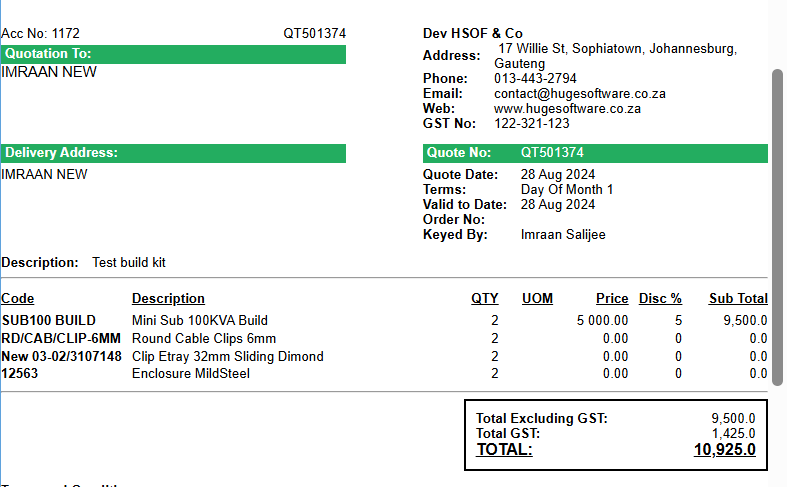
Option
Displaying all or part of the component items as well on the quote
This option displays the build item with full prices but also shows the component items used in the build
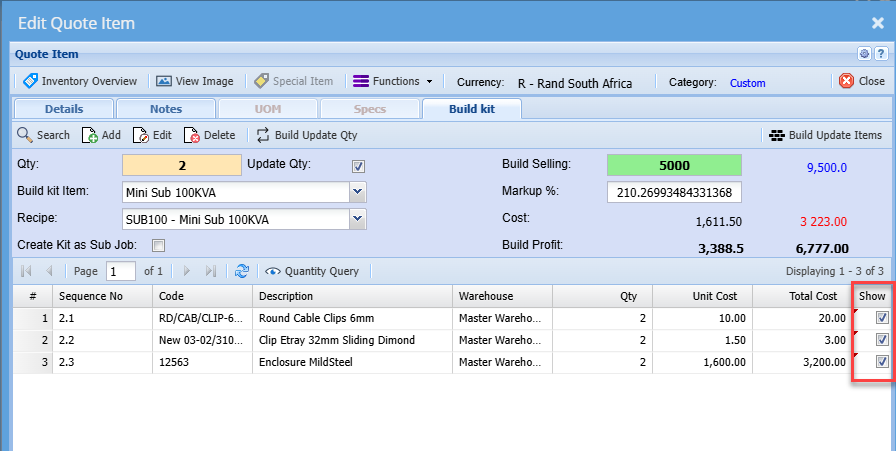
To print the quote using this option, you will need to indicate the items you wish to display on the quote.
To do this, edit the item line.
Click the Build Kit tab
Tick the box next to the items you wish to display on the quote
Save and close
When you print the quote, notice all the components selected will be displayed and the values of the individual components will be zero
You can now send the quote off to the client and upon approval, promote the quote to sales order or invoice or Job as normal.
No Comments