Debtor Functions Dropdown
Functions Dropdown
Debtors Module> Configuration> Debtor Setup> Functions Dropdown
This dropdown defines actions against a Debtor or Customer
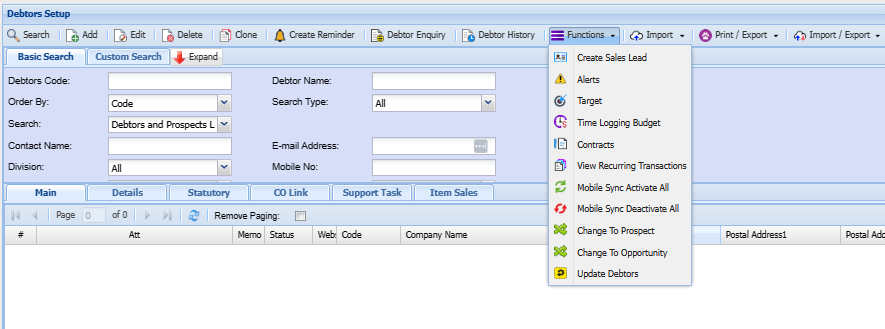
| Create Sales Lead | Allows you to easily create a sales lead from a debtor or customer screen if they want more business or services without having to recapture all information that already exisit within the system. |
| Alerts | |
| Target | Allows you to set monthly targets for the year |
| Time Logging Budget | Allows you to setup time logging budget |
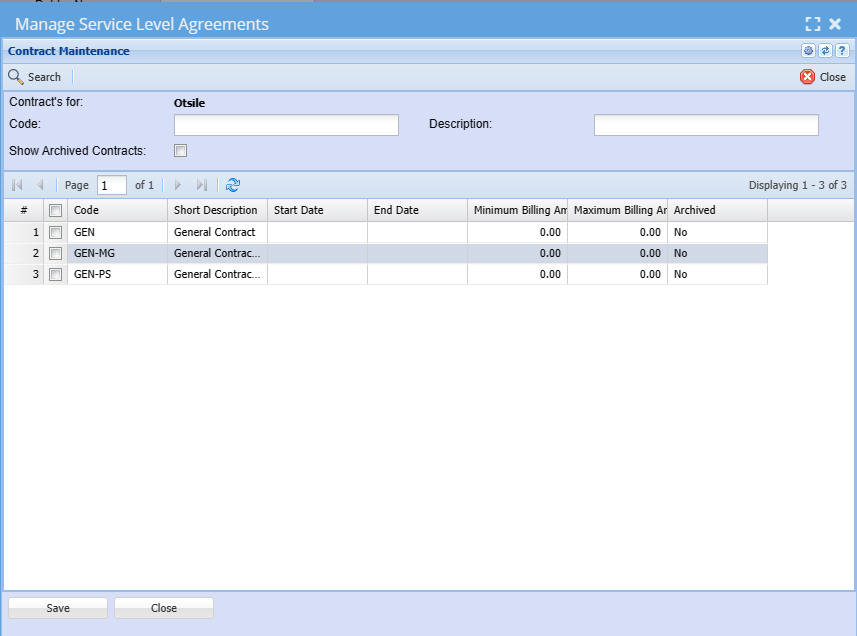
| Contracts | Allows you to view maintenance contracts |
| View Recurring Transactions | Allows you to set and view recurring transactions |
| Mobile Sync Activate All | Allows you to activate mobile sync on all debtors |
| Mobile Sync Deactivate All | Allows you to deactivate mobile sync on all debtors |
| Change to Prospect | Allows you to change a debtor/ customer to a prospect |
| Change to Opportunity | Allows you to change a debtor/ customer to an opportunity |
| Update Debtors |
Create Sales Lead
Sometimes your debtors or customers switch to sales leads when there is a change in their interest or want more business from you. The button helps with easily changing the debtor/ customer to a sales lead without having to recapture information that already exists within the system. Creating a sales lead also helps with marketing and sales efforts effectively to maximise revenue and maintain a well-organised debtor/ customer database.
When the sales lead button is selected from the functions dropdown the create sales lead screen will pop-up
You need to click yes to create a sales lead

When you click yes it will take you directly to the created sales Lead
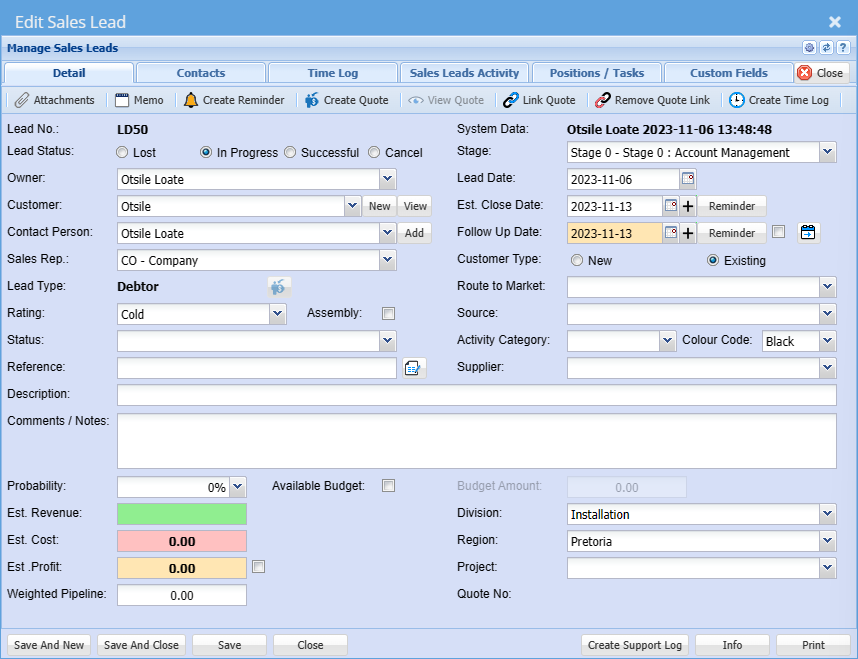
Should you want to capture other details on the sales lead screen go to Sales Lead Process
Alert
You can create alerts on the system that will notify you when a new client is added or client details are edited.
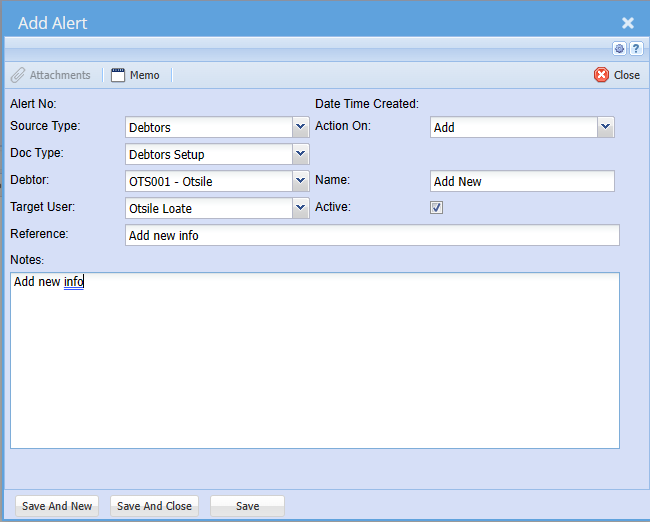
| Alert Number | After clicking save the alert number will be generated by the system |
| Source Type | Select a debtor/ customer type on the dropdown |
| Document Type |
Select document type on the dropdown This is where you indicate where you want the alert to be |
| Debtor | Select debtor/ customer on the dropdown |
| Target User | |
| Reference | A note that will assist you to recall what the alert |
| Notes | A detailed note to remind you why you put the alert |
| Date Time Created | Date and time will be generated by the system after you click save |
| Action On |
This is when should the system send you and alert. When adding or deleting something on the selected source and document type |
| Name | The name of the person adding the alert |
| Active | Put a tick on if alert is active and do not put tick if the alert is not active |
Targets
Managing debtor/ customer budgets within Huge ERP system is crucial for maintaining healthy cash flow, reducing the risk of bad debt and ensuring that the debtor/customer credit policies are consistently enforced. It allows you to strike a balance between extending credit to debtors/ customers and minimising financial risk.
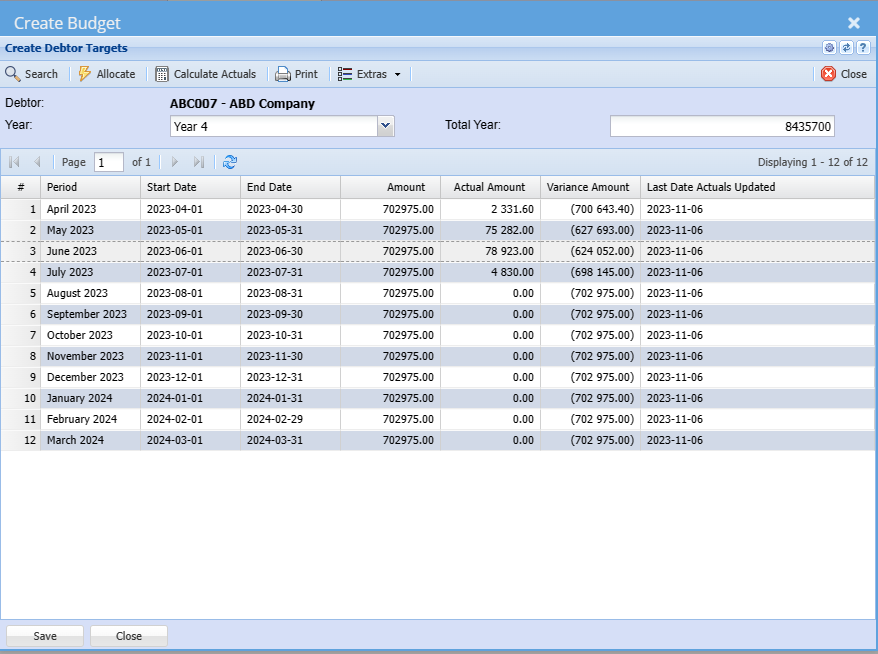
| Period | This reflects the month of budget |
| Start Date | The start date of the targeted budget |
| End Date | The end date of the targeted budget |
| Amount | The budgeted Amount |
| Actual Amount | The actual amount made in that period |
| Variance Amount | The budget amount minus the actual amount equals to variance amount (Difference between amount and actual amount) |
| Last Date Actuals Updated | This shows the last date the budget was updated. |
Time Logging Budget
Time log budgets within Huge ERP allow you to effectively manage time-related resources, control costs, and achieve operational excellence. Time logging budgets are designed to enhance your efficiency and profitability through smart time management.

| Description | Add a short heading describing the why you creating a time logging budget |
| Date From | Add the start date of the project |
| Date To | Add the end date of the project |
| Budget Qty | Add the budget amount agreed on with the debtor/ customer |
| Budget Value | Add budget value agreed on with the debtor/ customer |
| Adjustments | If there are any adjustments to the budget add them here |
| Adjustment Date | This is the date when the adjustments were made between the two parties |
| Incl Travel | Put a tick on if the budget amount or value includes travelling |
| Incl Toll Fees | Put a tick on if the budget amount or value includes Toll fees |
| Incl Disbursements | Put a tick on if the budget amount or value includes disbursements |
| Incl Non Bill Qty | Put a tick on if the budget amount or value includes Non-Bill Qty |
Contracts
View Recurring Transactions
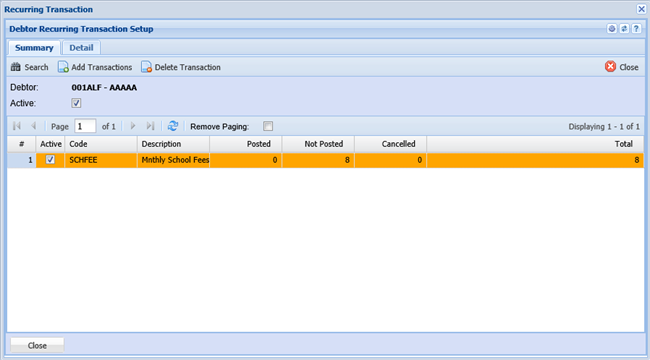
Debtors module> Configuration>Debtors Setup > View Recurring Transactions
This form when it opens lists all if any Recurring Transaction contracts that have been generated for this Debtor. The grid illustrates the Recurring Transaction Setup Code and Name as well as summary of the transactions for this Recurring Transaction Setup i.e. Posted transactions, Not Posted transaction, Cancelled transactions and the Total number of the transactions for this contract.
Insert clicking Insert will allow you to generate a range of transactions for this debtor based on criteria selected on the Insert form. Bear in mind all transaction generated from this action will have the status Recurring Transaction
Close closes this form.
Clicking on the Detail tab will list the following details of all the transactions for the selected contract.
Date for each transaction into the future.
Transaction Type
Status (Posted / Not Posted / Cancelled)
Processing Type (Automatic / Manual)
Document Number in the event of the transaction having been processed,
Description as it appears on the transaction i.e. Invoice Description
| View Transaction | Allows you to Edit (if not posted), View (if posted) the selected transaction |
| Change Status | When a range of invoices gets generated for a contract the Status of these invoices will be set to Recurring Transaction and cannot be posted with this status, therefore clicking this button will change the status to Preparation which the system can process. |
| Delete | Transactions with the status Recurring Transaction cannot be deleted from the normal grid view i.e. Invoice search grid, these transactions can only be deleted from this button. Clicking this button will result in this invoice being deleted and the status on this grid will be set to cancelled. |
Mobile Sync Activate All
Debtors module> Configuration> Extras
| Mobile Sync Allows | the activation of the mobile display of this item on the Webatar app. |
.png)
Mobile Sync Deactivate All
Debtors module> Configuration> Extras
| Mobile Sync Allows | the deactivation of the mobile display of this item on the Webatar app. |

Change to Prospect
Change To Opportunity
Debtors module> Configuration> Extras
Allows the debtor selected to be changed from debtor to Opportunity.
.png)
Update Debtors
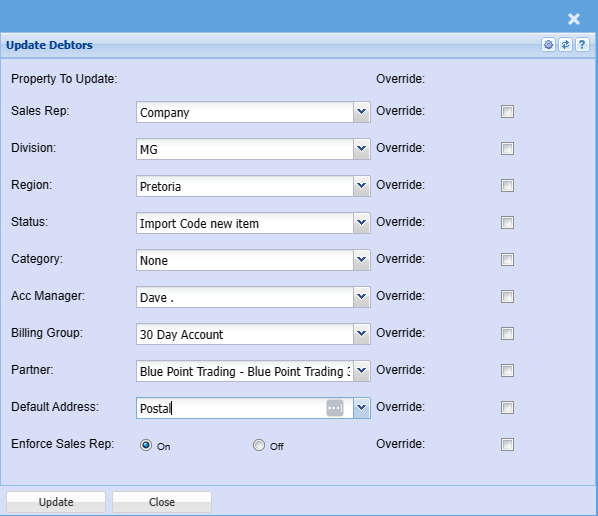
| Sales Rep |
To update a sales Rep to a new Sales Rep. Select the sales rep you want to update on the dropdown |
| Division | Select the Division you want to update on the dropdown |
| Region | Select the region you want to update on the dropdown |
| Status | Select the status update on the dropdown |
| Category | Select the category update on the dropdown |
| Acc Manager | Select the account manager update on the dropdown |
| Billing Group | Select the billing group update on the dropdown |
| Partner | Select the partner update on the dropdown |
| Default Address | Select the default address on the dropdown |
| Enforce Sales Rep | Select Yes to enforce sales rep or select No if you don't want to enforce sales rep |
| Override | Put a tick on override if you want to override a selection made on the dropdown |