Inventory Item Search
Inventory > Configuration > Inventory Setup
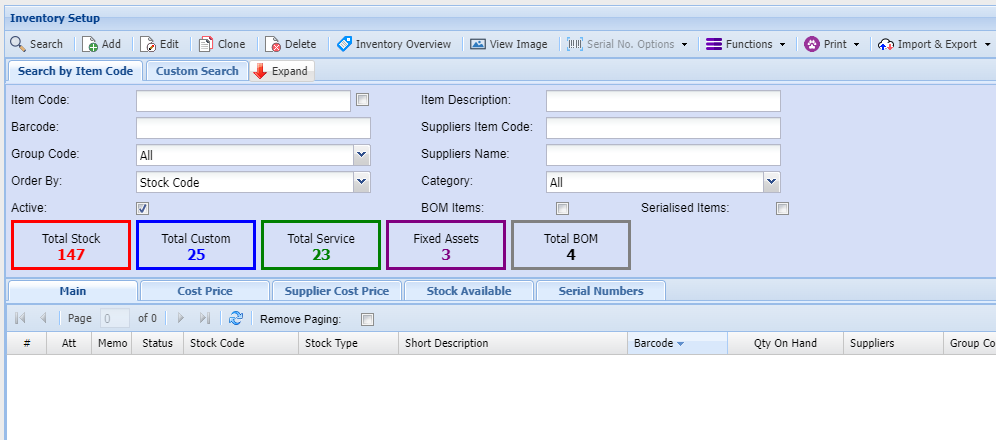
In Inventory setup search, you will see two search tabs
| Basic Search tab | |
| Custom Search tab |
Note: If you leave the fields blank it will bring back all Inventory codes which will be sorted in inventory code order alphabetically.
If you click on the column heads they will sort A-Z or Z-A.
| Search Button | |
| Add Button | |
| Edit Button | |
| Clone | |
| Delete Button | |
| Inventory Overview button | |
| View Image | Displays an image of the item if one was uploaded |
| Functions drop down | |
| Print Drop down | Allows you to print or export details of the items displayed in the grid based on search criteria selected. |
| Import & Export |
Search options
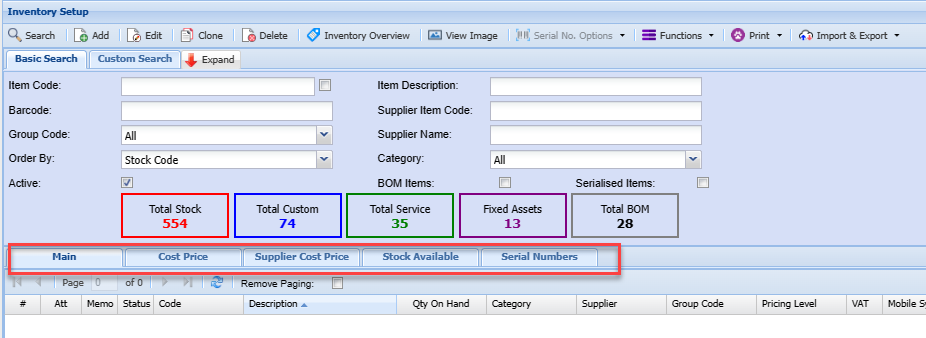
Enter any of the fields, such as the item code or part of the item description to limit your search to a specific item or range of items.
| Main tab | Displays basic information of the item within the grid |
| Cost Price tab | |
| Supplier Cost Price tab | |
| Stock Available tab | |
| Serial Number tab |
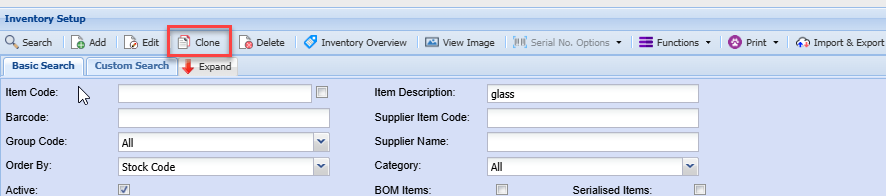
Inventory Clone
The clone feature allows one to create a new inventory item that is similar to an existing item without having to capture all the same details, such as group codes, additional properties, etc.
This feature is a quick and convenient way to add a new item to the system.

Inventory Overview Button
This is where one can view movement’s summary of the selected inventory code.
.png)
This is where one can view movement of an inventory code.
| Main Detail tab | |
| Movement tab | |
| Document Analysis tab | |
| Load Totals | Loads the item information on the main details tab |
| Branch tab | |
| Group Code | |
| WIP- Work in Progress |
.png)
Stock Available
Displays the stock availability information
.png)
View Image
Inventory Image
.png)
A window allowing the user to view an image of the inventory item provided an image has been loaded.
On the left of the panel is a grid displaying all the attachments that have been uploaded for this stock item.
If the Primary Image is set up on the inventory item then that item will be displayed in bold blue in the grid.
By clicking in the icon in the View column the user can view the attachment.
Add To Document
This functionality allows the user to add all or selected attachments to the original document i.e. Quote, Invoice.
Either click the check box in the column header above the check boxes to Select All or Unselect All attachments.
Alternately specific attachments can be selected by clicking the specific attachment’s check box.
Once the selection has been made click the Add To Document button and the selected attachments will be
added as attachments to the original document, i.e. Quote, Invoice
Email Self
In the event of the Email Self button being disabled this will be as a result of the logged in user not having
an email address entered in the user setup detail.
Once the selection of attachments has been completed same method as in Add To Document above click
on the Email Self button and the selected attachments will be emailed to the email address as setup for the
login user in Huge ERP.
Click the Close button to close this window.
Please Note:
To load an image of an inventory item, go to Inventory Module -> Configuration -> Inventory Setup.
Enter and search for the desired inventory item. Edit the item, go to attachments and upload an image file (typically a JPG file).
Select the image name in the Primary Image drop down and click on Save.
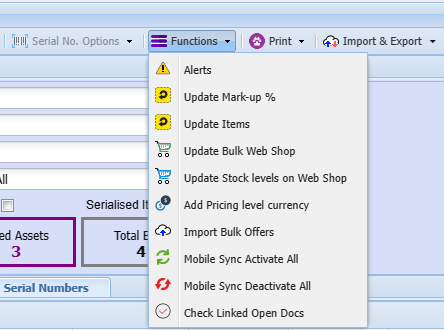
Functions Dropdown
Functions for inventory setup
Update Mark-up %
Inventory> Configuration> Inventory Setup
Update Mark-up button: Updates the mark-up of the selected Inventory Item.
.png)
Update Mark up Percentage Help
| Group Codes | Filter the update of the percentage mark up by a selected Group Code or All Group Codes. |
| Price Levels | Filter the update of the percentage mark up by a selected Price Level. |
| New Percentage | Enter the new percentage value. |
Click Update to perform the Mark up Percentage change.
Click Close to exit the window without performing the update.