Webatar security
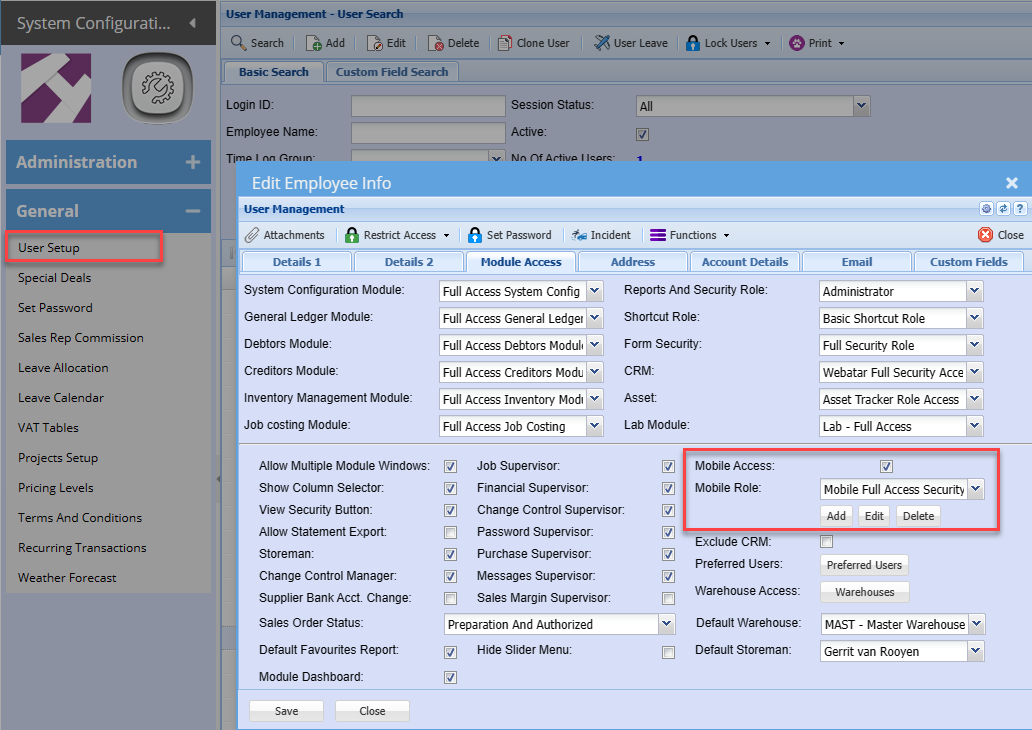
To allow Webatar business application to work, the user has to be activated on the main system
This setting is controlled in Huge ERP security in the user setup menu.
System Configuration Module > General > User Setup > Edit User > Module Access tab
Put the tick on for Mobile access - this will check if you have enough licenses
Mobile role - set the role for the user
Mobile Menus
Setup what access the user will have to various menu items
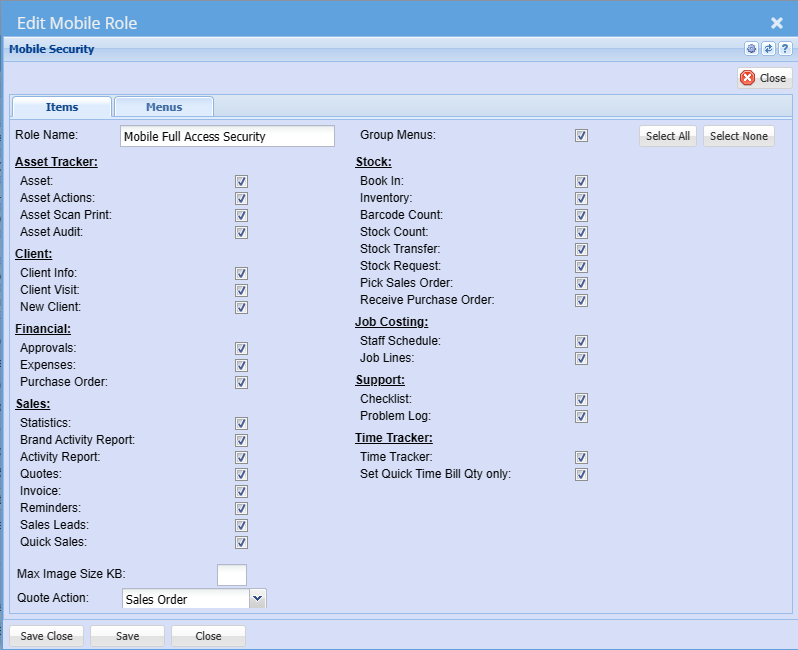
| Role Name | Enter a role name |
| Group Menus | This is discontinued, user can group or ungroup on the app |
| Asset Tracker Group | |
| Asset | Allows you to search for Assets and view information on the asset |
| Asset Actions | Allows you to setup the various actions that can occur against an Asset for Asset item |
| Asset Scan Print | The system will automatically print the label of information of that asset |
| Asset Audit | Create a Standard audit or blind audit |
| Client Group | |
| Client Info | |
| Client Visit | Client visit allows you to capture the following for a |
| New Client |
Add a |
Additional security
Setup additional security per menu item
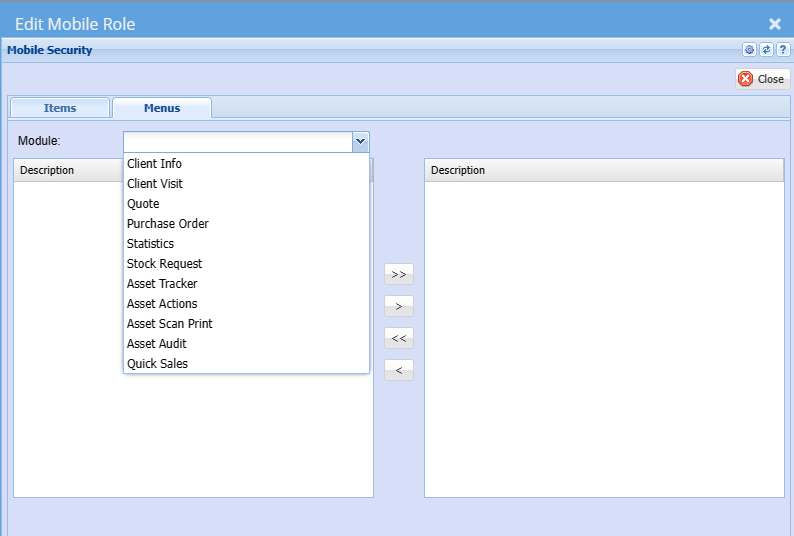
| Client Info | |
| Client Visit | |
| Quote | |
| Purchase Order | |
| Statistics | |
| Stock Request | |
| Asset Tracker | |
| Asset Actions | |
| Asset Scan Print | |
| Asset Audit | |
| Quick Sales |
Setup the warehouse access and the preferred users
.png)
Warehouse access
Set the warehouse access for the user
View only selected warehouse tick box if you only want to view selected warehouses.
Unticked allows user to see all warehouses
.png)
Preferred users
Set the default user
This is used to send notifications to the user that a quote is ordered
.png)