First time installation
Setup of Webatar Mobile app
Video training manual 2023 - 01-Webatar_app_setup.mp4
(Old Video training manual 2019 - Click Here )
After you have installed the app from the Play store or App store.
Add new profile
Go into Appapp to create a new Profile
Click on Add (+) to create a new profile
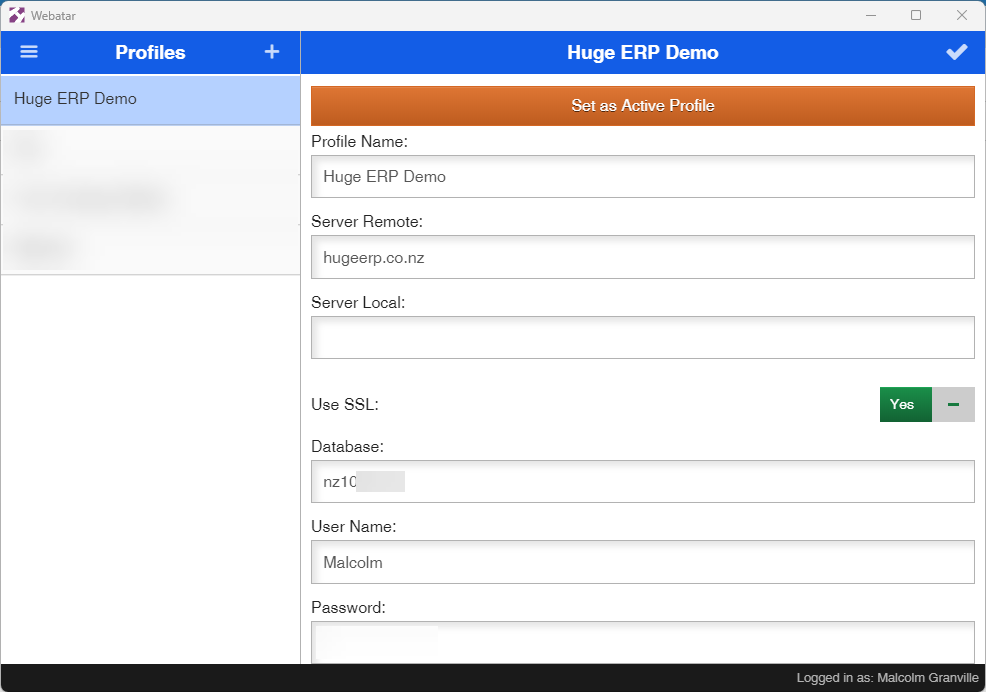
Enter the basic information for your company
Click on Tick to save changes
| Profile Name | Your company name |
| Server Remote |
The server where your data resides This information is given |
| Server Local |
The local area network if you have a local server setup
|
| Use SSL | This must be on Yes |
| Database | The database number |
| User Name |
Your user name to access the system This is |
| Password |
Your password to access the system This is |
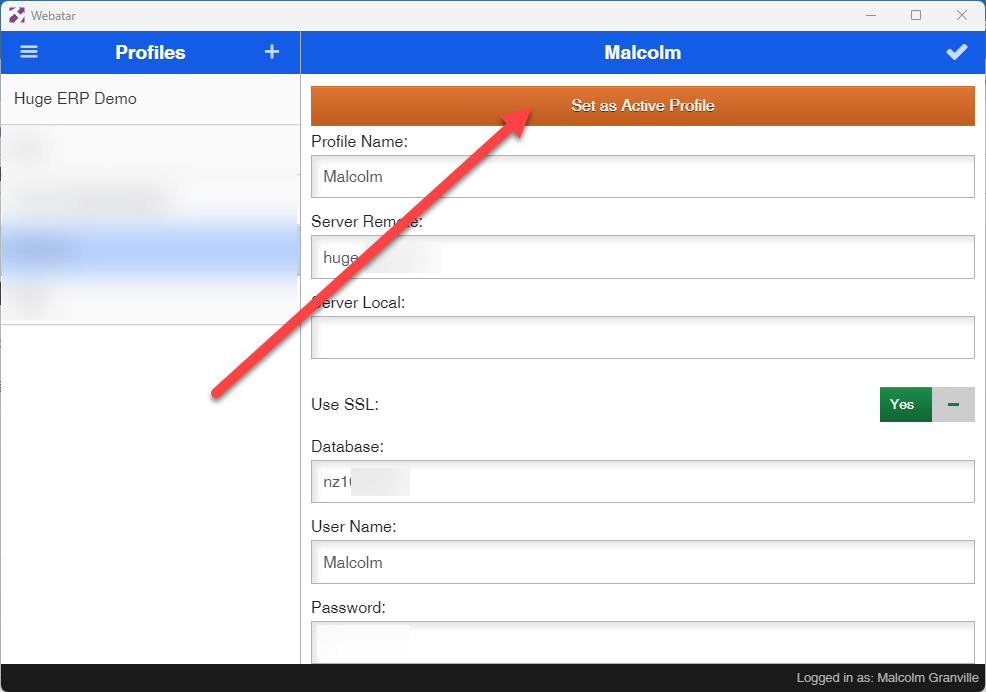
Set Active profile
Once all the basic information has been inputted, click on the tick to save all changes.
Set the profile to be the active profile by clicking on the orange button called Set as Active Profile
Force close app
Force close the app, watch the videos on how to do this for IOS and Android
Android close app
Click here to watch how to close app on Android
IOS close app
Click here to watch how to close app on IOS phone or tablet
Reopen App
Find the icon for the app and click to open
Sync the app to the server to update
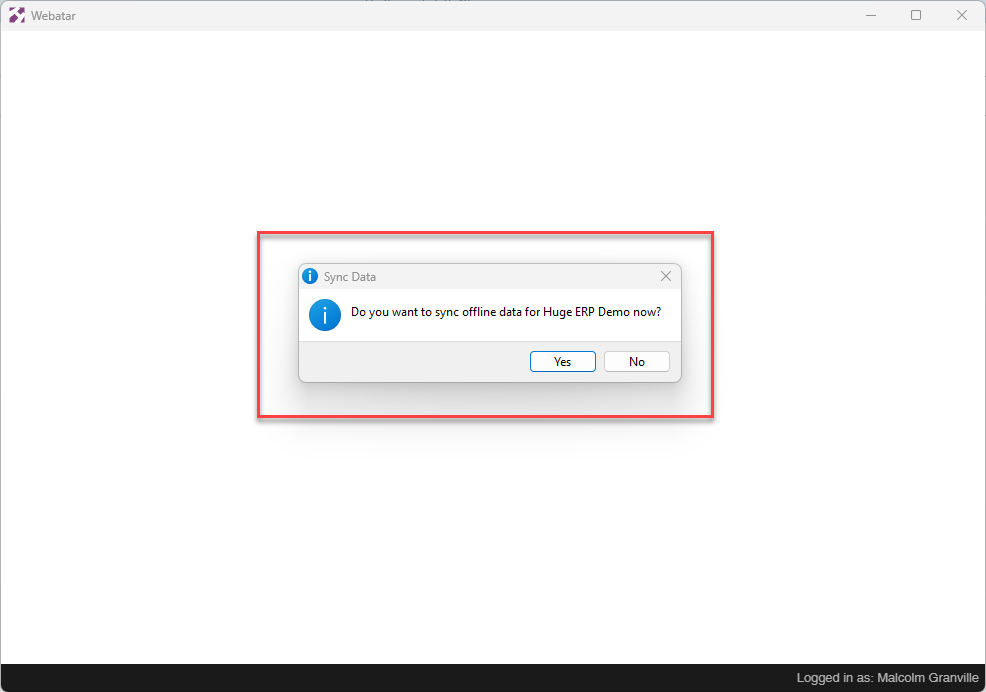
If your app is configured correctly, you should see today's date when you sync