Stock level Adjustment In And Out
After working through this manual you should be able to do a stock level adjustment to convert paper reams into paper sheets.
Open the Inventory module.
Click on activity and then stock level adjustment.
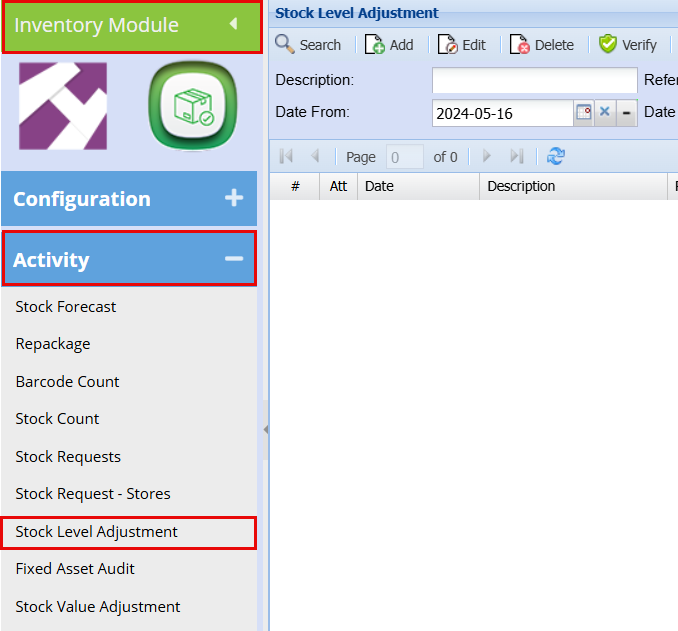
This will open up the stock level adjustment screen. From here you can search for all existing stock level adjustments or create a new one. To create a new stock level adjustment click on Add.
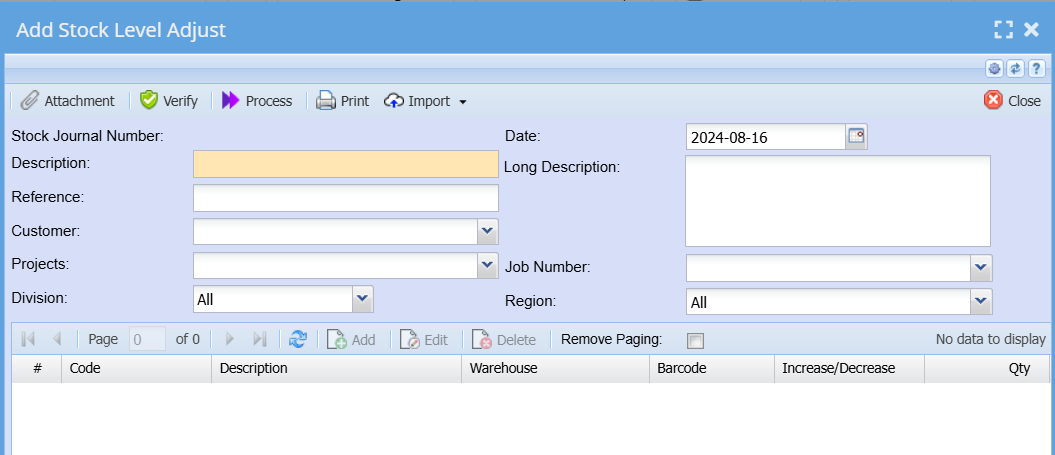
| Description | A description for the specific stock level adjustment. |
| Reference | A reference for this specific stock level adjustment. An example could be “Convert paper reams to paper sheets” |
| Date | This should be the date on which the stock level adjustment is done. |
| Long Description | This is an optional field and does not have to be completed. |
| Job No | Search for the job number if this stock level adjustment is for a specific job. |
Once all the fields have been completed click on save.
Notice that the greyed-out buttons (Add, Edit, Delete) in the middle of the screen now opens up. To add an item
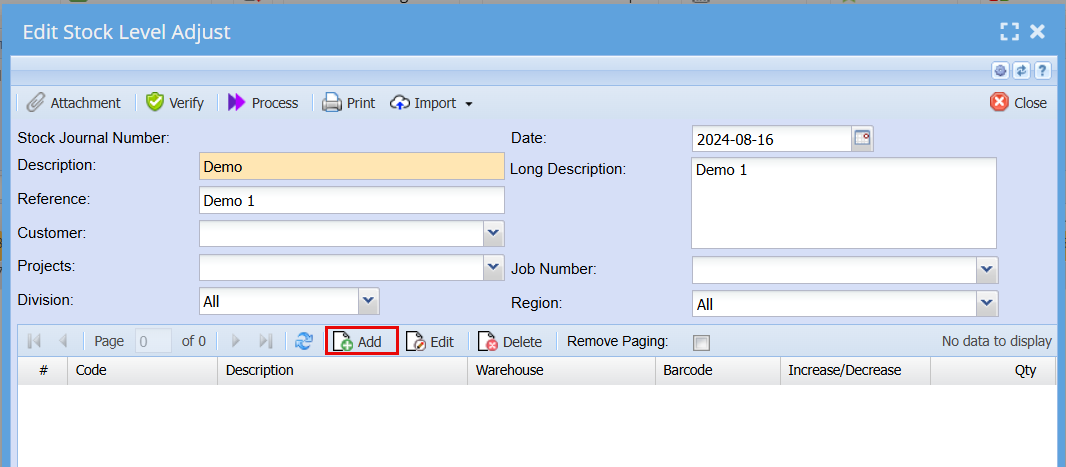
to the stock level adjustment click on Add.
This will open the stock level adjustment.
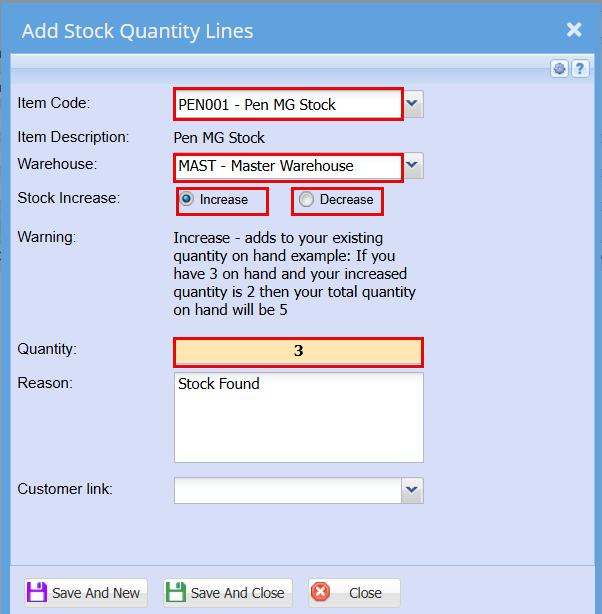
| Item Code | Search for the item by description or code. In this case we want to decrease the paper reams and increase the paper sheets so for the first one selects paper reams. |
| Warehouse | Select Master Warehouse. |
| Increase/Decrease | Select decrease for paper reams. |
| Quantity | Type the number of paper reams to be decreased. |
| Reason | Convert paper reams into paper sheets. |
Here you can adjustment one or more items at the same time.
Click save and close or close when you are done.
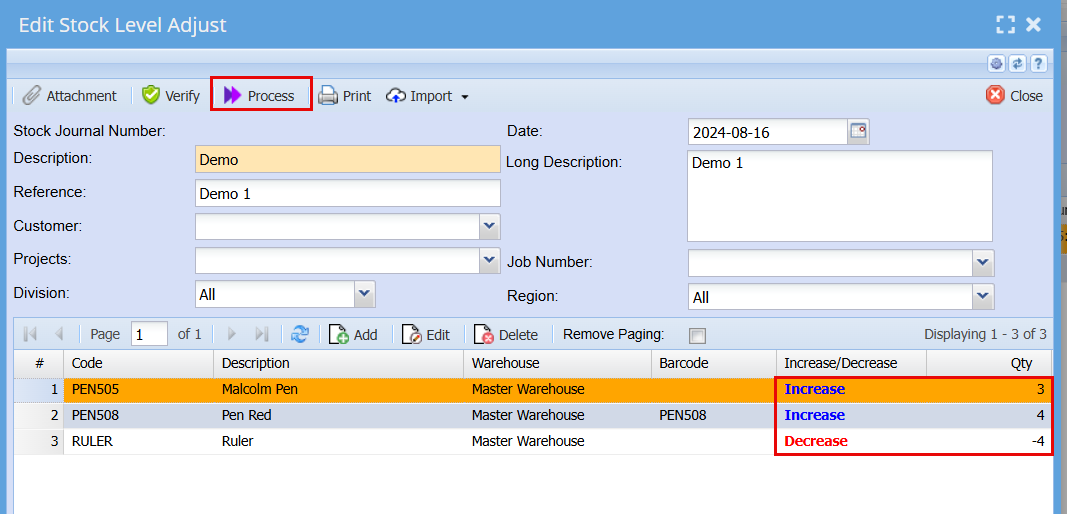
This will take you back to the stock level adjustment screen will be able to see all your adjustments on individual itema.
When you are happy with your list, click process at the top of your page.
A processing screen will pop up, click Refresh status and then close.

This completes your stock level adjustment