Basic: Add Quotation
Detail Tab
Debtors Module> Activity> Quotation
The quotes screen will open
To search for existing quotations, select your search criteria and click search
Search criteria can be quote description, order number, customer name, etc
Select a date range
To create a new quotation, Click the Add Button as shown below

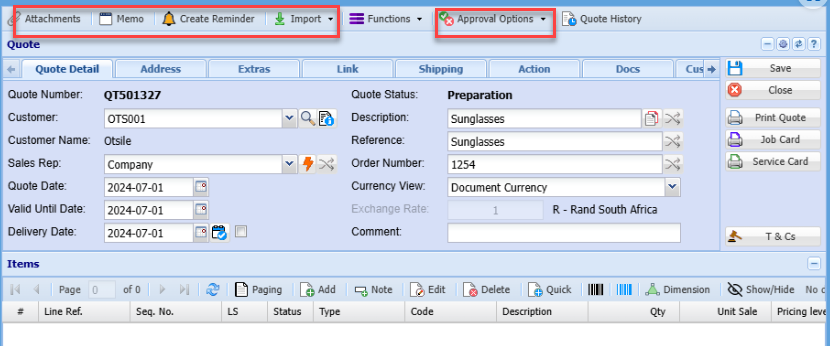
This will display the New Quote screen
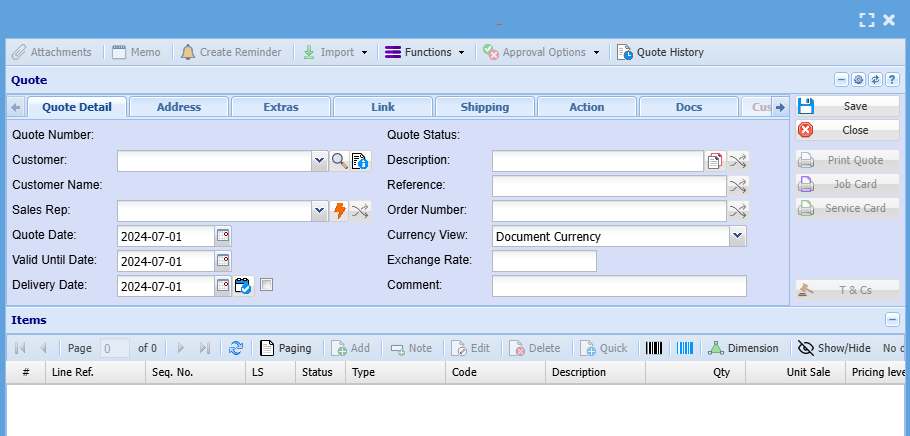
Add information below so that the greyed-out buttons can appear:be activated:
- Select the customer/ debtor you are creating a quotation for, from the drop-down menu.
- Select the sales rep on the drop-down selection, if applicable
- Update dates if necessary
- Add description and reference
- Add order number, if applicable
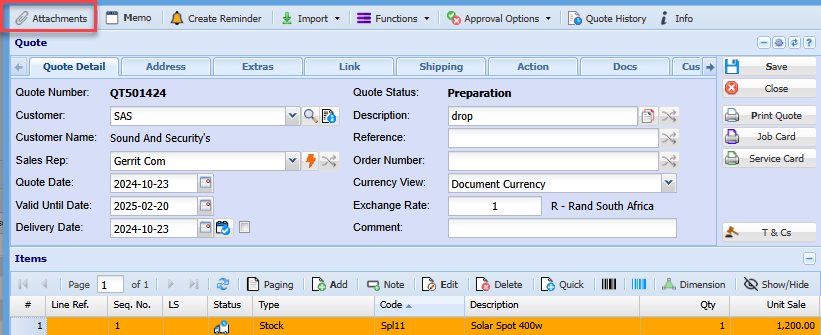
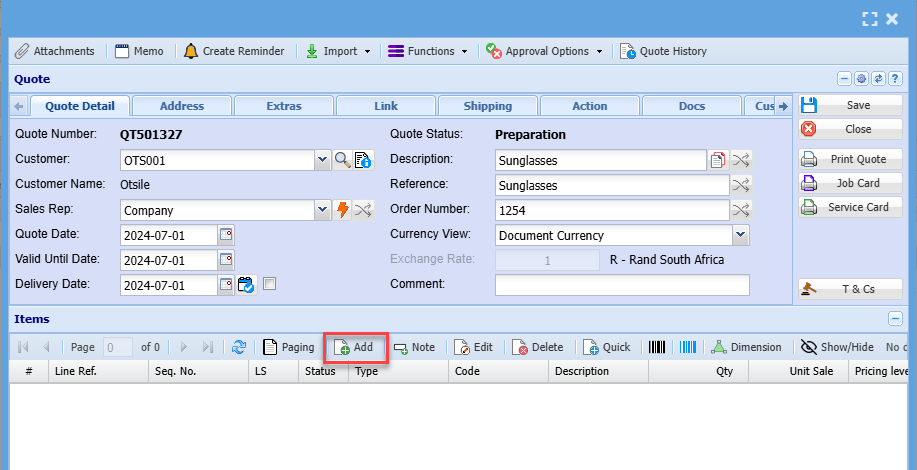
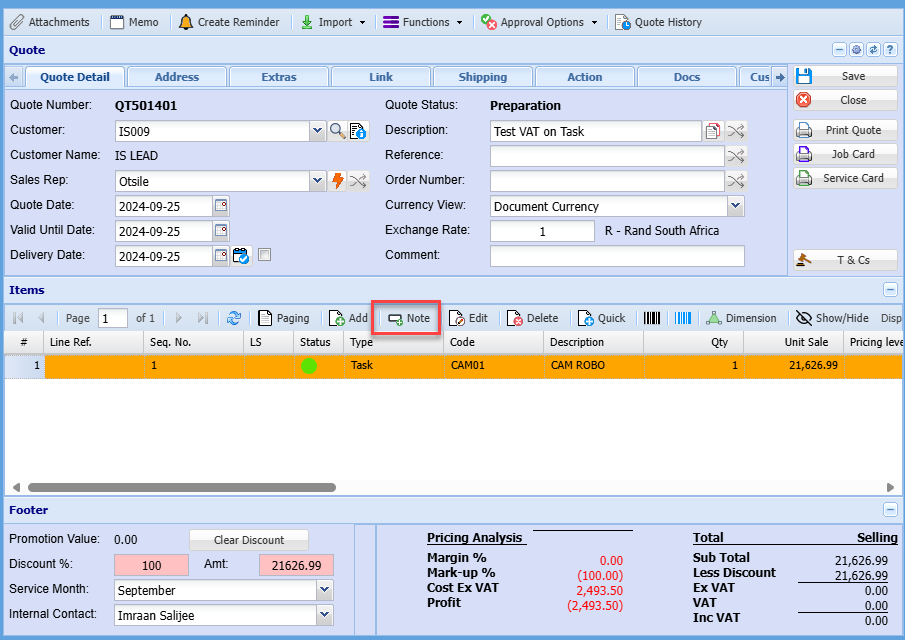
Then, once you are done adding all relevant information click Save and all the greyed-out buttons will be active as shown below:
Address Tab
Click the Address Tab to check if address details are correct
You can edit the address if necessary
Note: if details are edited on the quote, this will only apply to the specific quote and not update the debtor setup unless the debtor setup is access and updated as well.

On the address tab you can also select the respective contact person and check if their details, such as contact number and email address are correct

Once all the necessary quote header details have been loaded click the Save button.
This will activate the Add button in the centre of the page
Line Items
You can only add a line item after adding all the necessary information needed on the quote detail tab and all greyed buttons have been greyed out
To add line items click on the middle Add Button shown below
Then the screen below will appear
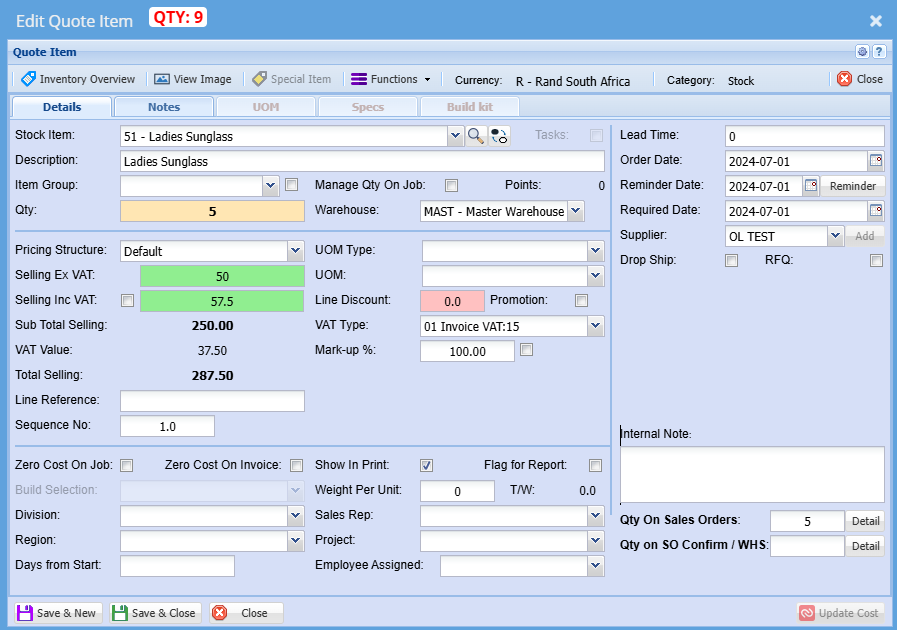
Select the item you want to quote on the drop-down selection
You can also search for the item by usingtyping part of the item code or thedescription.
Once the itemoptions youappear, wish to quote the customer on
You can change the description to match what you want to seeclick on the quoterelevant oritem leave it as it isoption
Enter the quantity you are quoting the customer/ debtor on
Make sure pricing is correct
Select a relevant warehouse if you have multiple warehouses
Select the correct VAT Type
Click Save & CloseNew if capturing numerous line items
Click Save & Close if capturing a single line item
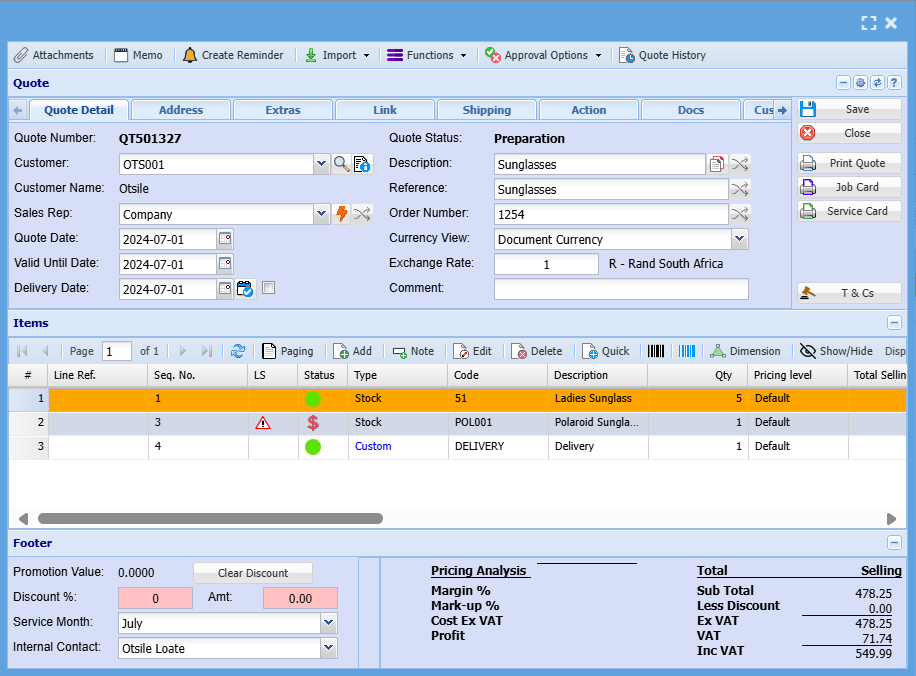
Once done
All line items will appear on the grid below:
You
| Paging | If you have more than the |
| Add | Enables user to
|
| Note | Allows the user to add a |
| Edit | Enables the user to edit an item lines added to the quote |
| Delete | Deletes and removes a selected item line from the quote |
| Quick | Enables the user to select items to be added to the quote quickly without entering item code or descriptions, but by using the Brand make model search options |
Note Button
a
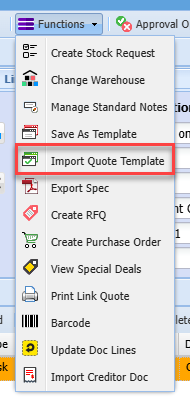
Functionsnote Dropthat Down
you 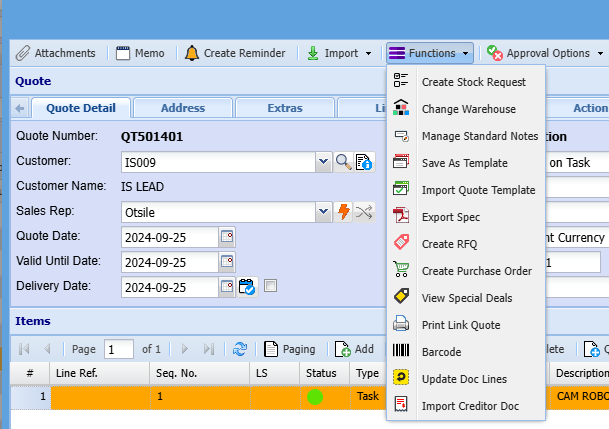
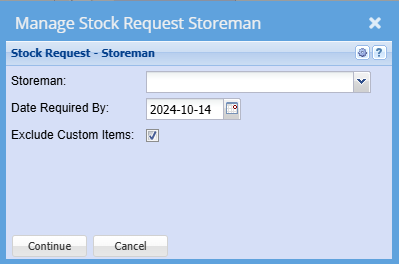
Createto Stockdisplay Request
on 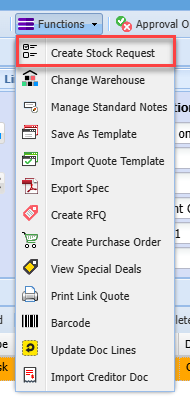
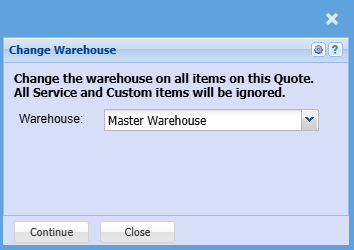
Change Warehouse
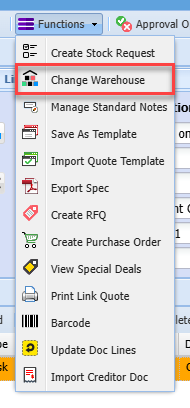
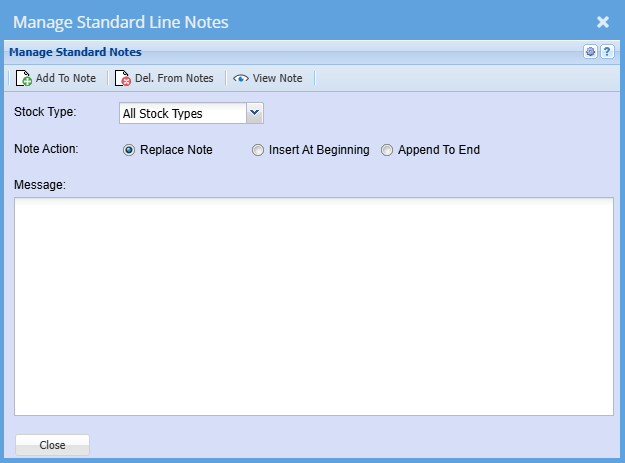
Manage Standard Notes
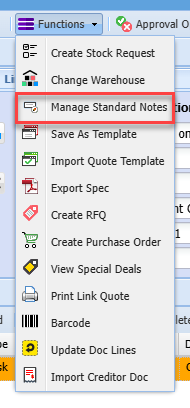
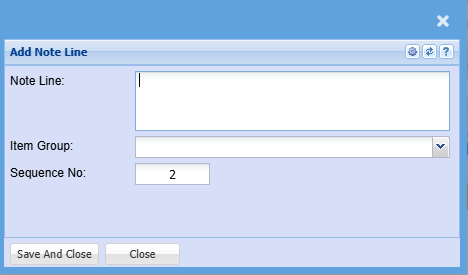
This window allowsSend the userquote tofor addInternal aapproval specificif Notenecessary. toAlternatively, eachclick line on a Quote.print
The Stock Type drop downquote will allowprint to screen. check all r=details and if satisfied, you can then email the user to specify All linesclient or lines ofprint a selected inventory type e.g. Stock, Service etc.
The Note Action radio buttons allows the user to modify the note to a limited extent by either replacing the whole note, inserting a new note in front of the existing note and keeping the existing note or adding a new note to the end of an existing note.
Click the Add To Note button to add the Note to the lines subject to the previous two selections.
Once the note has been added and also based on the selection of the Stock Type drop down the user can view the resulting note by clicking on the View Note button.
By clicking on the Delete Notes button and subject to the selection of the Stock Type drop down the notes can be removed from the quote lines.
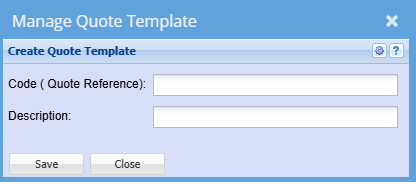
Save As Template

It allows a user to create a quote template by filling in the Code and Description.
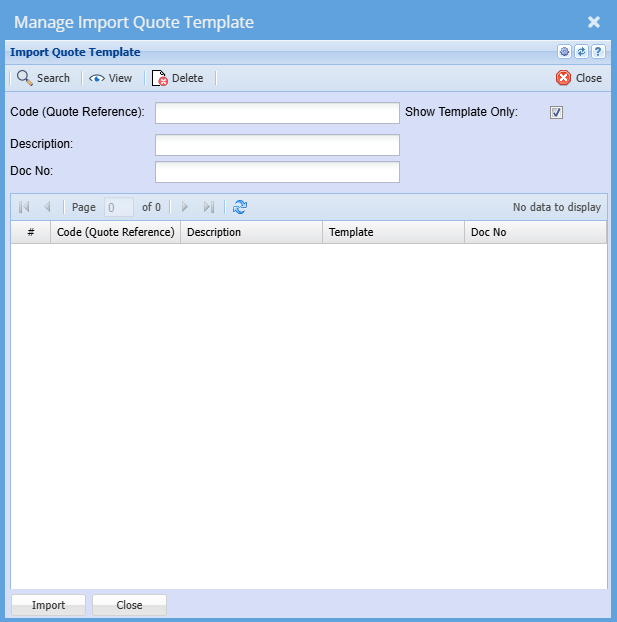
Import Quote Template
This allows a user to import ahard copy of a quote that was previously saved as a Quote Template.
Code – enter the code of the quote template and then click on the Search button.
Description – enter the description of the quote template and then click on the Search button.
If Code and Description are left blank, the system search will retrieve all quote templates.
Once the desired template has been located select that template and either click on the Import button or double click on the grid line.
Export Spec
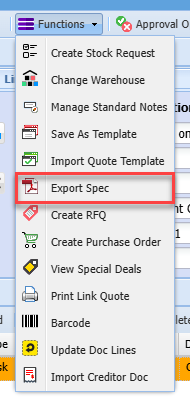
If there were any specification captured, these will be exported
Create RFQ
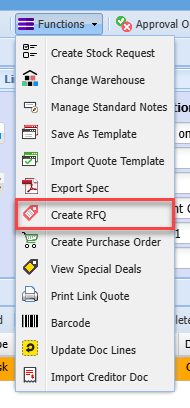
Allows one to create Requests for quotes (RFQ) from your suppliers for the items on the selected quote
Create Purchase Order
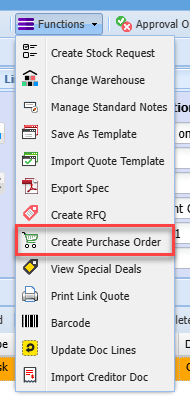
Creates a purchase order automatically to be sent to your supplier(s) for items on the quote.
The default supplier as per the item setup will be used, unless edited/ updated on the PO create.
View Special Deals
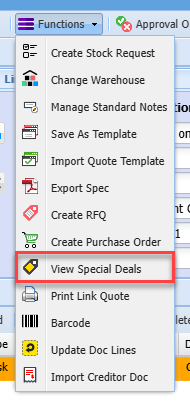
Displays a list of Specials or Deals that have been setup on the system.

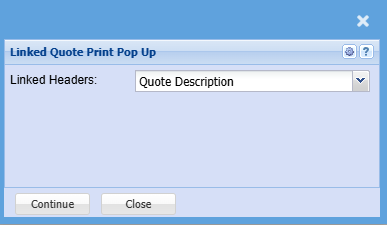
Print Link Quote
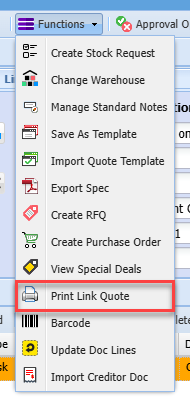
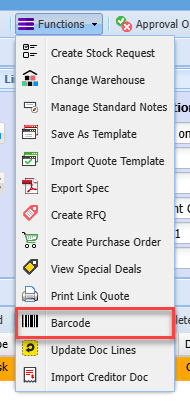
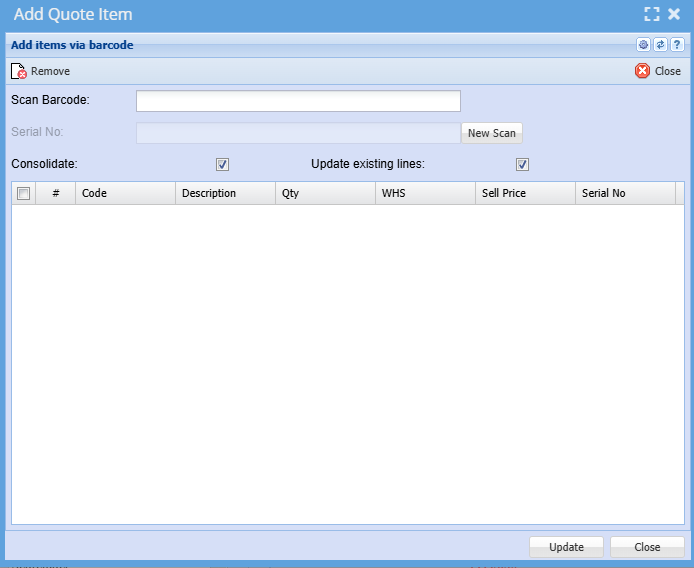
Barcode
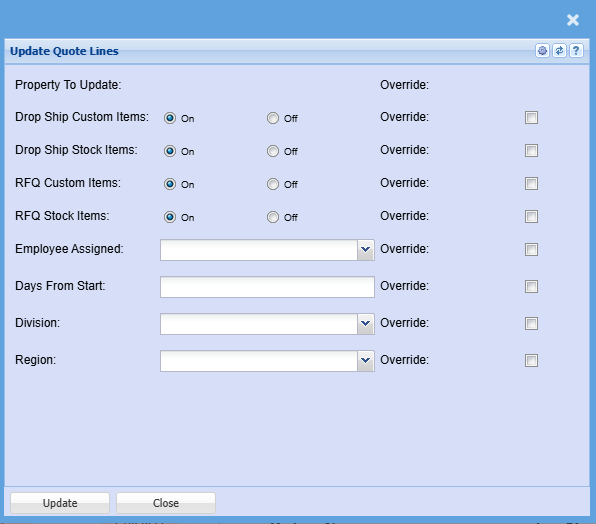
Update Doc Lines
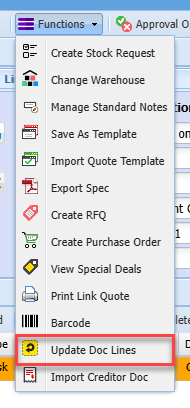
Allows the user to update certain fields on quote lines. in the event that there are multiple item lines on the quote, this option saves the user from having to edit each line individually.
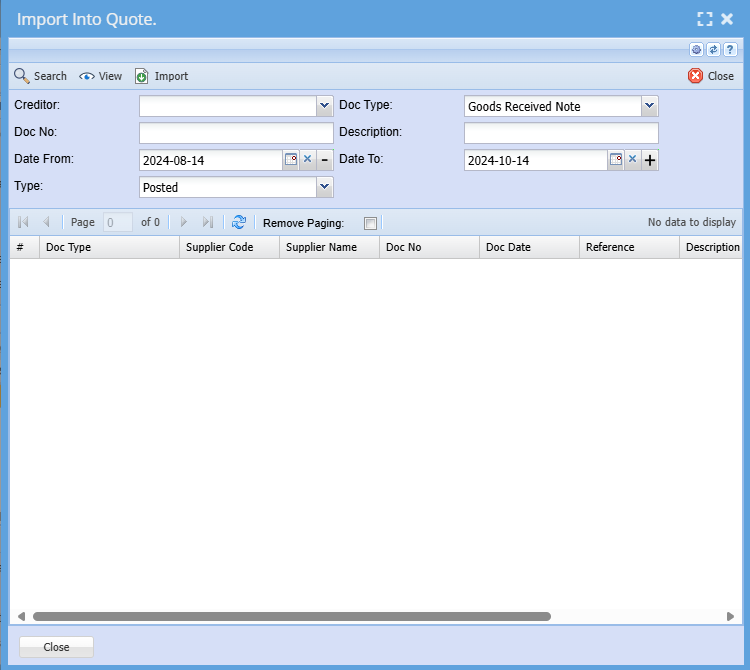
Import Creditor Doc
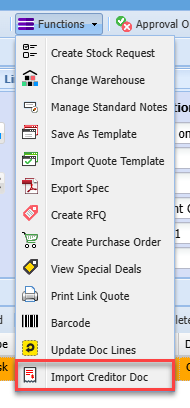
This option allows the user to import a creditors document such as Purchase order or Goods received Note (GRV) into a quote
Info Button
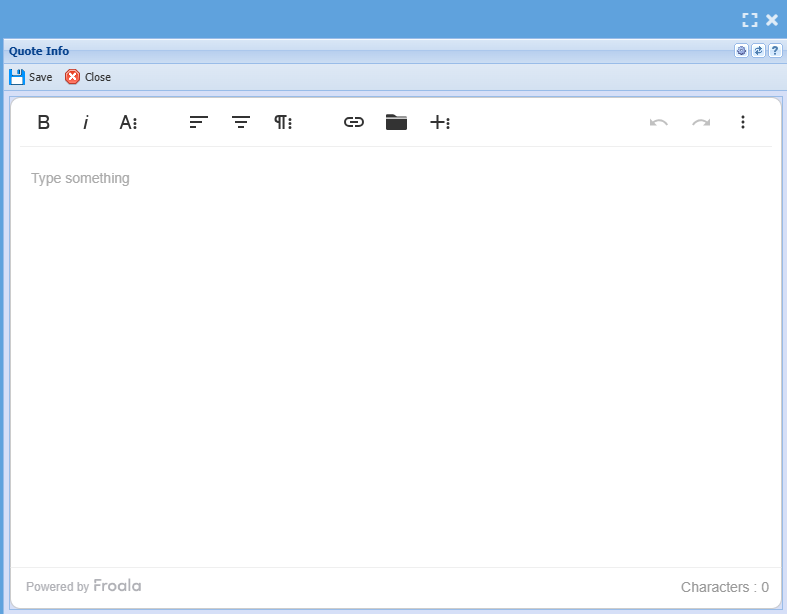
The screen allows for any additional info to be captured against the quote
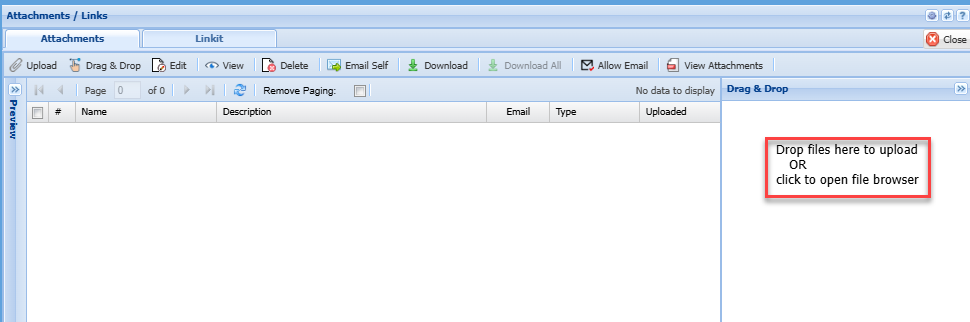
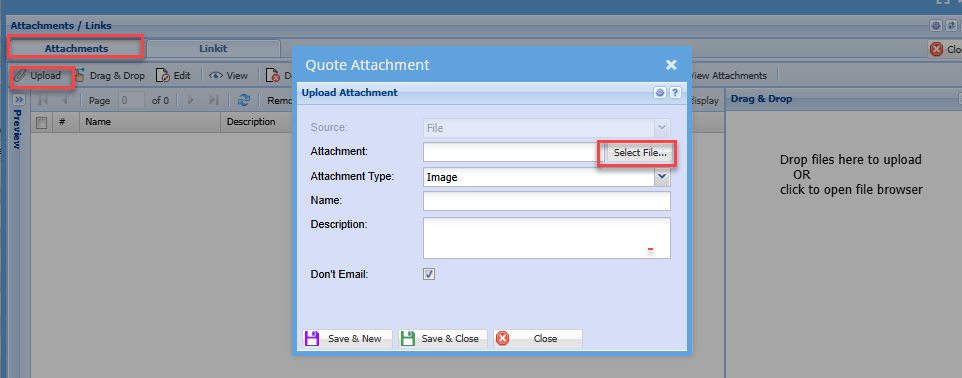
Attachments
Should you wish to attach any additional information such as drawings, specifications, workings, you can attach the document to the quote
Click the Attachment Button
Either drag and drop from a folder on your computer
or search the file and upload