Add Debtors Cashbook
Adding a Cash Book
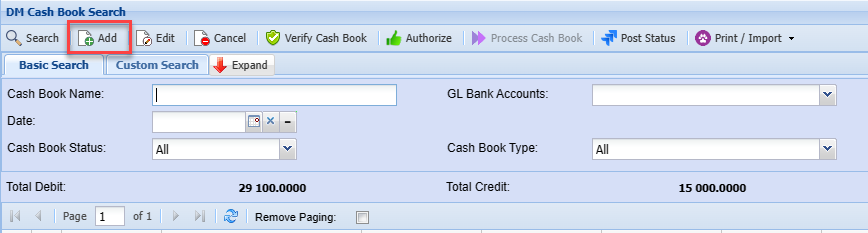
Go to Debtors Module> Activity> Debtor Cash Book
Click Add to create a new debtor Cash Book
Once complete, capture the details below:
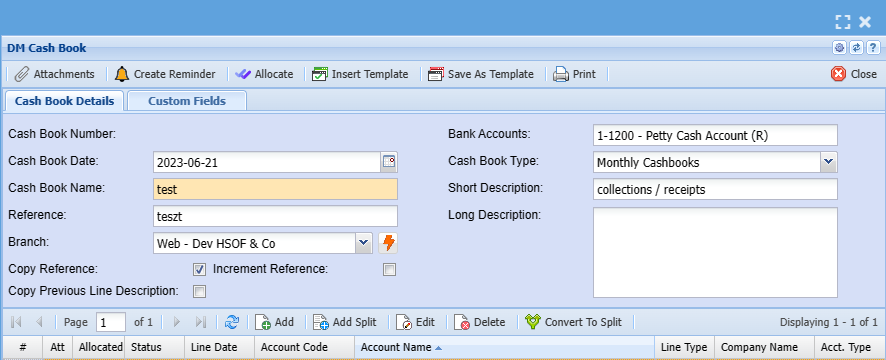
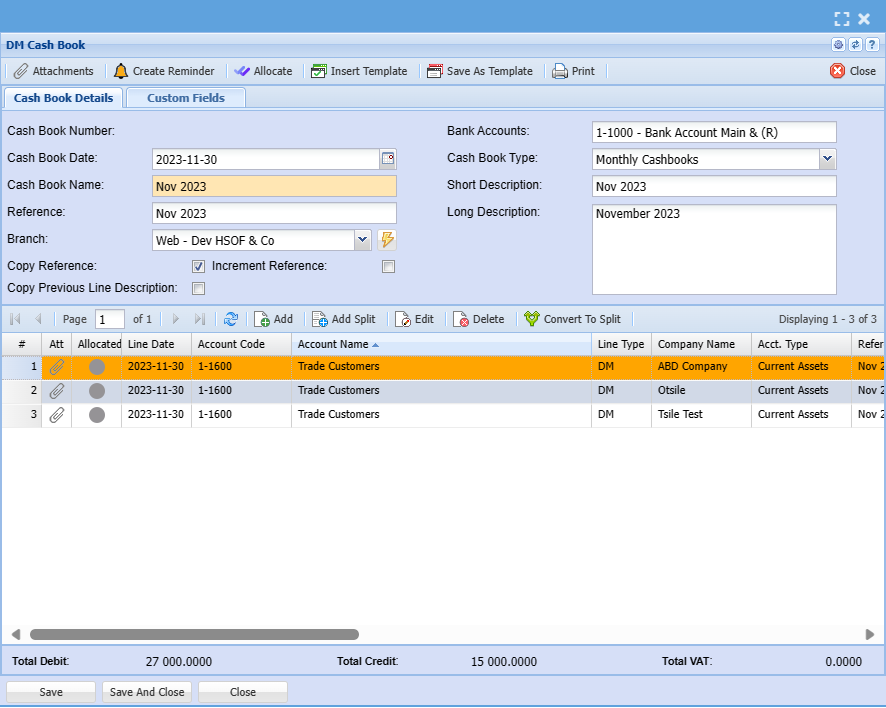
| Cashbook Number | This is the Number that is Generated in the system when a Cashbook is saved. |
| Cash book Date | The System defaults to today’s date the user can adjust the date of the cashbook. |
| Bank Accounts | This is a list of company bank accounts for transactions. |
| Cash Book Name | This will be the way the Cashbook is identified in the company books |
| Cashbook Type | This will be either Daily Cashbook or Weekly or Monthly. |
| Reference | This will be the reference for this cashbook. |
| Short Description | The Given Short Description for the Cashbook. |
| Long Description | The Long Description for the Cashbook. |
| Increment Reference | It Increases the number by one example if the user Reference is CB 1 and the tick is added on the ‘increment reference’, when you add a new line, it will add one to the number. |
| Copy Reference | It Copies the reference. |
Add Cashbook Items
To add cash book items you need to click on the middle Add below
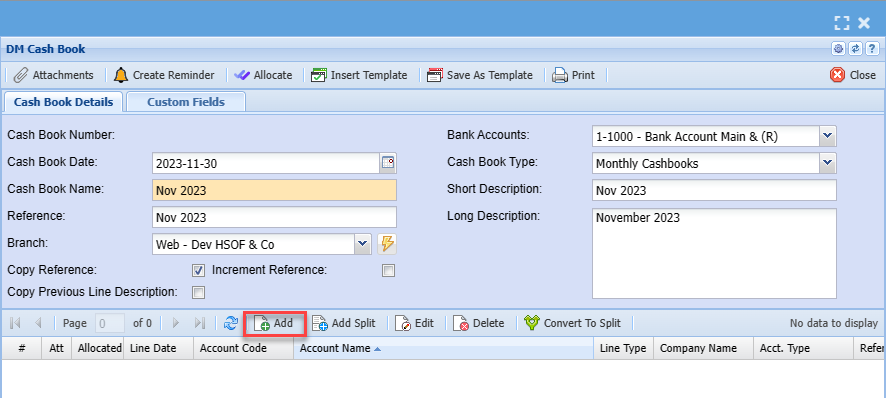
After clicking on the middle add you will see the screen below:
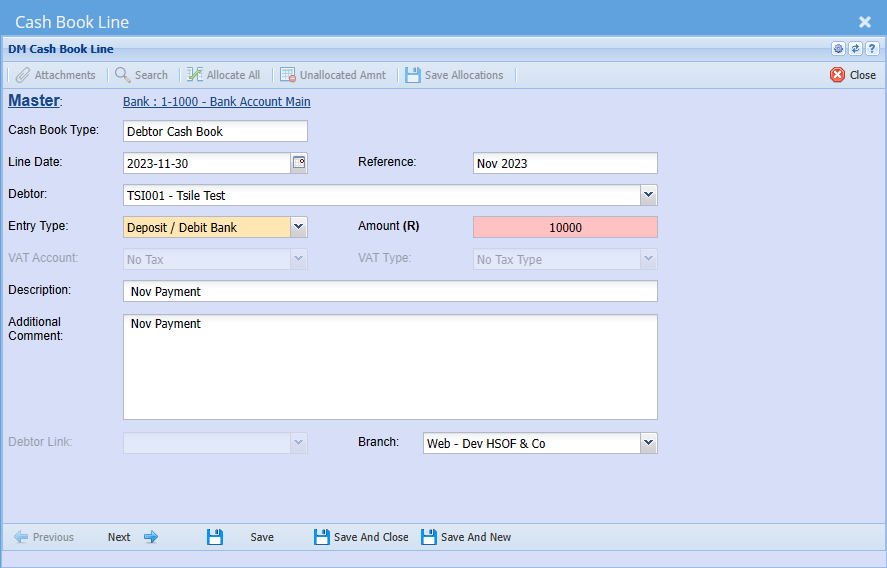
| Cash Book Type | Cash book type should be debtor/ customer cash book |
| Line Date | Add a date the payment was received |
| Reference | Add appropriate reference |
| Debtor/ Customer | Enter debtor name |
| Entry Type | Select entry type on the dropdown |
| Amount | Enter the amount reflecting on the payment |
| VAT/ GST Account | Select VAT/GST Account on the drop down |
| VAT/ GST Type | Select VAT/GST type on the drop down selection |
| Description | Add description for cash book |
| Additional Comment | Add additional comment if any |
| Debtor Link | |
| Branch | The default branch will show, they you want to change the branch then select the right on on the drop down selection |
.png)
Enter relevant information for the Below screen and save and close
.png)
The Cashbook can then be authorized and processed
.png)
Once authorised the option to process cashbook will be available and you can click on the process button to process the Cashbook
.png)
Insert Template
.png)
| Search | Search for existing Templates |
| Import | import template information |
| Delete Template | delete an existing template |
| New Date and Reference | Tick here to change existing template with New date and New reference |
| New date | Enter a date that you want your cashbook lines to change to |
| New Reference | Enter a reference that you want your cashbook lines to change to |
| Swop Debit/Credit |
Allows you to swop the debit and credit lines around Excellent if you want to reverse the cashbook |
| Keep Template date |