Creditors Journal Manual
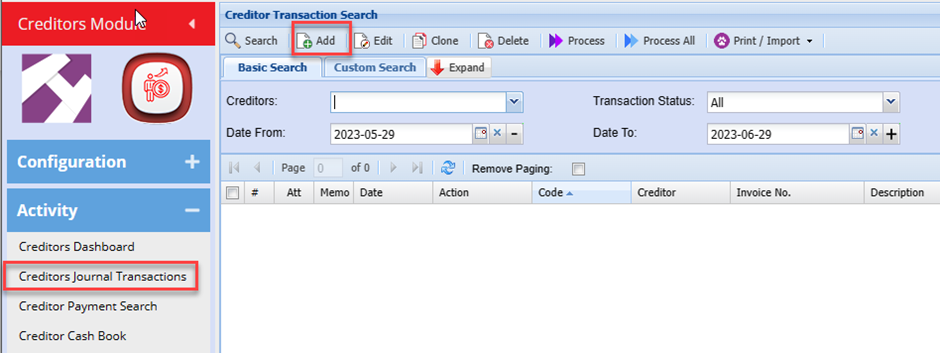
Click on Creditors Module>Activity>Creditors Journal
Always click on search to avoid duplication of transactions.
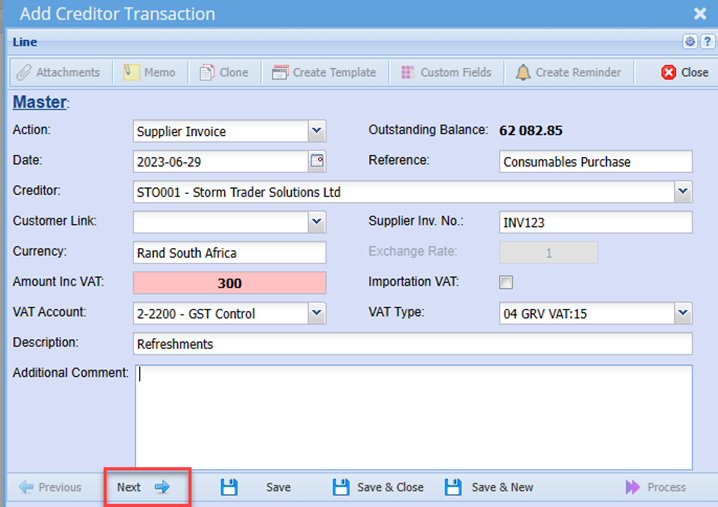
Action – Select the action from the drop-down box e.g. Creditors Journal Credit
Note: each action listed has a corresponding Contra GL Account set on the system as a default.
The system can be set to allow the user to change default contra account.
Enter the transaction date for the journal.
Select a Creditor: Short Search – just type in part of the code or name and hit enter on the keyboard and select the Debtor.
Enter the amount including VAT the system will automatically work out the Tax Amount and the Amount Excluding VAT.
Select the Tax Type on the drop-down Box e.g. GRV VAT
Add the Description – e.g. GRV - Telkom
Reference e.g. Telkom
Supplier Invoice e.g. INV1234 (if applicable)
Additional comments (if required)
Click on Next Arrow
 .
.
If you are categorizing and allocating entries to Regions and Division, select the respective option from the drop down
If not allocating transaction to Divisions/ Regions then you can leave this Blank
The Contra Transaction box allows for contra journals to be created and processed at the same time
Contra Journals are typically used in the case of intercompany accounts or where you have a supplier that happens to also be a Debtor on the system and you simply offset the accounts against one another

Click Next
If the system is set to allow changing the contra GL account, you can enter the required GL account and select or click the drop down arrow and search for the required account.
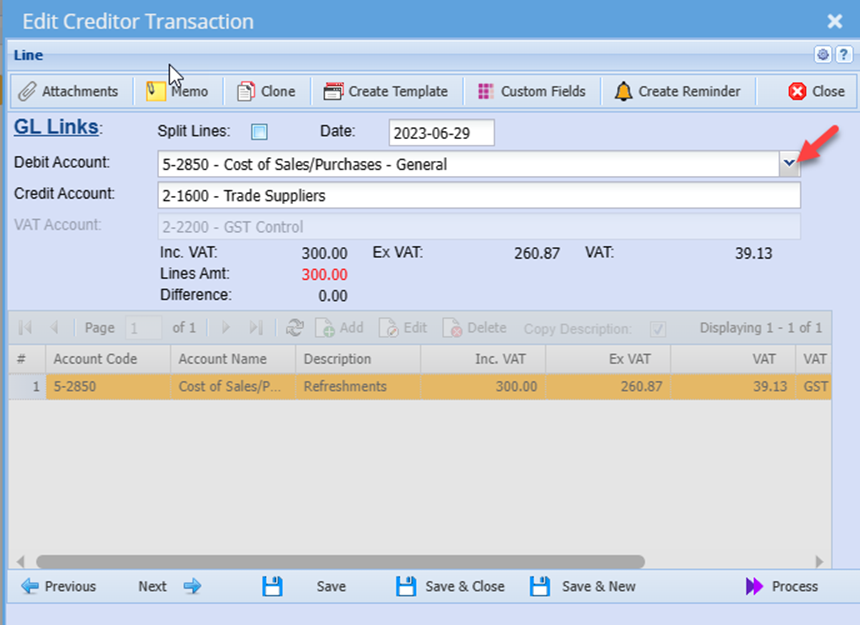
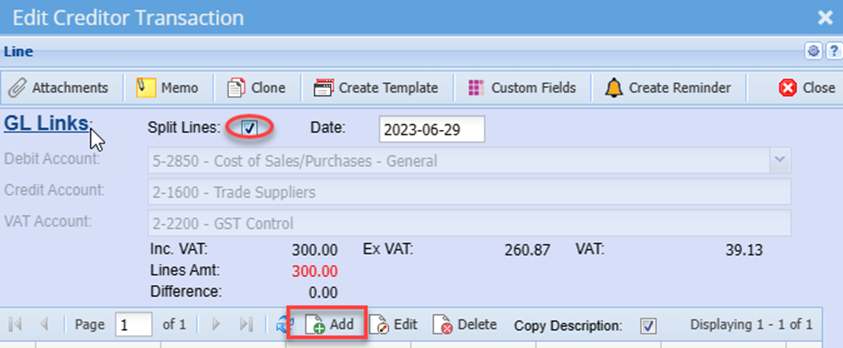
Split Account
If the transaction has to be split to various Contra accounts, you can click on the Split Lines Tick box. Ten click the Add in the centre of the screen and add the respective Contra GL Accounts with the respective amounts.
Tick this box only if the entry is being split.
Alternatively, click Next
This screen allows the user to Allocate the entry to a specific transaction(s)
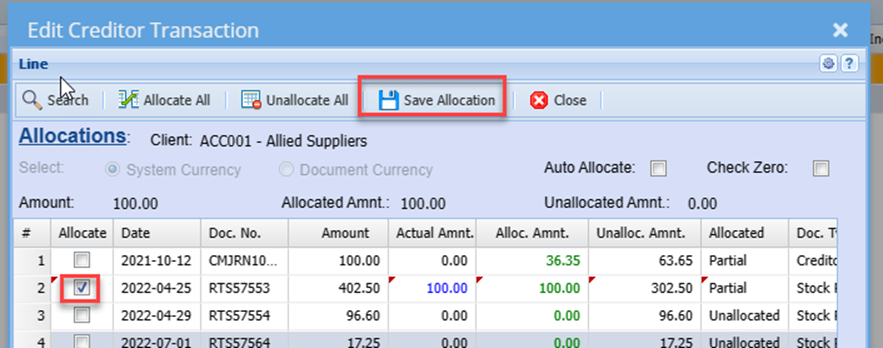
Tick the relevant transaction and then click the Save Allocation Button
This saves the User from having to do the Allocations separately once the journal is processed.
When ready, click the Process button.
This will then process the journal and post the relevant entries
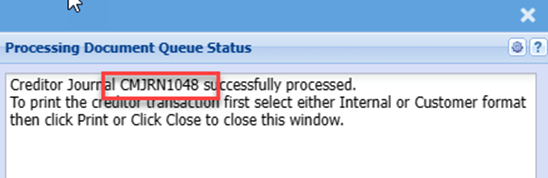
A Pop-up message will occur with the Journal number if successfully processed, alternatively the message will display any arror found.