Skip to main content
Zebra ZD611R Setup Guide
Steps
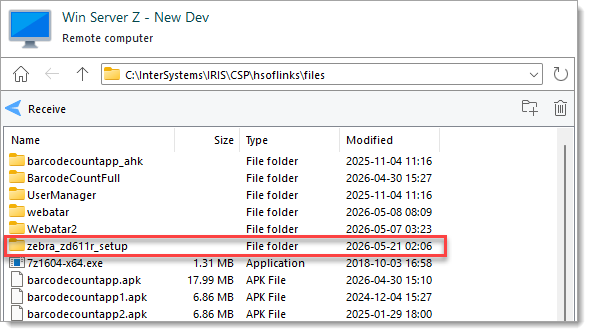
- Download the folder
zebra_zd611r_setup from C:\InterSystems\IRIS\CSP\hsoflinks\files on the dev server.
- Turn the printer on but do not yet connect it the computer.
- Install the printer driver.
- Unzip
zddriver-v1062628275-certified.zip from zebra_zd611r\installers\ and run the exe.
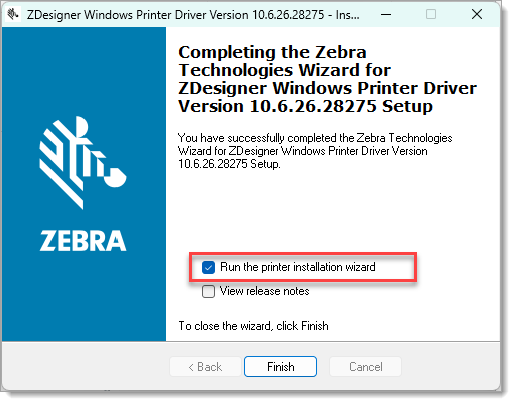
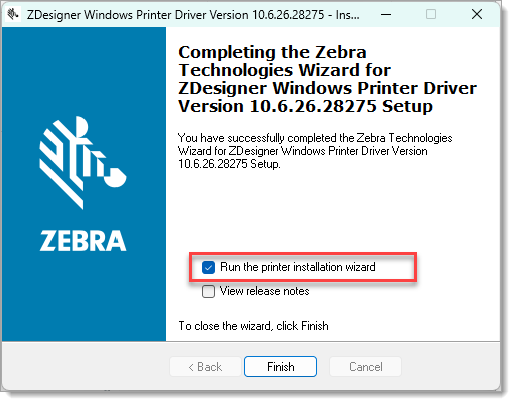
- Complete the first part of the installer wizard, check the box for "Run the printer installation wizard" then click Finish.
- In the Installation Options step, select Install Printer Driver.
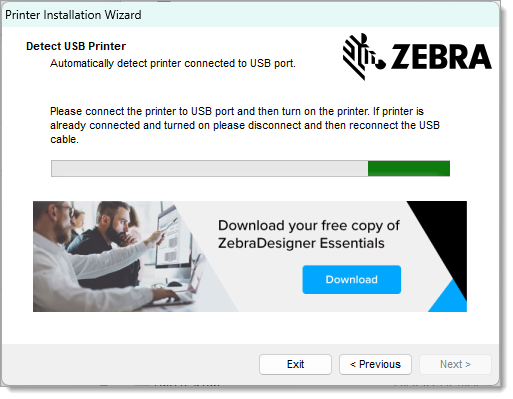
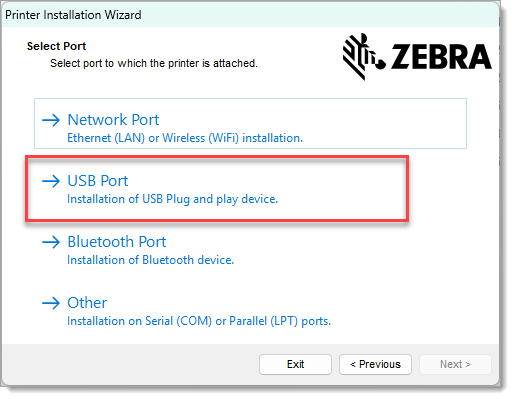
- In the Select Port step, select USB Port.
- Connect the printer by USB when requested.
- Complete the remainder of the wizard.
- Install Zebra Setup Utilities
- Unzip
zsu-1191327.zip.
- Run the extracted exe and complete the installation wizard.
- Configure the printer with Zebra Setup Utilities
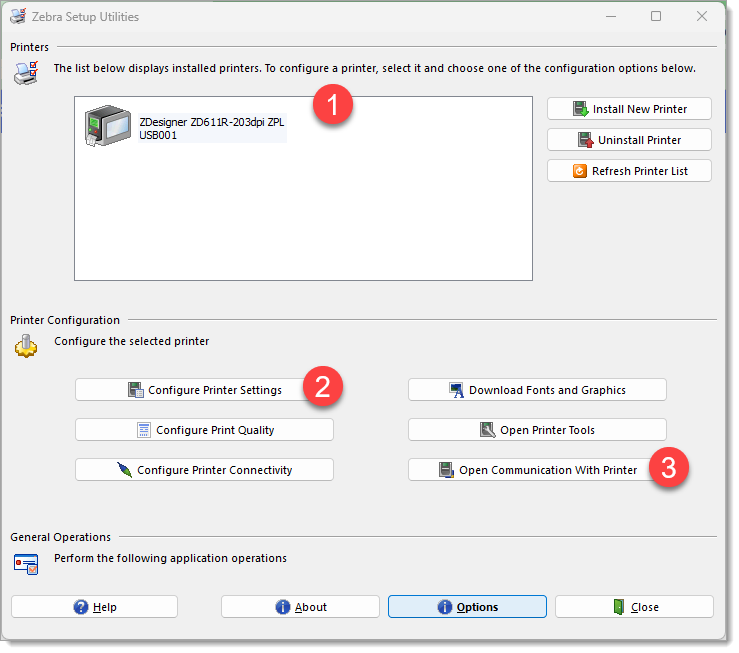
- Open Zebra Setup Utilities
- Select the printer from the list
- Start the "Printer Settings Wizard" by clicking the "Configure Printer Settings" buttons.
- Use these settings:
Step
|
Setting
|
Value
|
Note |
| Label Parameters |
Units |
mm |
|
|
Width |
45 |
|
|
Height |
18 |
|
| Speed and Darkness |
Darkness |
20 |
Optional |
| Media |
|
|
No changes |
| Advanced settings |
|
|
No changes |
| Real Time Clock |
|
|
|
MORE TO COME
- Install Zebra Browser Print
- Unzip
zebra-browser-print-windows-v132489.zip and run the exe.
- Complete the installation wizard.
- Open Zebra Browser Print
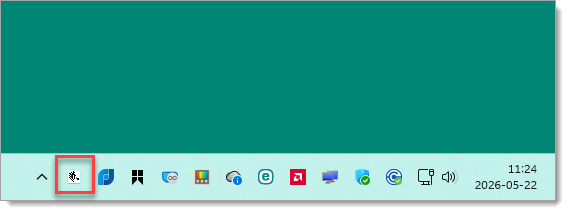
- Right-click the Zebra logo icon in the System Tray and select Settings from the context menu.
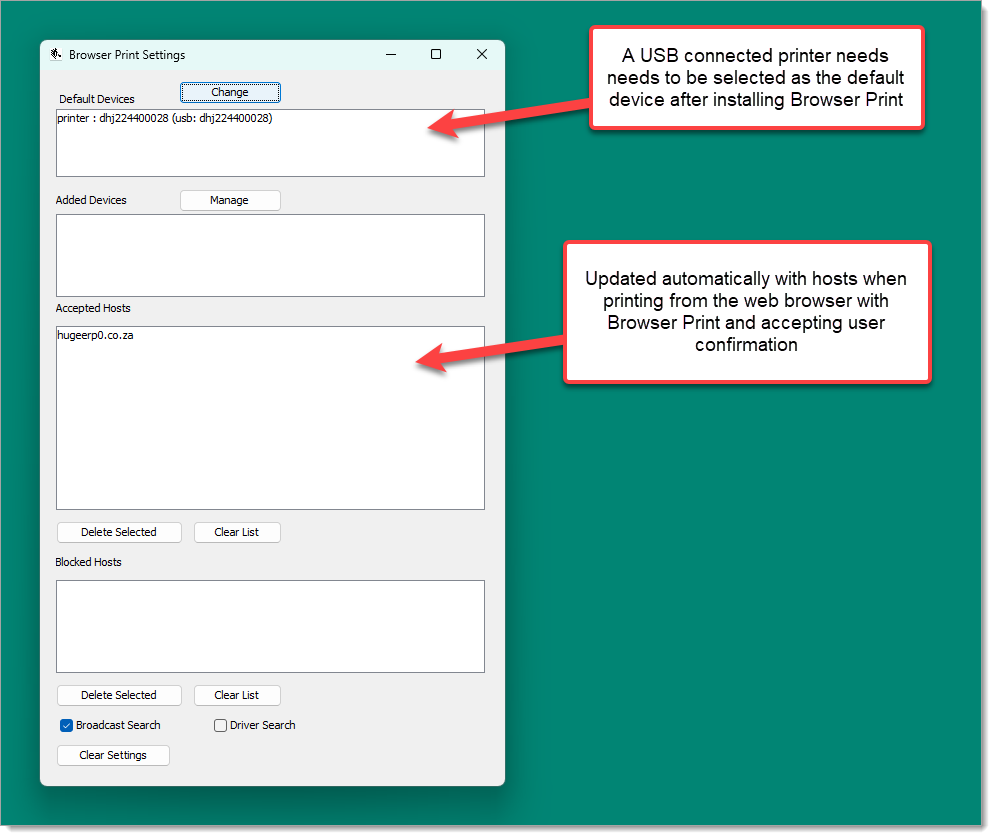
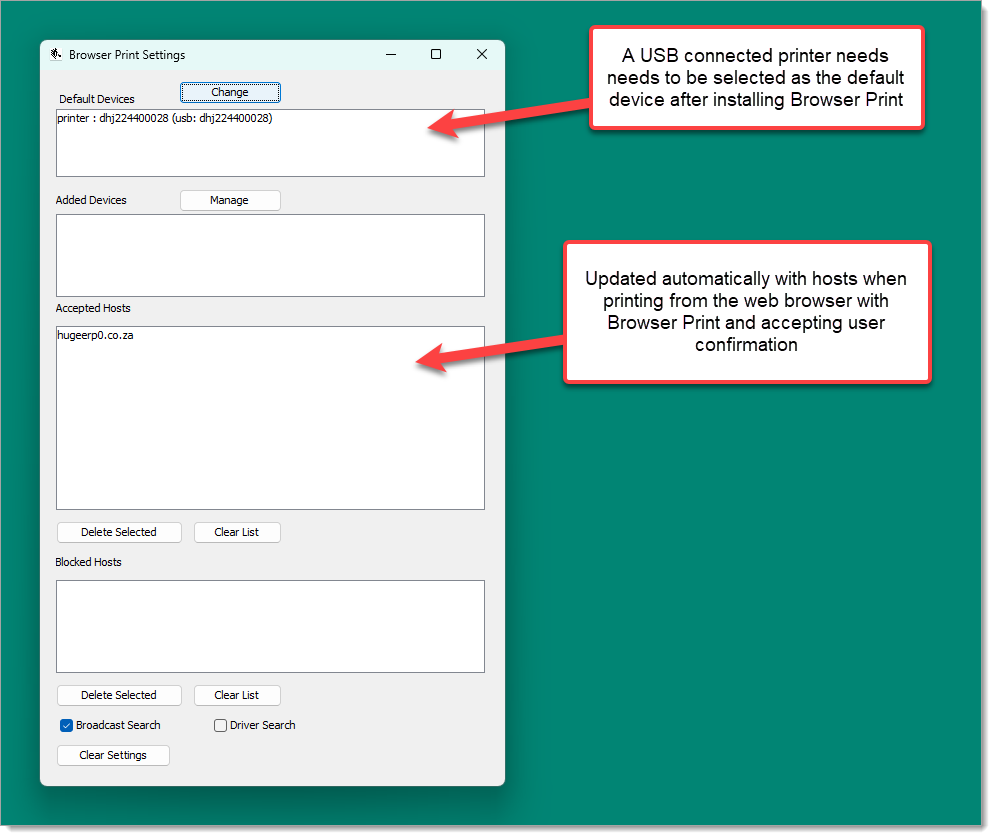
- Click Change next next to "Default Devices" at the top of the "Browser Print Settings" window that opens. Select the first available USB printer.
- NEXT
- NEXT
- NEXT
- NEXT
- NEXT
- NEXT
- NEXT
- NEXT
- NEXT
- NEXT
WIP Images