Basic Stock Item Setup
To create a new inventory item go to:
Inventory Module>Systems Configuration>Inventory setup
Click Add

Ener a Code for the item; cods can be alpha or numeric or a combination.
Note: if your codes consist of only numbers, it is not advisable to start the code with a zero
This will create complications when doing bulk updates and exporting the item master into excel, where
the “0” will be dropped.
When you upload the updated import file, it can potentially result in a duplicate item being created.
Enter an Item Description
By default, the Description is what is displayed on documents
Long Description: Allows you to enter additional item description detail
Unless you have customized stationery, thisthe long description will not be displayed on documents
Select the Stock Category
This can be:
Stock: Tthishis is a normalphysical tangible item
Custom: This is an intangible item that is predominantly used for creditors purposes. Eg. If you wish to run
the office expenses such a Telephone account through creditors, you could setup a Custom Item as
Telephone which is mapped to the Telephone expense account in the ledger
Service: This is a non-stock item, and as the word suggest essentially a service provided such as Labour,
Delivery charge, etc.
Fixed Asset: This is the typical Fixed Assets item of the Company
Click Save
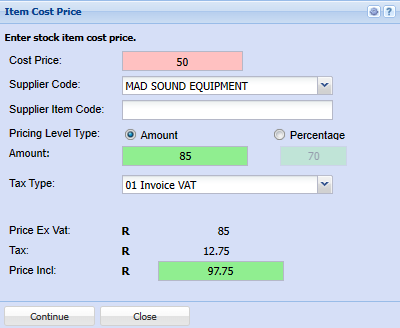
Enter the Item cost Price
Once you click the save, the additional Tabs will be activated

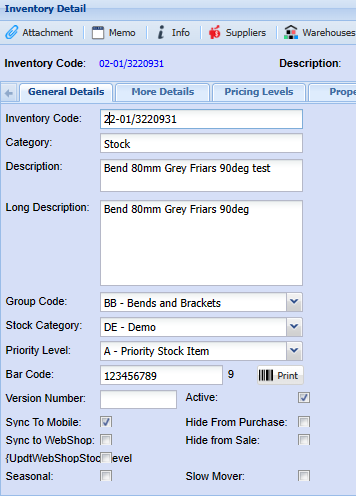
Tick the box ‘Sync to Mobile” – this is so the item can be searched on the Webater Mobile App.
If there are items that are vital for production or fast moving items, you can use the Priority Level field.
This can then be used in stock procurement, forecasting and even automated exception reports to notify the procurement department of priority items with low stock levels. Refer to advanced item setup
Select the relevant Group code (if applicable)
Click Save
Enter the Item cost Price. Note if you do not enter a cost price at this stage, you will not be able to simply edit or add a cost price for a stock item later.
Group codes caters for grouping ofSelect the stockselling masterprice intotype respective stock groups.
ThisEnter is used foreither the followingmark purposes:up percentage or the selling price amount
1.Select Groupingthe ofdefault Items supplier
2.Once Stockyou takesclick ofthe onlysave, certainthe Groupsadditional orTabs productswill be activated
3. Sales Mapping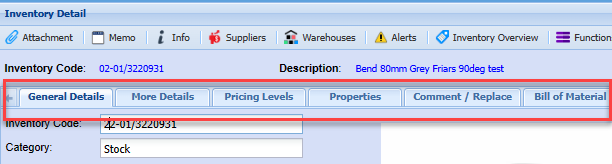
Click the More details ta btab to add additional info if applicable
SelectSuch theas defaultUnit Supplier
YouMeasure, canweight add, supplier options by click on the supplier tab and adding the respective supplier(s)

Pricing Levels Tab
When you click on the Pricing level tab, you will note there is a default price level
Double click the default level to edit and enter the selling price ofif the item
Selling prices can be set as:
Amount – This is a fixed price and will need to be changedserial manuallynumber iftracked, tick the costserial pricesno changestracking and you wish to maintain a certain profit margin
Percentage – this is based on the Cost price fluctuations and applies the specified markup percentage to calculate the Selling price. This option will result in the selling princes potentially fluctuating, but a constant markup percentage is maintained

box
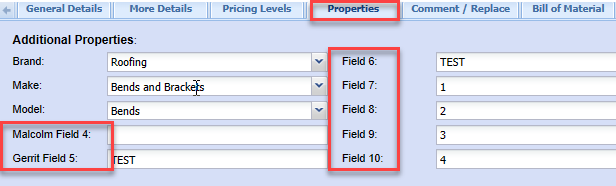
Properties Tab
This window has additional filtering and categorisation options such as Brand, Make and Model
These filters workingwork in conjunction with each other
As an example:
Assume you have 50 products within the Achaar Group
Which are sold in 1Kg, 2Kg 9kg buckets
And have 6 various flavours
If you search for 9kg buckets, you can essentially filter 50 possible optionsRefer to 6Brand options
ThisModel is particularly helpful on the Webatar app for sales reps
These filters can also be used to monitor sales over specified periods
setup
There are also 7 additional customizable fields which andcan be customizedrenamed to descriptions of your preferencechoice and used accordingaccordingly for purposes specific to your business.

Bill of Material Tab
If the product being added is a product that you manufacture, you will need to tick the Activate Bill of Material Box.
Refer to Bil of material Manual for further details

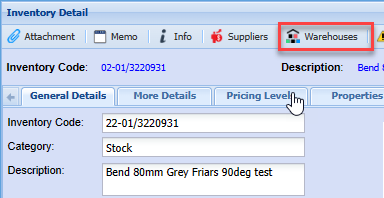
Warehouse Link
You will need to now link the warehousewarehouse(s) this item is associated to
To do this, click the warehouseWarehouse Button

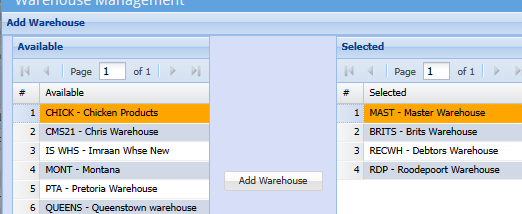
Click add

Move the required warehouse(s) to be associated to this product to the Right hand columcolumn

To move a warehouse to the selected column, double click the required warehouse
Attachments
Should you wish to add an image of the product or any other details or spec sheets relating to the product, you can add these as attachments
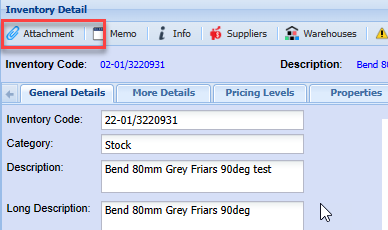
To upload an image, click the attachmentAttachment button
Click Upload to Select a saved file on your PC and Upload
Alternatively, Click dragDrag and dropDrop button


Click Close
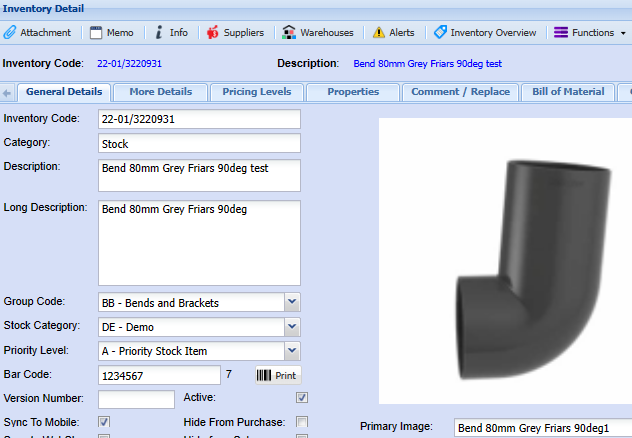
On the General Details tab, select the attachment name from the drop down on the Primary image field as the image to be displayed
Click Save

This will then be displayed in the image window
This completes the basic item setup and the item can now be selected on various documents