Login
Logging in
First time login
Huge Software has multiple servers around the world
South Africa Video login 2023/12 - SA_FirstTime_Login.mp4
New Zealand login 2023/12 - NZ_FirstTime_Login.mp4
The two main countries are:
| 1. | South Africa |
| 2. | New Zealand |
Below are the links to the websites for each country
South Africa

New Zealand

Old Video training manual 2016 - Click Here
Log in
This document gives you a quick step by step guide on how to get going.
Watch login video 2023/12 - Click here
Getting Started
Go to hugesoftware.co.za or www.erpsolutions.co.nz .
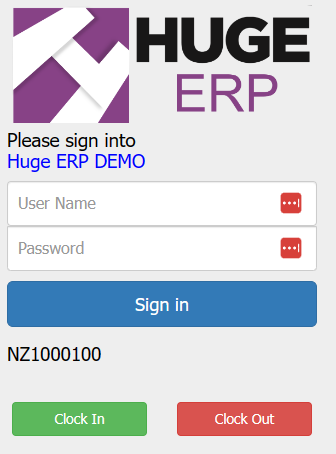
Please enter your company number into the “Login” and then click on Login button.
This company number was provided to you in the welcome letter.

After clicking “Go” a pop up screen appears, please enter your User Name and Password and then click on Sign In button or enter button on keyboard.
Please Note - User Name and Passwords are case sensitive.
Basic Navigation
After gaining access to your company account you will be presented with the Huge ERP and Asset Management landing page.
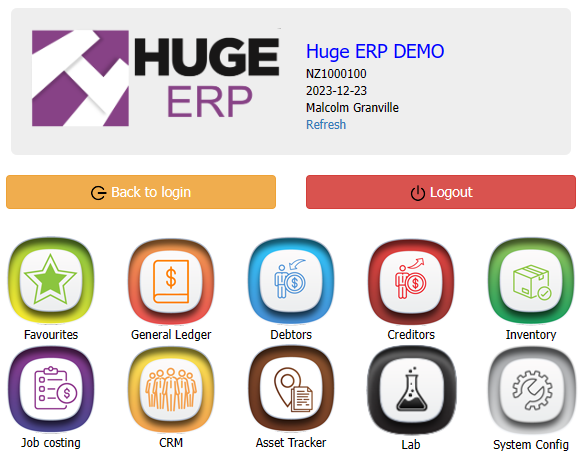
The System Configuration Module is where you set up various defaults (eg company information).
The Asset Management module is where you will track all of your assets.
The Job Costing Module is a highly specialized Job Tracking and Costing System which can be purchased as an Add on Module.
Speak to us if you’re interested in tracking Jobs and Serial Numbers.
All the Modules are configured in the same way. i.e. The first thing you see when you click on a Module is a blank centre viewing pane with a panel of drop-down group menus on the left.
Clicking on the Asset Management Module
| Menu Groups | Description |
| Configuration | Set something up |
| Activity | Do something eg make an Invoice Quote etc |
| Analysis | Analyse what you’ve done |
| Reports | Print Specific Reports, Menu located on the left of the main viewing pane |

i.e The top of the viewing pane will contain the Search and Filtering section. The main body will contain the data contained in that database and the bottom section will contain the ability to Add, Edit, Delete, Print and other functionality.
In some of the windows you will notice that the Add, Edit and Delete buttons are mid way.
| Section A | Functions to Add, Edit or Delete in the various windows, including Print and other functions |
| Section B | Search filter functions – Once you have entered your criteria, click on the Search button |
| Section C | Result data back on the grid from the search criteria |

Invitation
Now that you some idea of how Huge ERP and Asset Management operates, we invite you to see how much of your internal company workflow you can control and monitor using Huge ERP System.
We have a range of help video’s available and manuals through our help button within the system.
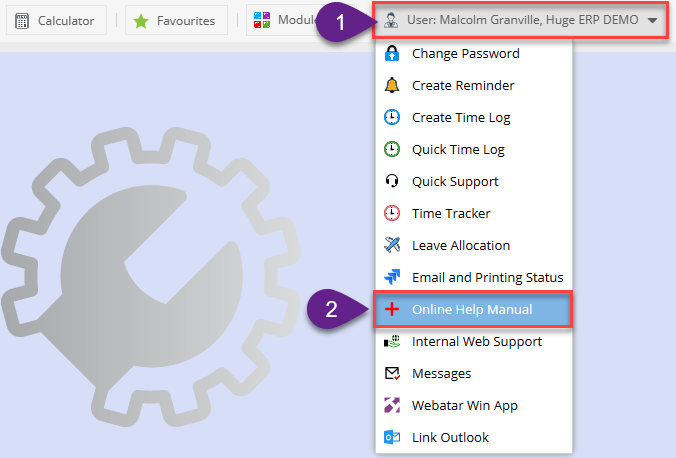
After logging into the system and going into any one of the modules. Click on your user on the top right-hand corner of the window to view the drop down. Click on Online Help Manual
You are also welcome to give us support a call to discuss a specific aspect of your accountancy, inventory management, asset management and work management requirements.
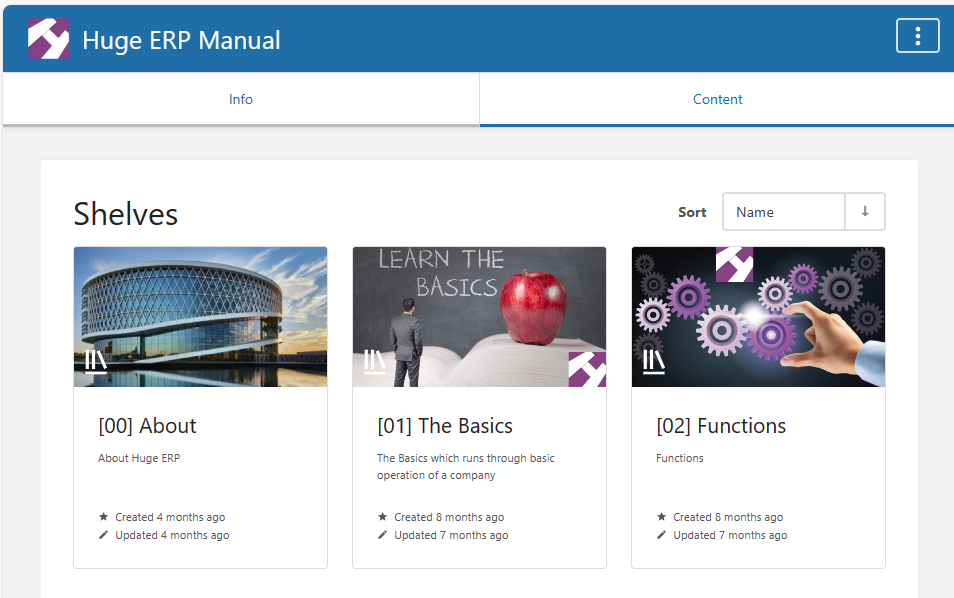
This will direct you to our online help menu.
It is a good idea to start off with the Getting started introduction training videos.
Old Video training manual 2016 - Click Here
Landing page defined
Modules and mini icons
The landing screen may differ to what your Module landing page looks like.
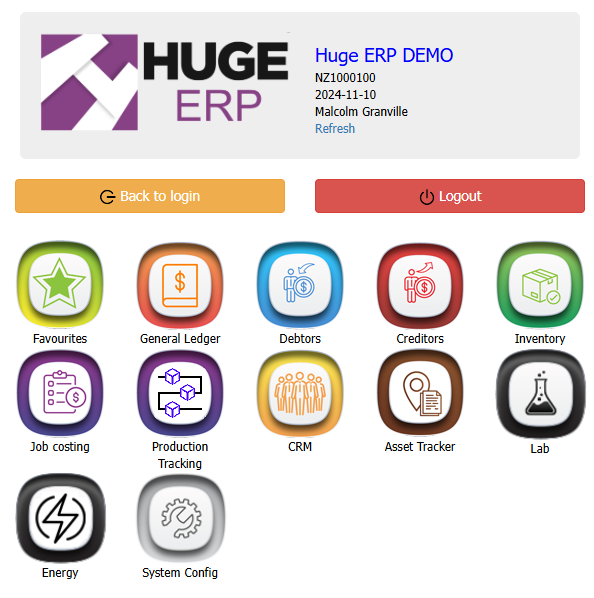
Main Modules
Modules are only visible if you have access to them, otherwise they will not display.
Module access in System Configuration > General > User Setup
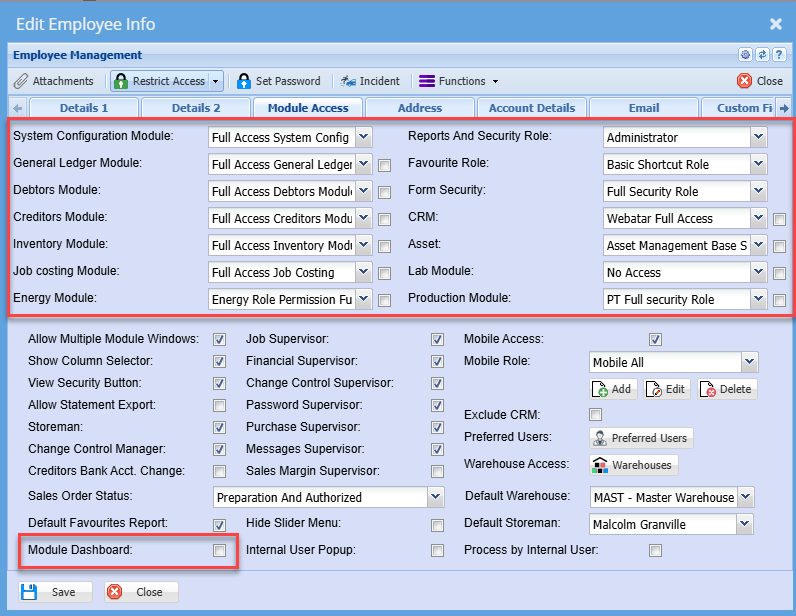
Mini Icons
This is setup at the user setup to allow for Dashboard view
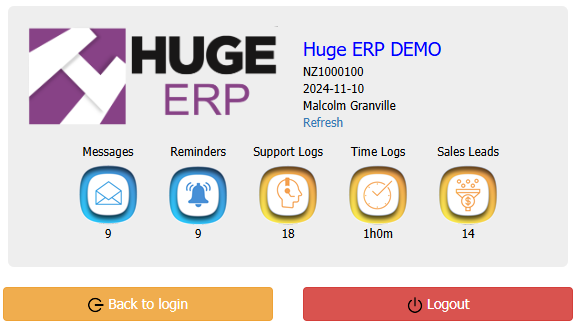
One of the reasons for the new mini-icons is to give the user a small dashboard.
You will be able to click on the icon to go directly to that section.
Icons will be grayed out if you don't have access to the module license.
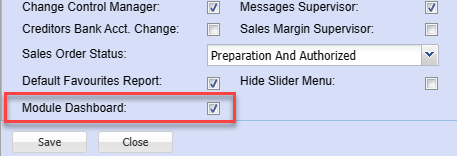
Definition of the mini modules
| Messages | this will show the number of messages you have outstanding |
| Reminders | this will show the number of reminders outstanding link to the user |
| Support logs | this will show the number of support logs linked to you (under the assigned to) |
| Time logs | this will show the current number of hours for the current month accumulative |
| Sales Leads | this will show the number of sales leads you have outstanding |
| Jobs | this will show the number of jobs assigned to you either as a job manager or job capture (if the job manager in job capture or the same only one count is done) |
Module colours defined
Each module is defined by a colour so it is easy to identify which module you are accessing.
|
System Configuration Module
|
General Ledger
|
Debtors / Customer /Receivable Module
|
|
Creditors / Suppliers / Payables Module
|
Inventory / Stock / Service Module
|
Job Costing Module
|
|
Asset Management
|
CRM (Customer Relationship Management) Module
|
Lab (Laboratory) Module
|
|
Energy Module ENGY - E (Black)
|
Production Tracking PT - PT (Purple)
Production Tracking Module |
|


 Energy Module