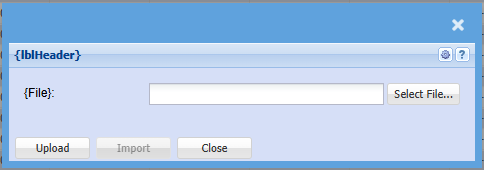
Import Export Menu
Imports
Import Export Function
Import Export Function can be found across the system.
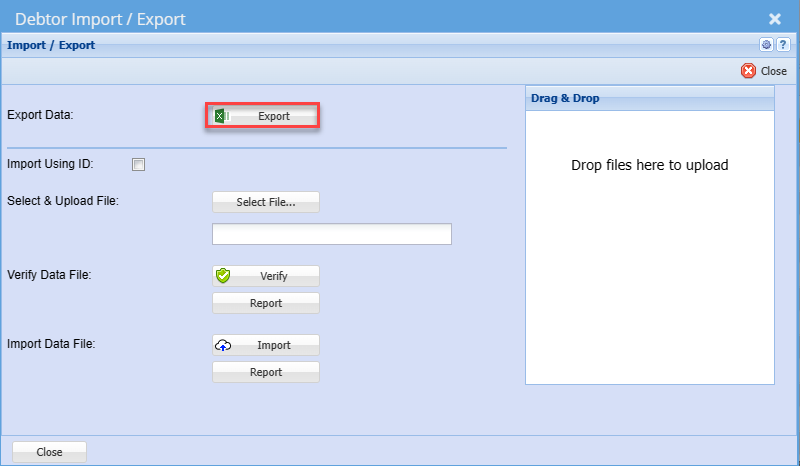
| Export | You can click the Export button which will return the existing data listing into the required template for import |
| Import Using ID |
Using this option allows one to export with the internal ID. This means one can change the code of the item Once you click Import ID. You will receive a warning. The import using ID refers to including the system ID which should not be changed at any given time. |
| Select & Upload File | Click the Select File Button to open your file explorer: search and select the import file you saved in the above step. |
| Verify | Click the Verify button to check for any errors on the import file |
| Import | Allows you to be able to import debtors/ Customers to the system |

| 1. |
Once you have the worksheet populated with the respective new information details, save the file as a normal Excel file. |
| 2. |
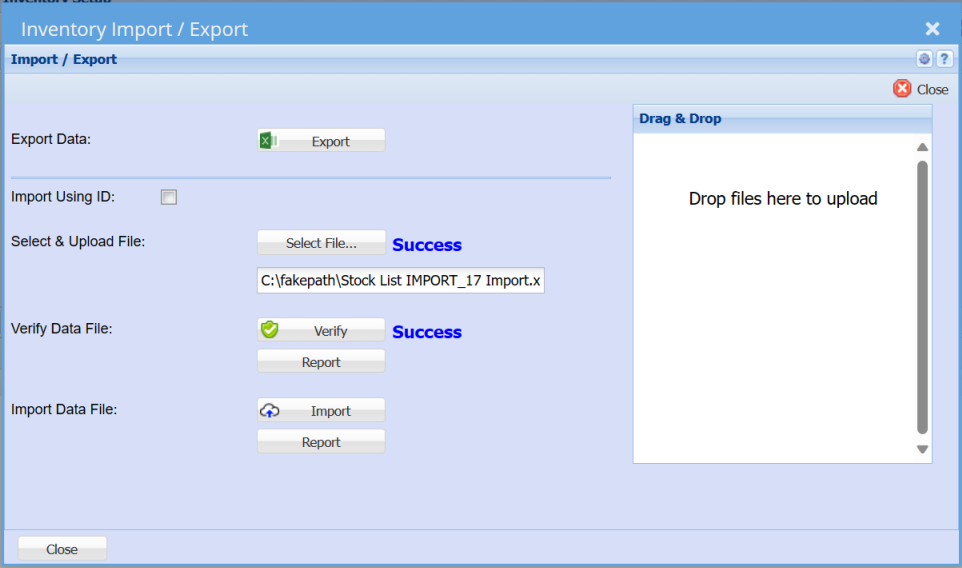
You should get a successful result returned. If not, correct the file, resave the file and retry the Verify |
| 3. |
If there are any errors when you click verify then you can click on report to see what is causing issues |
| 4. |
Once Verify is successful, click the Import Button |
| 5. |
Then click the report button below import to check if all the information were loaded accordingly |
| 6. |
When all results are successful and you are happy with the report |
| 7. |
Your New data will be loaded into the system and you can search for it in the normal manner. |
Verify Errors
When Verifying the data and an error comes up, check the Report of the Verify
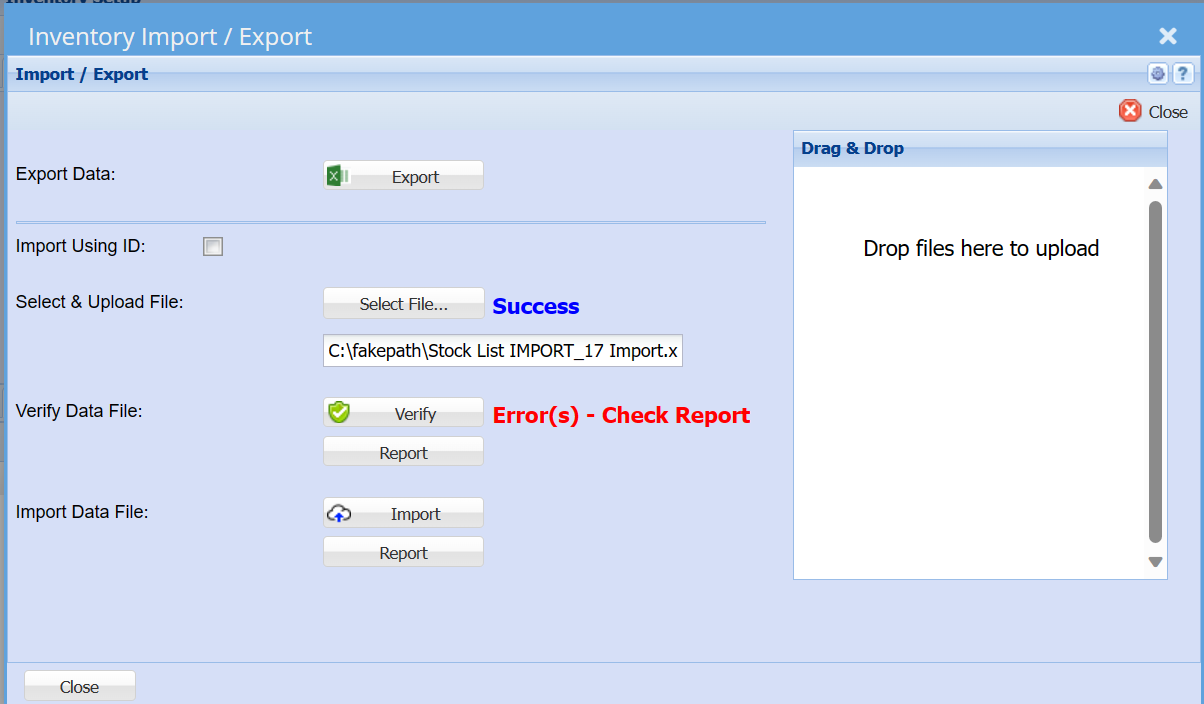
Open up the report and handle any issues in the Excel file
Line No corresponds with the Excel row line
When in Excel use Crtl + G to enter the Line number with A9952
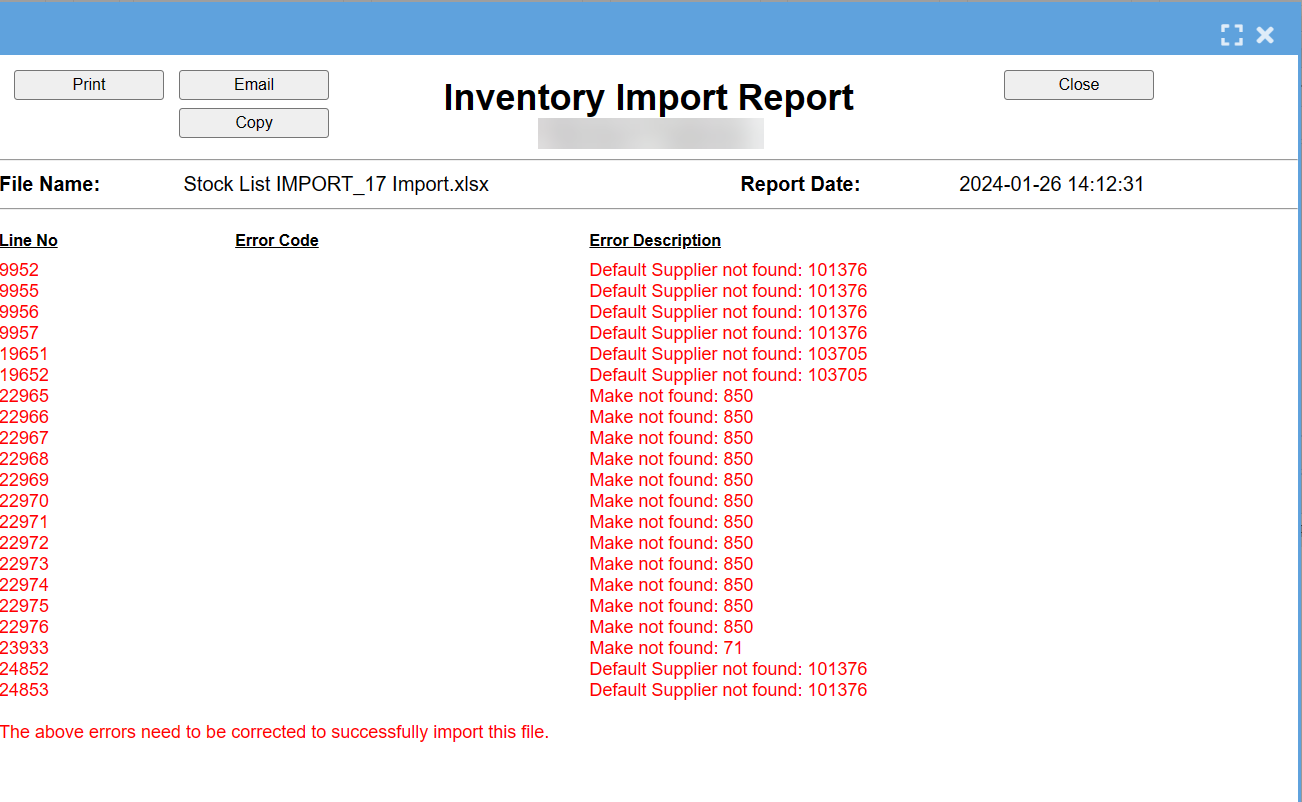
Find the corresponding line in Excel to fix or find where the issue is
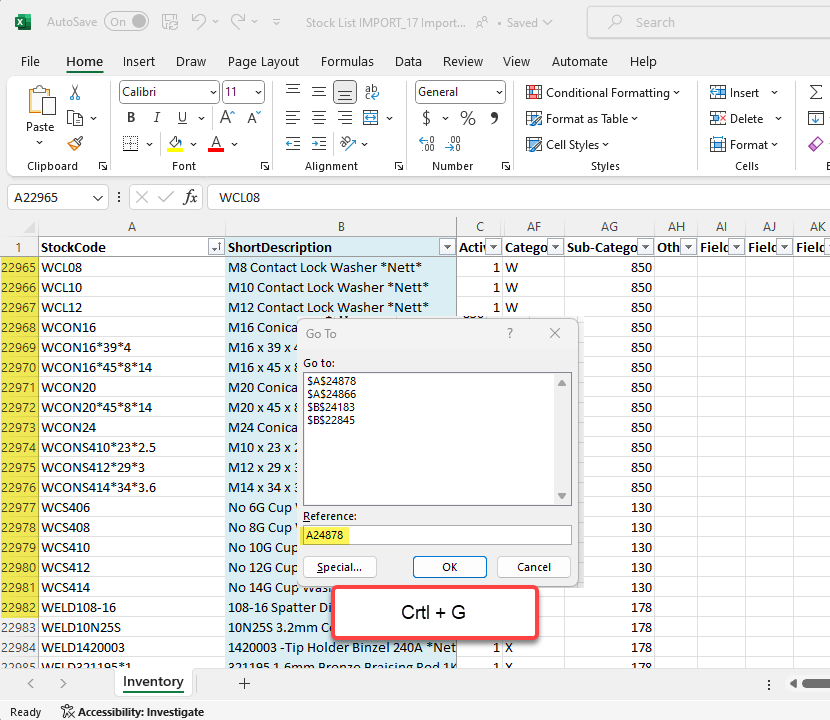
After all the errors have been sorted, save and close your Excel file
Close the Import Export window to re-upload
Verify the data again
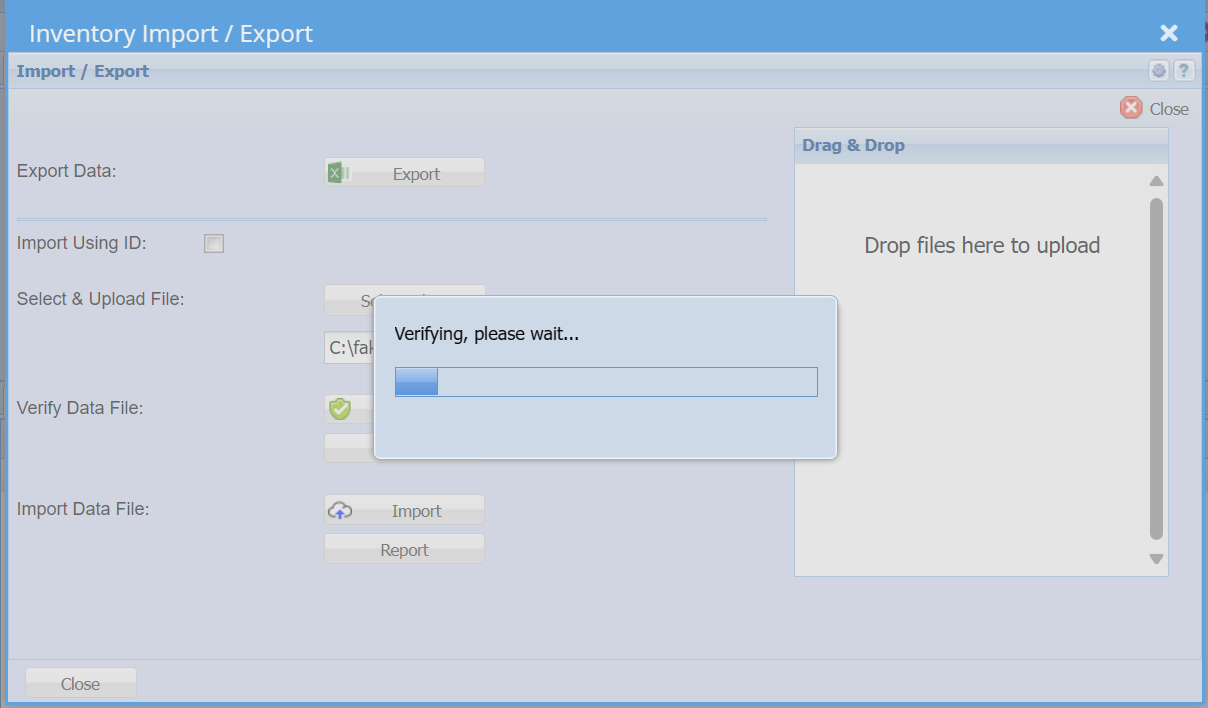
Once the Verify is successful, move to importing the data
Document Grid Import and Export Standards
fix grid imports and make them standard for import and export from documents
All imports to be CSV and semicolon enabled
See new layout formats that conforms to both debtors and creditors
The grid import and exports for Debtors are as follows:
1.Quote
2.Sales Order
3.Invoice
4.Credit Note
.png)
Creditors
1.Purchase Order
2.GRV
3.Stock Return
.png)
For the VAT Type of each line
The following rule applies
1.If the customer or supplier has a VAT type set, use that for all items
2.Otherwise use the default VAT types for each document
Warehouse import
If the item is a service or custom, ignore the warehouse field
If an item does not have a warehouse selected for import and is blank, use company default
For Creditor document imports
If there are any service items in the import ignore them for creditor document imports
For Job CTC import for whether it is CTC or SC. Use CTC as default is nothing is set
For imports, only the first number of fields are required, ignore the rest
When importing grids on any of the documents who are multicurrency. The cost needs to be updated with the value of the multicurrency.
Sequence number. If blank, put in a sequence number from 1 onwards
Excel Imports and Exports
We have more import and export excel features coming up
See examples in the image below:

Printing