# Client Visit

# Visit

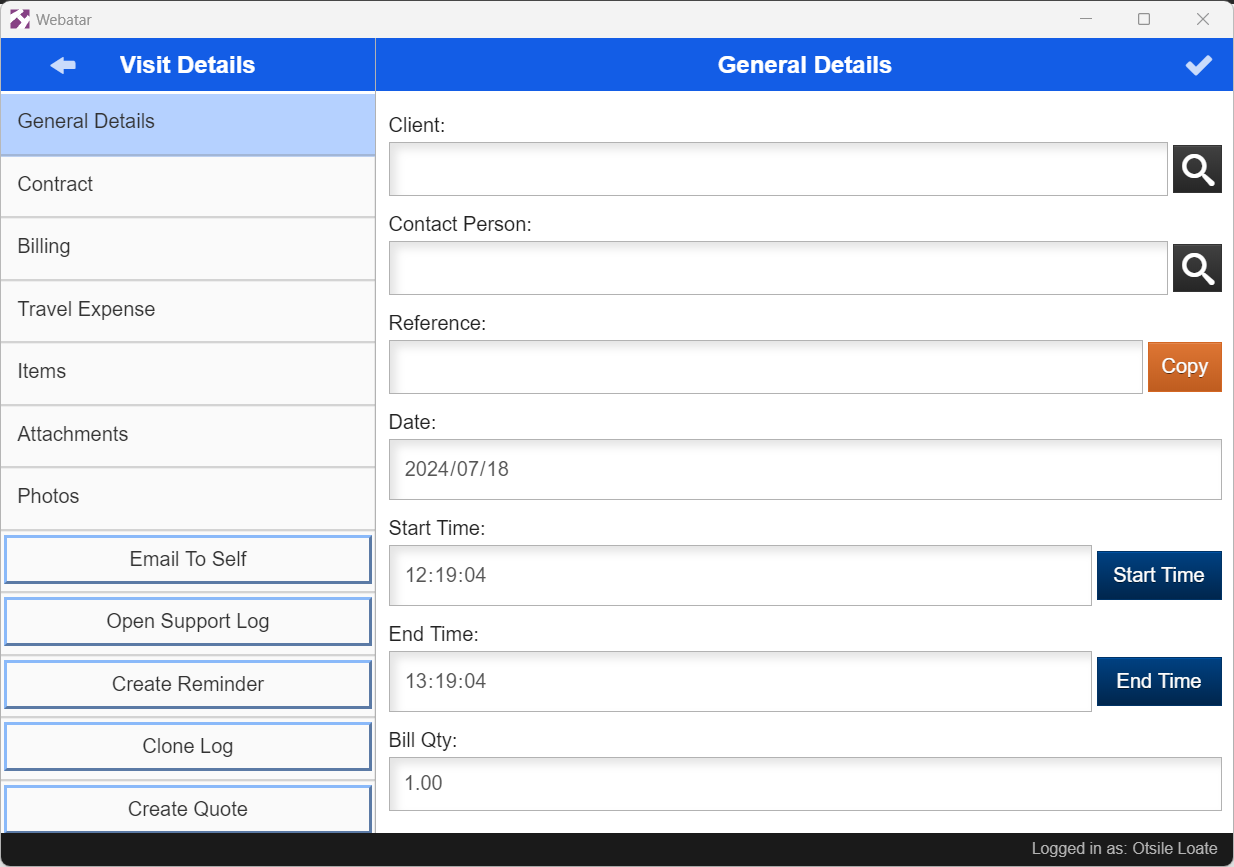
<span class="ts0">Client visit allows you to capture the following for a client/ customer you are visiting: </span>

- <span class="ts0">Capture Timesheet</span>
- <span class="ts0">Email Timesheet/ client visit to self</span>
- <span class="ts0">Open support Log</span>
- <span class="ts0">Create reminder</span>
- <span class="ts0">Clone Log</span>
- <span class="ts0">Create Quote</span>
- <span class="ts0">Create Sales Lead</span>
- <span class="ts0">Add notes to the customer</span>
- <span class="ts0">Create Quick Stock Count</span>

<span class="ts10">Video Training Manual 2017 - </span>[Click Here](https://vimeo.com/361685413)

---

[![image.png](https://hugeerp10.co.za/hsofmanual/uploads/images/gallery/2024-07/scaled-1680-/jV4image.png)](https://hugeerp10.co.za/hsofmanual/uploads/images/gallery/2024-07/jV4image.png)
---

<span class="ts0">Old Video Training Manual 2016 - </span>[Click here](https://vimeo.com/357006860)

# Client Visit Setup

#### <span class="ts4">Security setup</span>

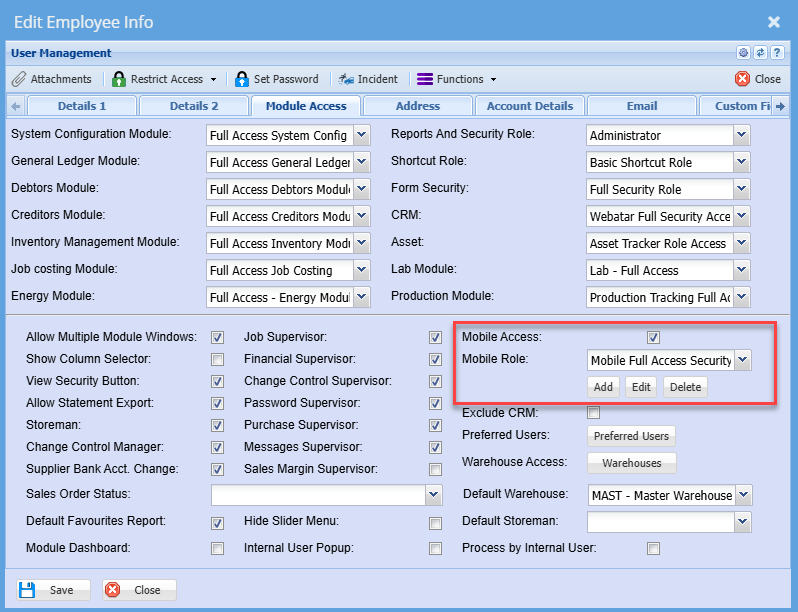
<span class="ts4">You can setup security access for client visit on the Huge ERP system.</span>

<span class="ts4">This will allow you to control who sees what on their Webatar mobile</span>

<span class="ts0">To be able to add security to users Webatar go to:</span>

<span style="color: rgb(45, 194, 107);">**<span class="ts0">System Configuration Module &gt; General &gt; User Setup &gt; Edit/Add User &gt; Module Access tab</span>**</span>

[![image.png](https://hugeerp10.co.za/hsofmanual/uploads/images/gallery/2024-07/scaled-1680-/rOSimage.png)](https://hugeerp10.co.za/hsofmanual/uploads/images/gallery/2024-07/rOSimage.png)

<span class="ts0">Click on Edit to edit the existing Webatar role or click Add to create a new Webatar mobile app role</span>

<span class="ts0">This will lead you to the Items tab, add all put a tick on any items that a user will need access to </span>

<span class="ts0">Once complete click on the Menu Tab</span>

<span class="ts0">Select the menu you want to add security for </span>

<span class="ts0">In this case, select Client Visit</span>

[![image.png](https://hugeerp10.co.za/hsofmanual/uploads/images/gallery/2024-07/scaled-1680-/Fkfimage.png)](https://hugeerp10.co.za/hsofmanual/uploads/images/gallery/2024-07/Fkfimage.png)

The user will only have access to the menus on the right and not the left

Click Save and Close

Make sure you put a tick on by Mobile Access

Then click save and close again

---

#### Webatar Security View

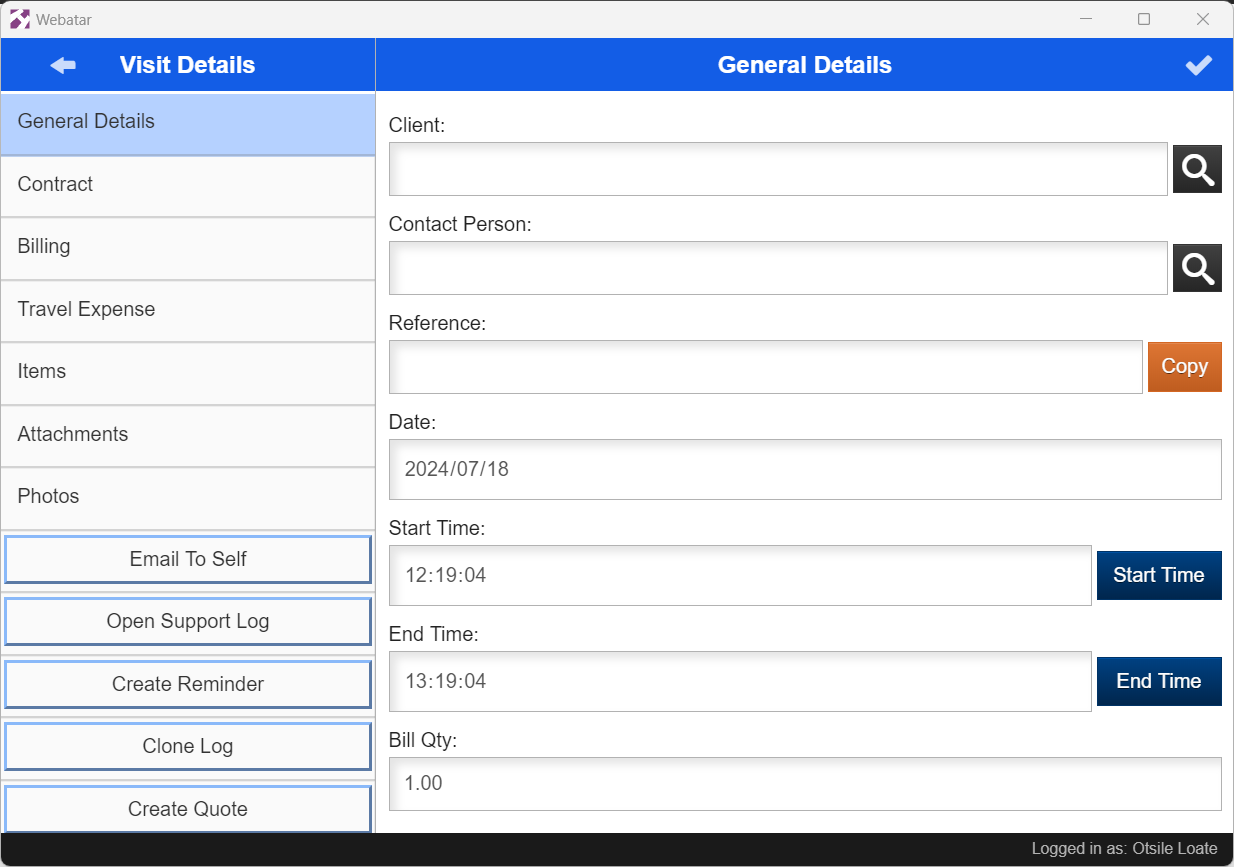
To view security changes, you need to open your Webatar to sync, so all changes can take effect.

Below is how security menus will be displayed on the Webatar App

All menus that the user does not have access to will not show

[![image.png](https://hugeerp10.co.za/hsofmanual/uploads/images/gallery/2024-07/scaled-1680-/JoFimage.png)](https://hugeerp10.co.za/hsofmanual/uploads/images/gallery/2024-07/JoFimage.png)
# Search Window

<span class="ts0">The search window has three main sections</span>

1. Search button
2. Refresh button
3. <span class="ts0">Add button</span>

<table border="1" id="bkmrk-search-search-for-sp" style="border-collapse: collapse; width: 100%; height: 88.8px;"><colgroup><col style="width: 31.143%;"></col><col style="width: 68.8323%;"></col></colgroup><tbody><tr style="height: 29.6px;"><td style="height: 29.6px;">**Search**</td><td style="height: 29.6px;"><span class="ts0">Search for specific time logs</span></td></tr><tr style="height: 29.6px;"><td style="height: 29.6px;">**Refresh**</td><td style="height: 29.6px;"><span class="ts0">Click on this button to see existing time logs</span></td></tr><tr style="height: 29.6px;"><td style="height: 29.6px;">**Add Button**</td><td style="height: 29.6px;">Add a new time log</td></tr></tbody></table>

<span class="ts0"> </span><span class="ts0"> </span>![](https://hugeerp0.co.za/csp/webhelp/topics/images/image(692).png)

<span class="ts0"> </span>