# Custom Fields
Video training manual 2016 - [Click Here](https://vimeo.com/357000049)
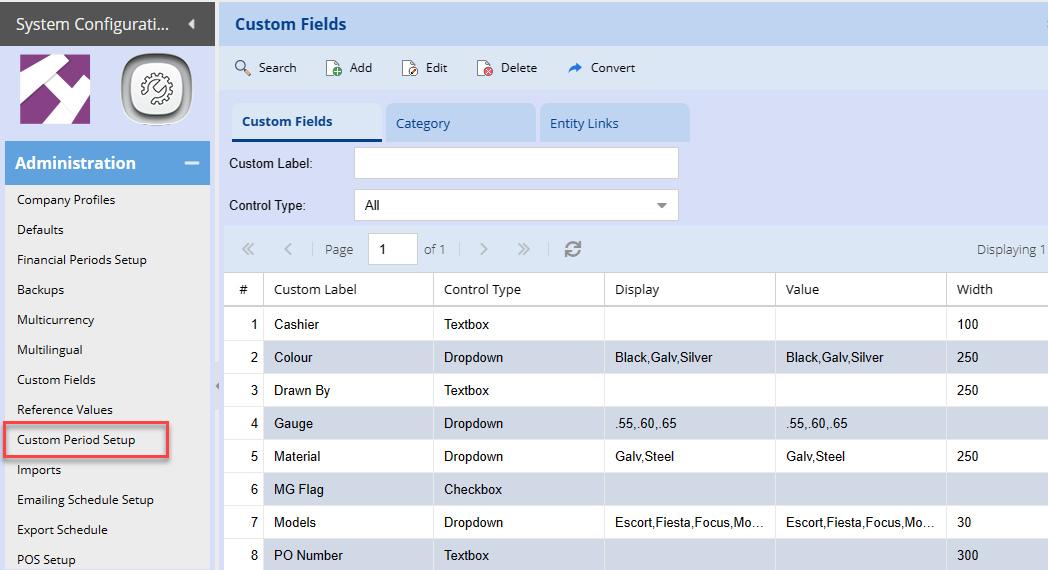
Allow unlimited number of custom fields to be created and then be seen in most documents in the system
Add as many custom fields as you require for additional information.
Custom Fields give you the flexibility to add Specific Information to your customer, Suppliers and User List
It Helps you add and track additional data on items
The customized information can be included in your forms and reports.
[](https://hugeerp10.co.za/hsofmanual/uploads/images/gallery/2023-08/Njjimage.png)
---
### Add a custom field
Video training manual 2019 - [Click Here](https://vimeo.com/375555852)
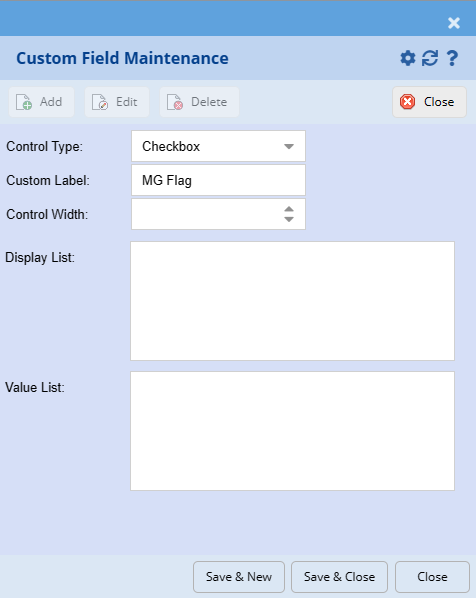
Custom field set up for a checkbox.
I am creating this custom field so that I can set it up against my customers, to distinguish between different categories of customers.
I want to use a checkbox in this case.
First add the custom field and indicate what type of control type it is and whether it be a checkbox or text box.
You can go and create a category that allows you to break up further dropdowns on your custom fields. this is not a requirement however if you have a lot of custom fields it's better to categorize them.
The next tab that you need to go to is the entity links that means you need to link the custom field that you created to somewhere in the system.
You can link one custom field to multiple places in the system, example customer set up, supplier setup an inventory setup using the same custom field.
[](https://hugeerp10.co.za/hsofmanual/uploads/images/gallery/2023-08/Bx8image.png)
---
### Custom fields on stationery
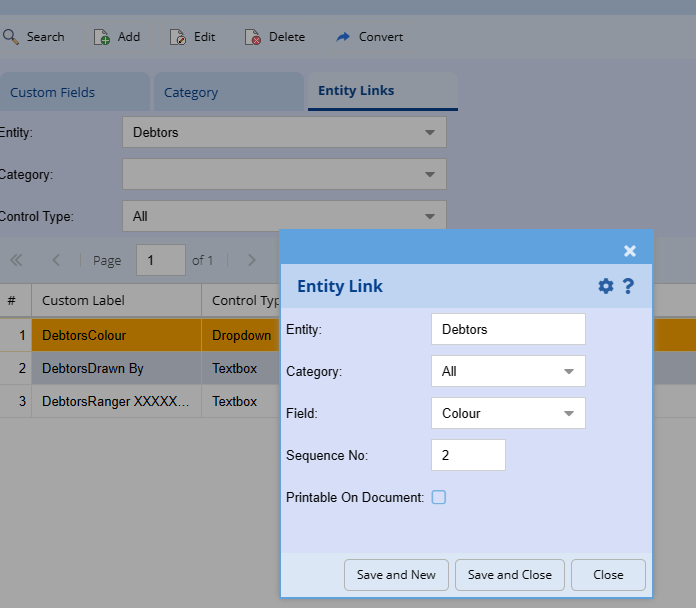
In Custom Fields under the Entity Links Tab. Click on the Entity in the drop down that you require and click on search.
Find the custom field that you do not want to appear on the printable documentation and click on Amend.
Take the tick off the Printable tick and click on Save and Close.
[](https://hugeerp10.co.za/hsofmanual/uploads/images/gallery/2023-08/Jktimage.png)
By removing the tick on the Printable label this will mean that when printing the document for the customer is will not see that custom field.